5×7 Ladder Card Using the Silly Old Bear Suite
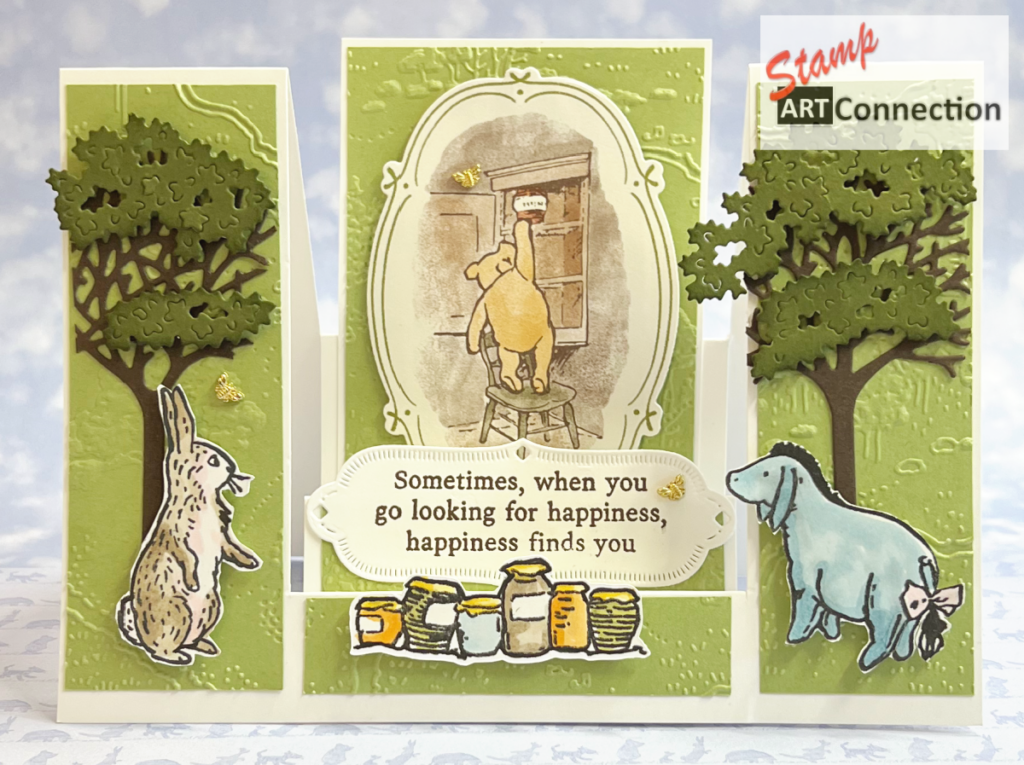
Spread the love!Step Into the Hundred Acre Wood with a 5″ x 7″ Silly Old Bear Ladder Card There’s something timeless and heartwarming about the friendships found in the Hundred Acre Wood—and the new Stampin’ Up! Silly Old Bear Suite Read More