Sparkling Celebrations Alternatives – May 2026 Paper Pumpkin Kit
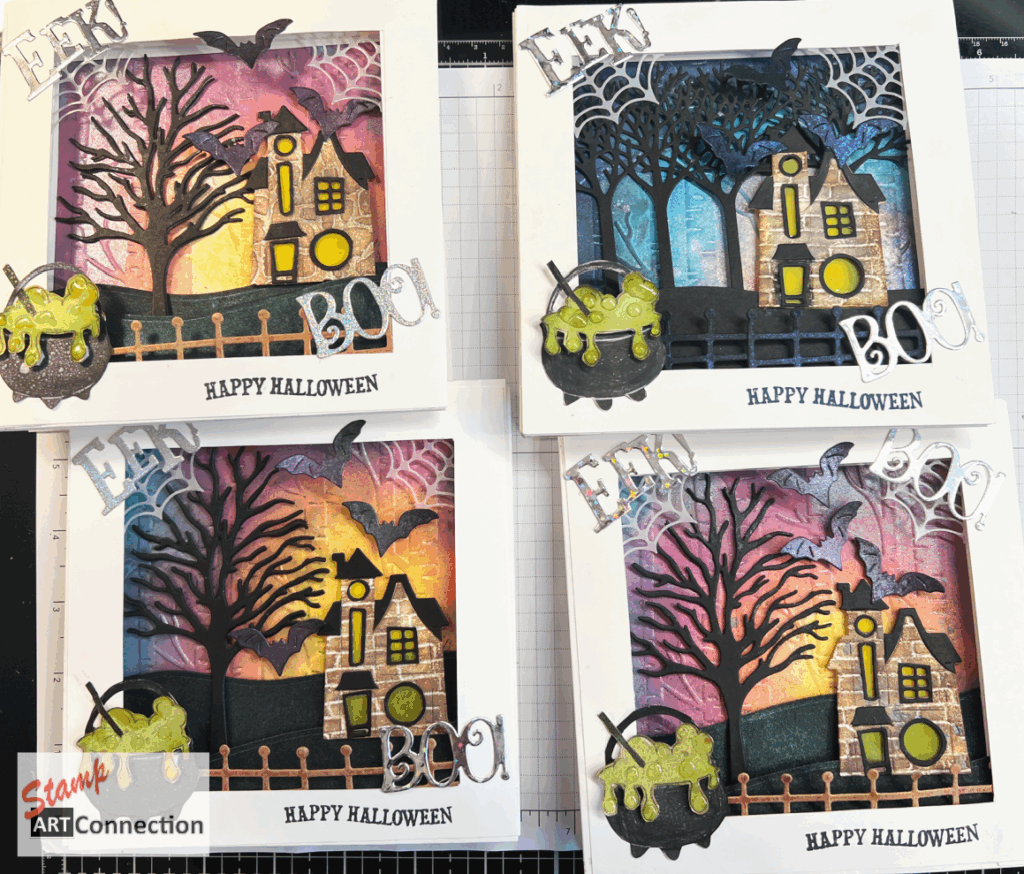
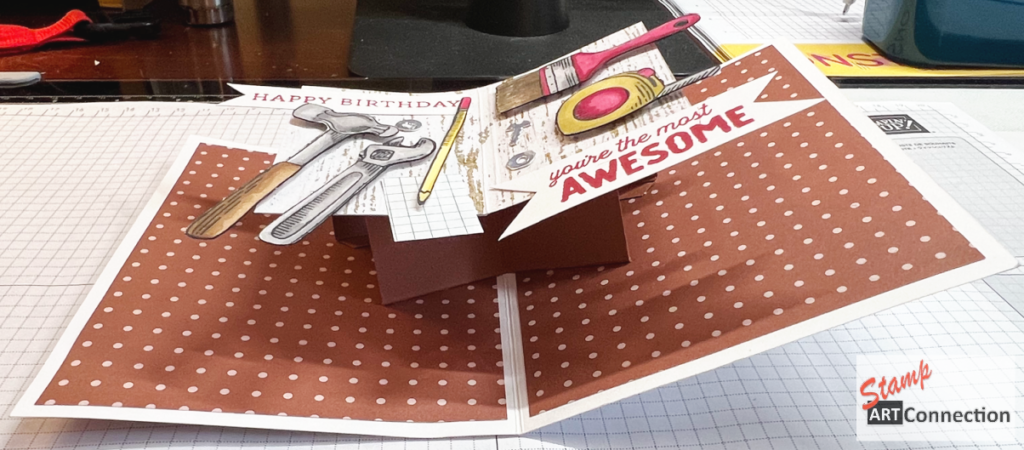
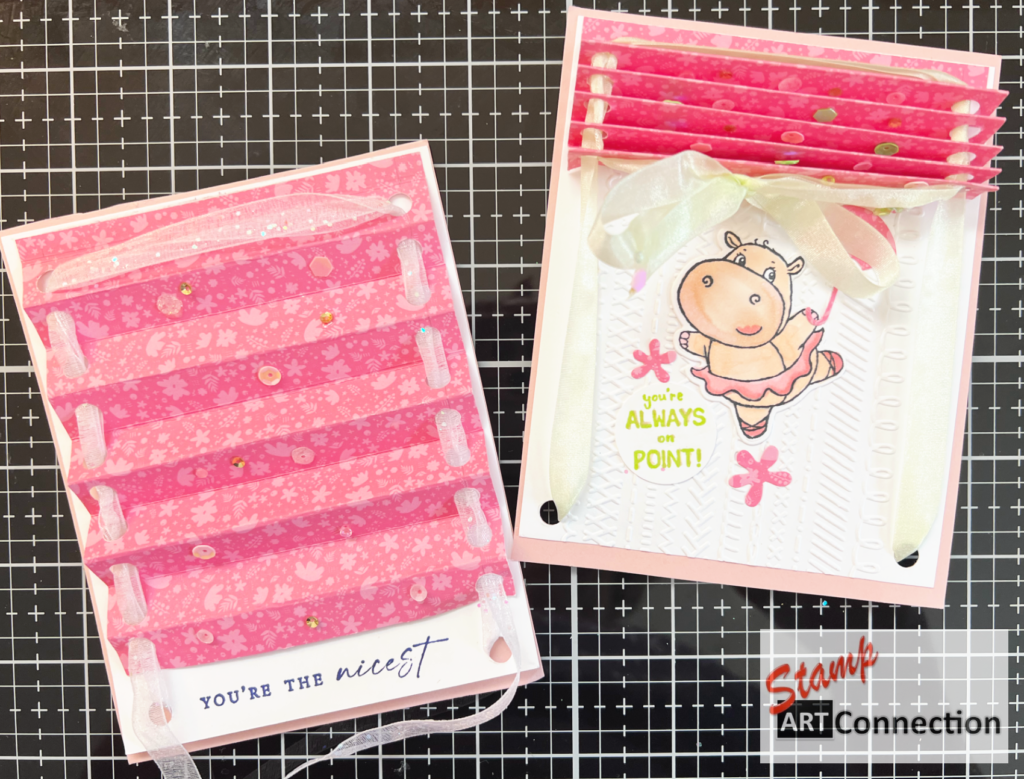
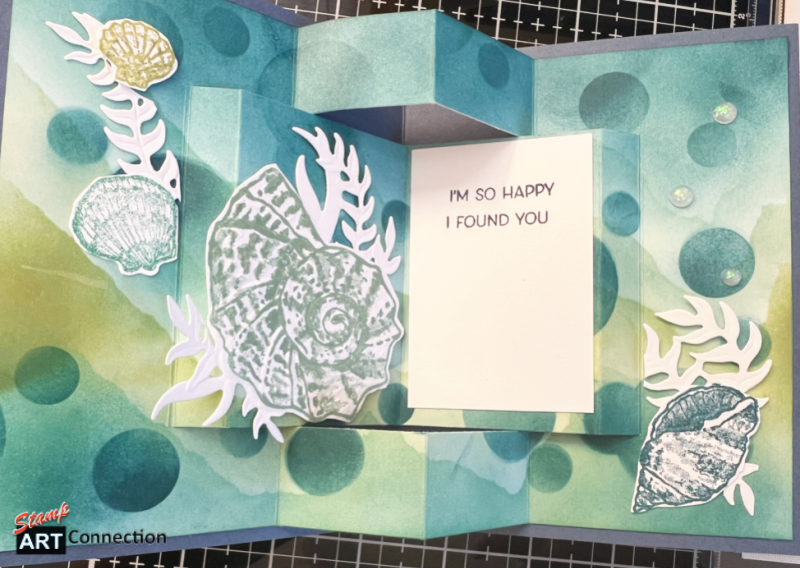
Spread the love!Have you ever looked at your Paper Pumpkin kit and wondered, “What else can I create with these beautiful supplies?” In this week’s tutorial, I’m sharing several creative alternative card designs using the May 2026 Paper Pumpkin Kit Read More