More Valentine Inspiration…Made With Love!
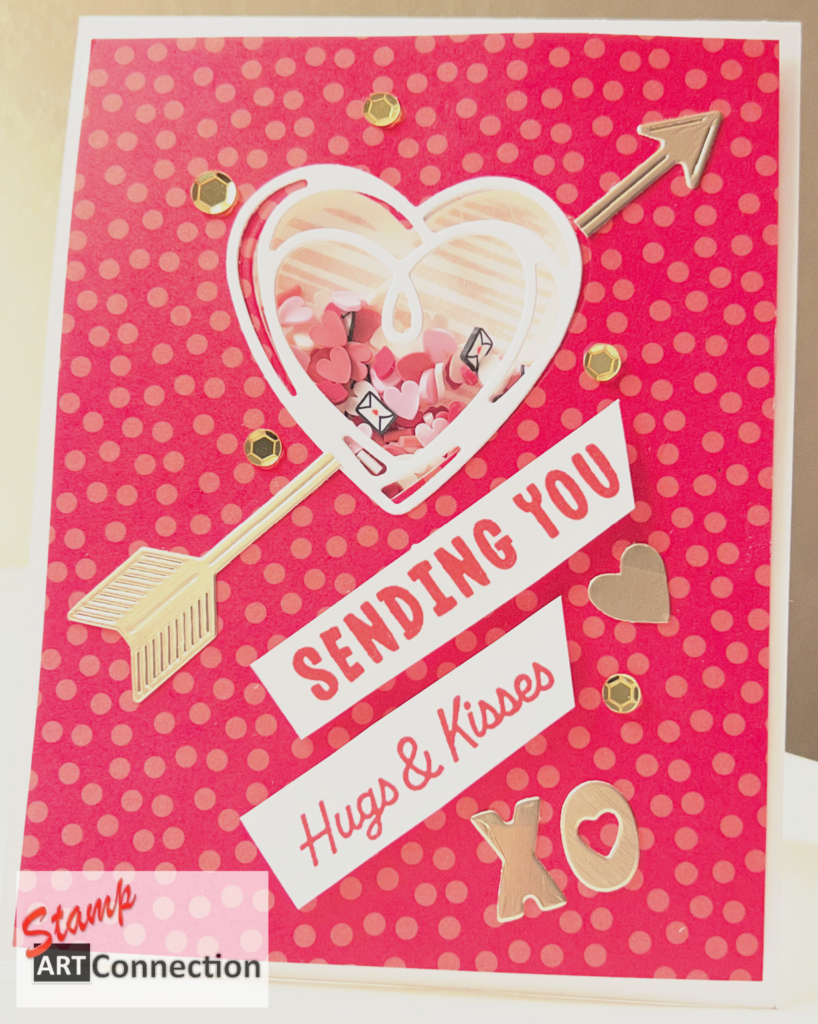
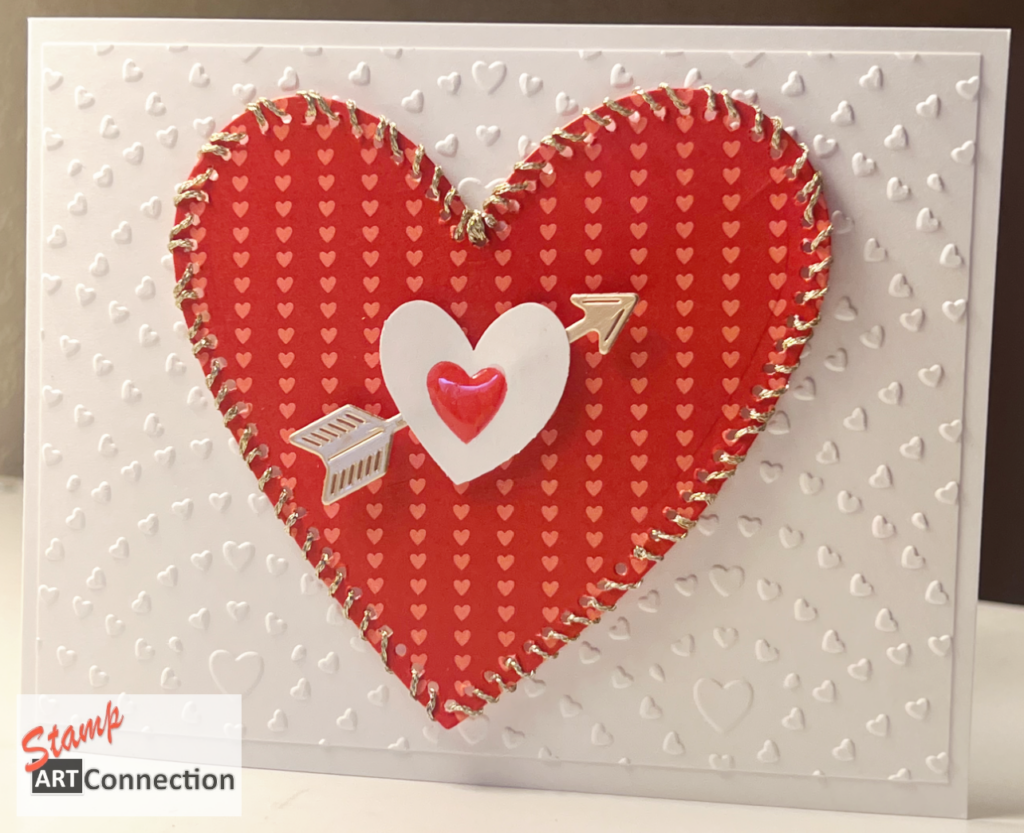
Spread the love!The Made with Love Suite Collection makes last-minute Valentine crafting easy because everything coordinates beautifully — stamps, dies, Designer Series Paper, embossing folder, ribbon, and embellishments all work together effortlessly. The suite is designed around hearts, love-themed sentiments, Read More