PRIME DAY 12-13 July
Don’t forget to shop my FAVORITE PRODUCTS for savings!

Your connection to beautiful cards!
Don’t forget to shop my FAVORITE PRODUCTS for savings!
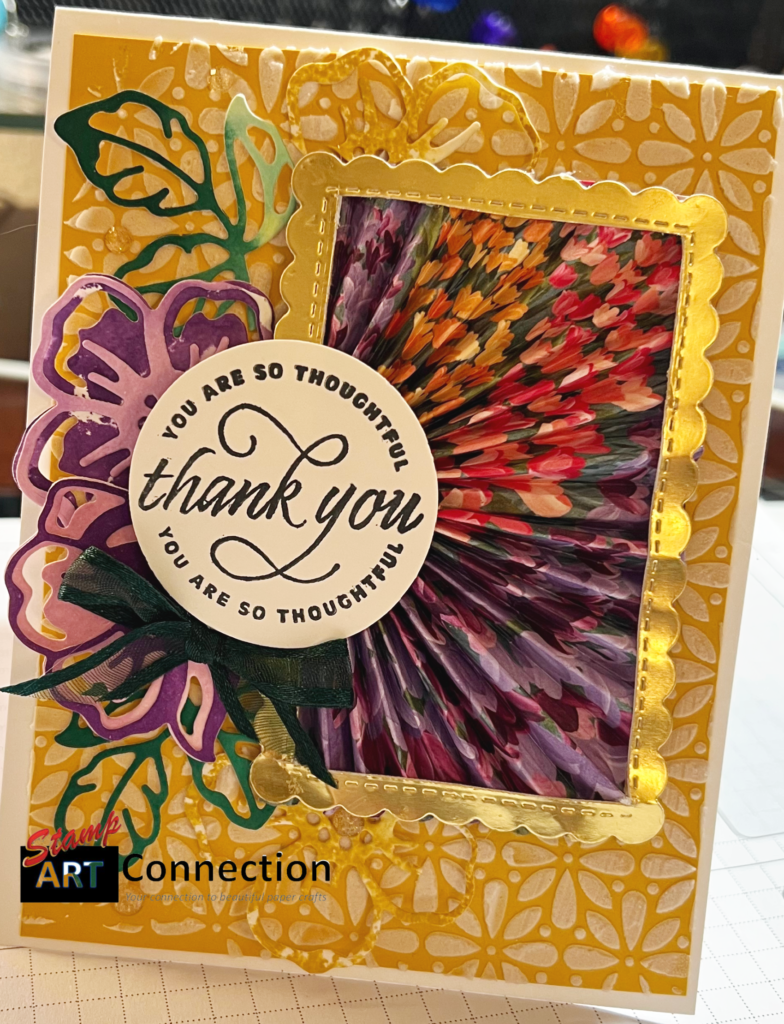
Create a “WOW” card! This is an Avid Stamper’s dream card. But any stamper can learn how to assemble a simple rosette to create a striking focal point. Then embellish with die-cut flowers and leaves on a textured background using Read More
Here is a fun fancy fold card that is deceptively easy. I was inspired to create this for my niece who just left for her summer job and will be starting college in Colorado soon after. Seems time just creeps Read More
The May 2022 PP features the new IN COLORS from the May 2022-April 2023 Stampin’ Up! Annual Catalog. I LOVE the new colors and it gave me inspiration for my “Give a SMILE – one card at a time” program Read More
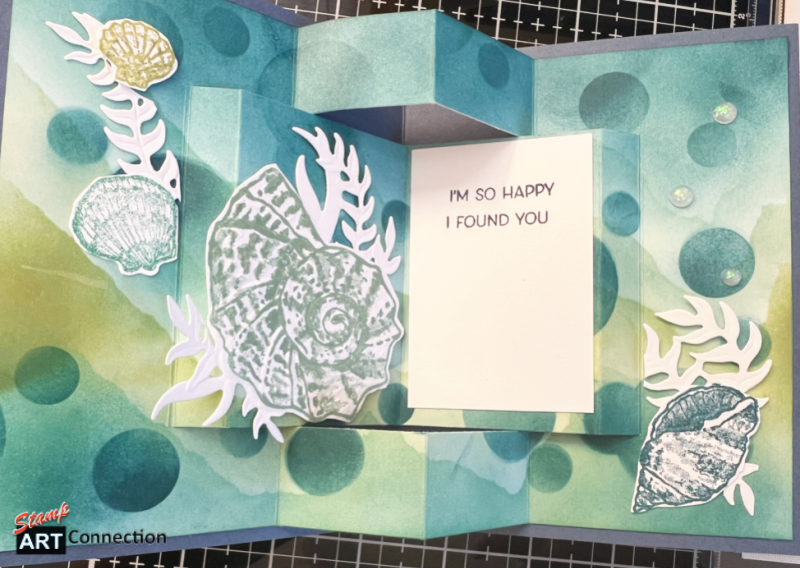
This fancy fold technique is called the Inside Out Card. The card design was inspired by Barbara VanDenBoom at Paper Tree using the FRIENDS ARE LIKE SEASHELLS stamp, embossing folder and dies. When coordinating DSP for Stampin’ Up! suites are Read More
I’ve just moved into a new house! As of yet, I still don’t have easy access to my stamping supplies. All I have is paper, ink pads, stamps, and dies. What to do? Well, because all I have on hand Read More
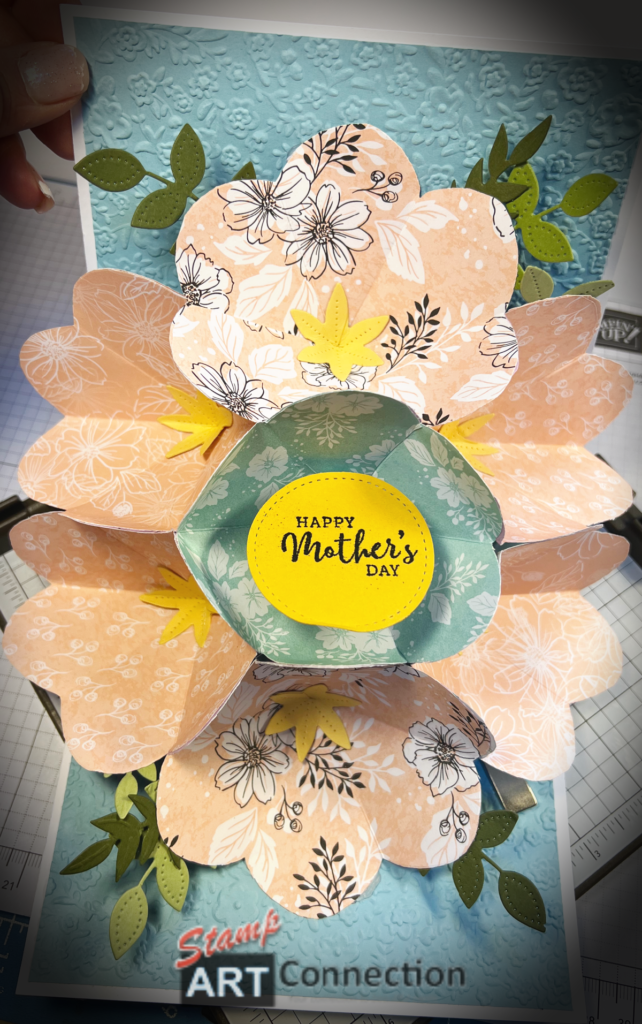
Thanks to Sam Calcott UK — Mixed Up Crafts– for this project. It’s a clever flower bouquet pop-up card that doesn’t need any fancy dies except for those needed for embellishments. Here I present three versions using Stampin’ Up! products Read More
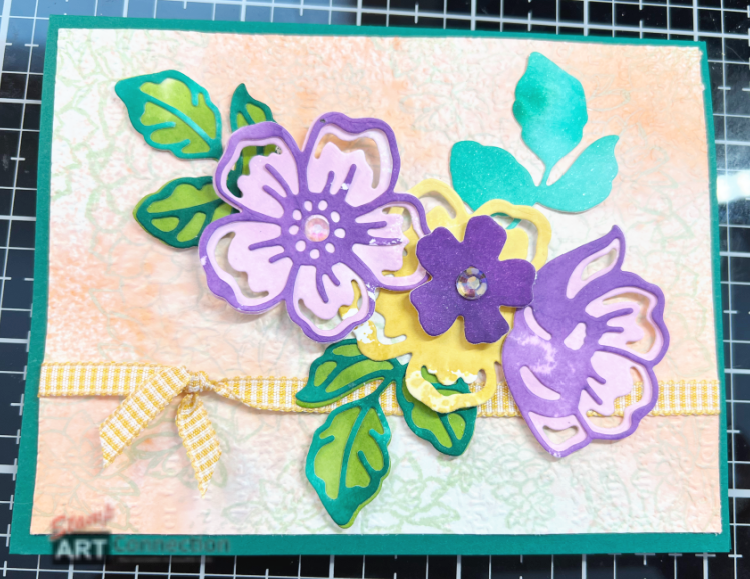
This week I sat down and had fun with the EASTER FRIENDS stamp set. I love the line art that lends itself to easy coloring using watercolor pencils and metallic watercolor paints. View my VIDEO TUTORIAL for all the steps Read More
I have so many followers as AVID STAMPERS that love “fancy folds” projects. This project is called a CURVED FOLD CARD. When the tabs are fitted together the card creates a curved dimensional front that stands freely on a shelf Read More
I’m back with the “big wave” stamp from the Waves of Inspiration Collection. I love exploring all the ways you can use a stamp to create different techniques. In this case, the Two-Tone technique uses two complementary colors to create Read More
Explore artistic expression with the Waves of the Ocean Collection. This collection was featured with detailed information in my February NEWSLETTER. Here is featured project using these seaside supplies–to dive into inspiration and swim in a sea of creativity! This Read More
This project was inspired by a professional challenge from my dear friend Amy Salib from “Make Something INC” — a fellow demonstrator. While perusing through the catalog…we both looked at the stamp and said, “I know what I want to Read More
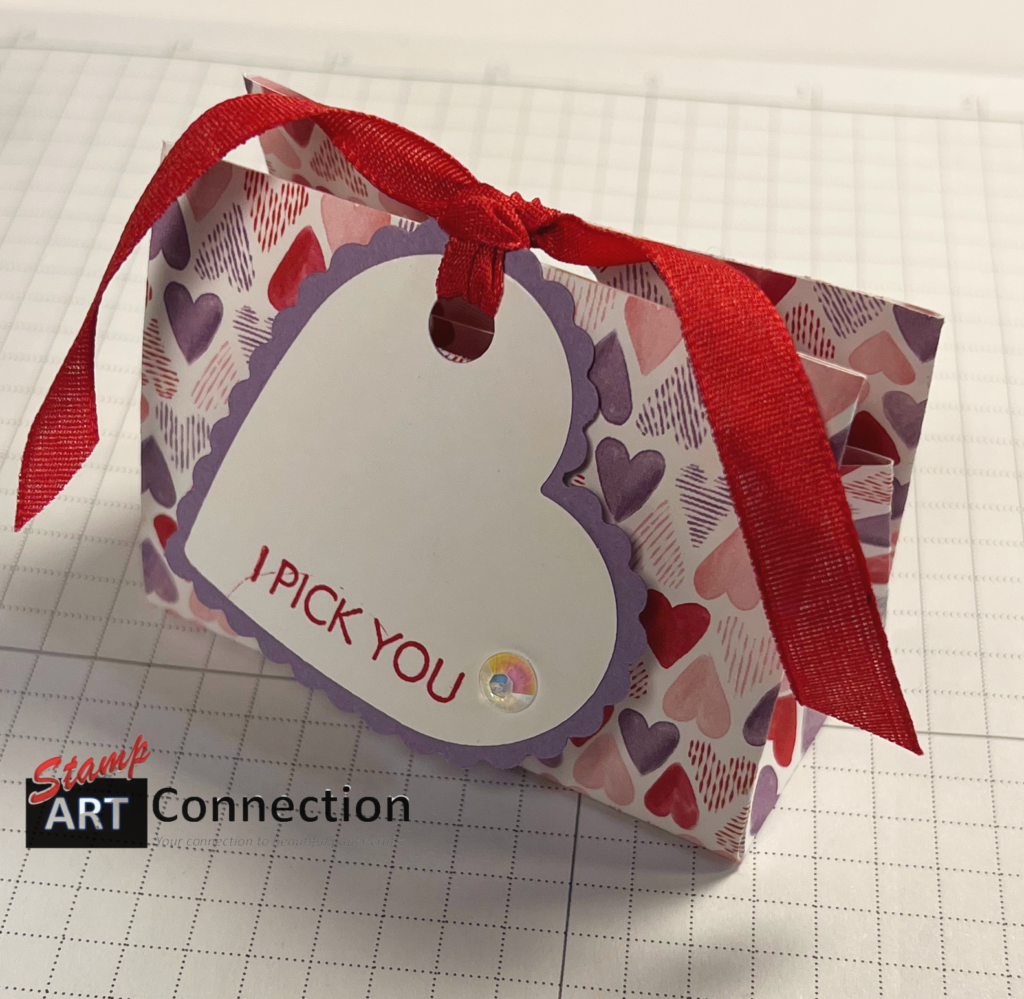
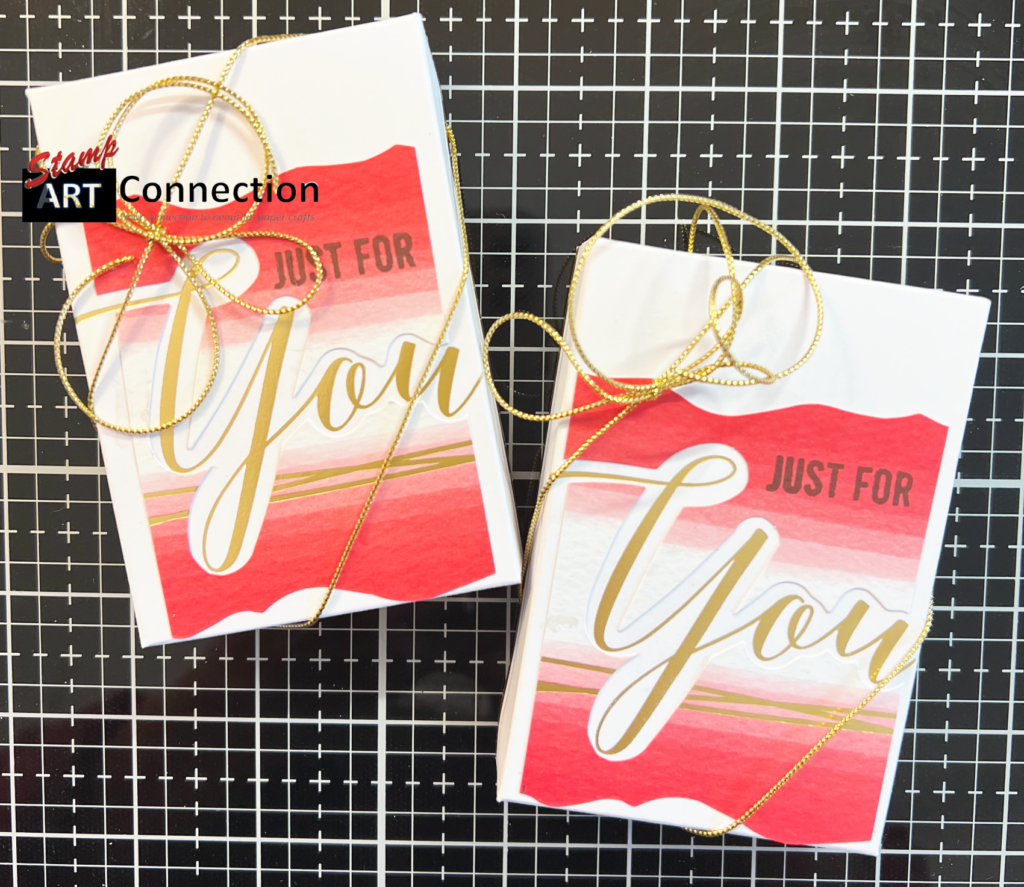
Here is a great “fancy fold” for 6″ x 6″ sized card stock or DSP to create these wonderful treat boxes! Visit my ONLINE store for a LINK for where to find all the products listed below : YOU WILL Read More
Straight out of the 2022 Mini-Catalog — page 8 — features this inking technique using the GINGHAM Embossing Folder to create the perfect background! I love the BFF — best friends forever– sentiment offered as part of the SWEET CONVERSATIONS Read More
While getting ready for my “GIVE A SMILE – ONE CARD AT A TIME…” project for the UNM Children’s Hospital — I was looking for easy projects to create bags and tags for the Pediatrics Ward for Valentines Day. I Read More