
Stand Alone Cards Tutorial
Spread the love!I loved putting this project together because it was EASY and also a great way to show off the new product suites from the Annual Catalog. Here is an easy card that when assembled stands alone! The cards Read More
Easy Frame Die Cut Techniques
Spread the love!Use concentric dies to create a “frame die-cut technique” as a background for cardmaking. You don’t have to invest in the new THIN FRAME DIES that are being advertised by some craft suppliers. Here is the fastest and Read More
Corner Bookmark Tutorial
Spread the love!While creating some projects for hospitalized kids, I came across this technique for making bookmarks. Here’s a fast and easy tutorial for making bookmarks out of your scraps and extra embellishments. BASIC SUPPLIES: Most of the supplies I Read More
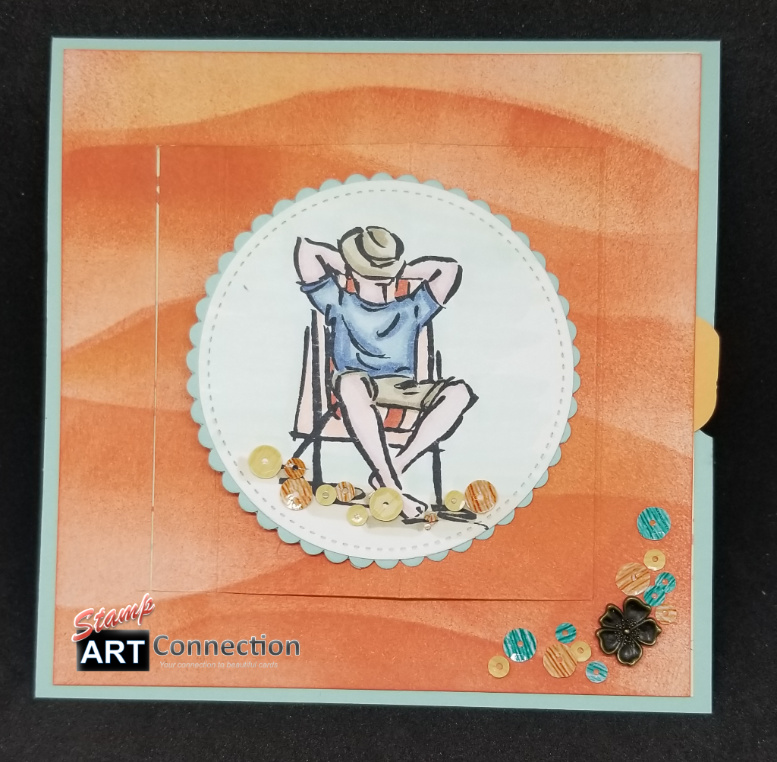
Fancy Folds – Wiper Card Technique featuring the Whale of a Time Suite
Spread the love!The Whale Of A Time suite really makes a splash with wonderful seascapes that just begs with possibilities and an ocean of inspiration! I have provided a gallery of ideas that this suite has inspired. The DSP, colors, Read More
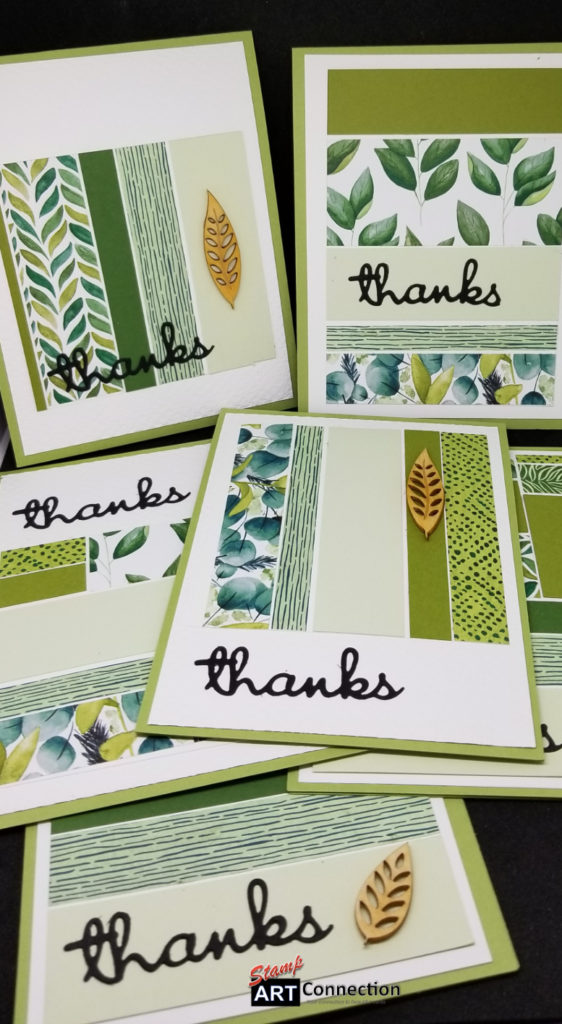
Mosaic Background Technique
Spread the love!This month I am featuring workshops using the Forever Greenery Suite of products. During the assembly of workshop KITs, I created a table full of paper scraps! What to do with paper scraps? #simplestamping Well, follow my Video Read More
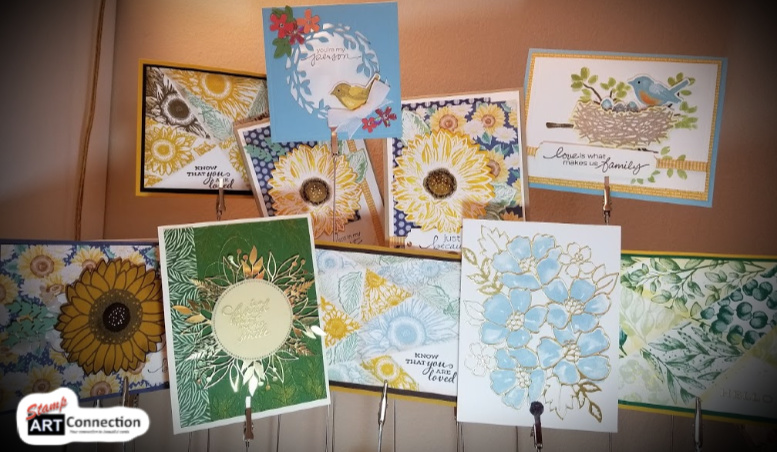
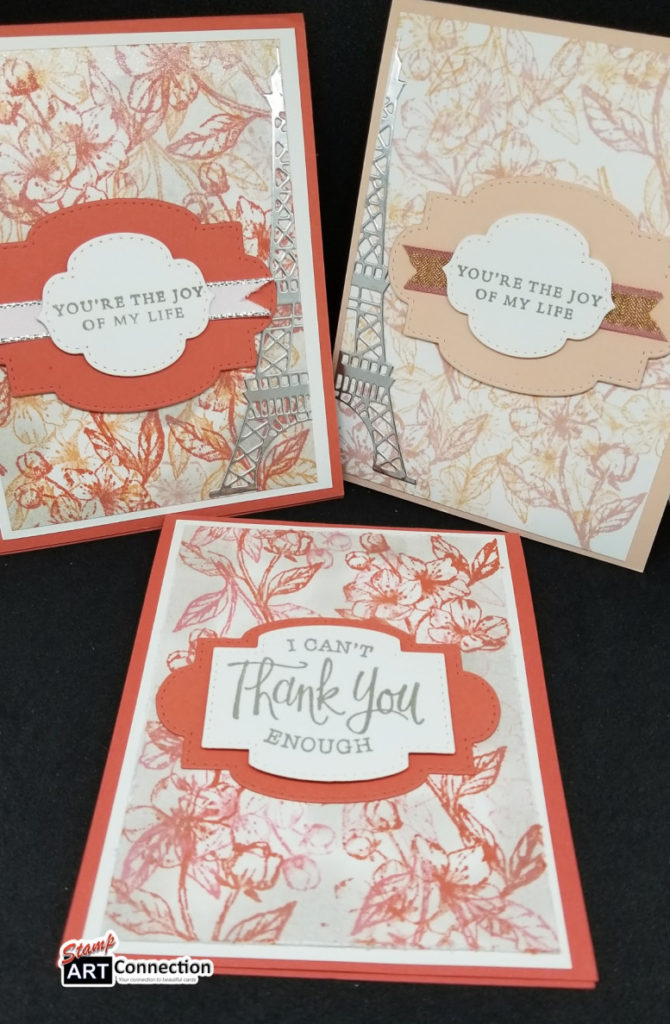
Social Distancing through Crafting: Background Stamps & Flower Coloring Techniques
Spread the love!The new 2020-2021 Catalog will feature 6 background stamps — three of which will be new. I wanted to demonstrate a couple of stamping techniques that you can apply to these as well as any stamps you may Read More
Social Distancing Through Crafting: Fancy Folds T-Slide Card
Spread the love!This was a challenging card…but I may have made it harder than it should be. It was definitely a learning experience and I’m anxious to share what I learned. Some tips: Don’t add DSP to the base card Read More
2020-2021 Stampin’ Up! Annual Catalog Reveal #simplestamping
Spread the love!Demonstrator Pre-Order Products and #simplestamping technique Due to COVID-19, Stampin’ Up! canceled the Spring ON STAGE convention to launch the new catalog across the global market. Albeit a good decision — I missed the opportunity to join 2,000 Read More
Social Distancing Through Crafting: Fancy Gatefold Card
Spread the love!The fancy gatefold card is easy and quick if you follow my Video Tutorial. I also feature a quick coloring technique using craft foam and my Stamparatus. I provide all the dimensions and featured products below. What you Read More
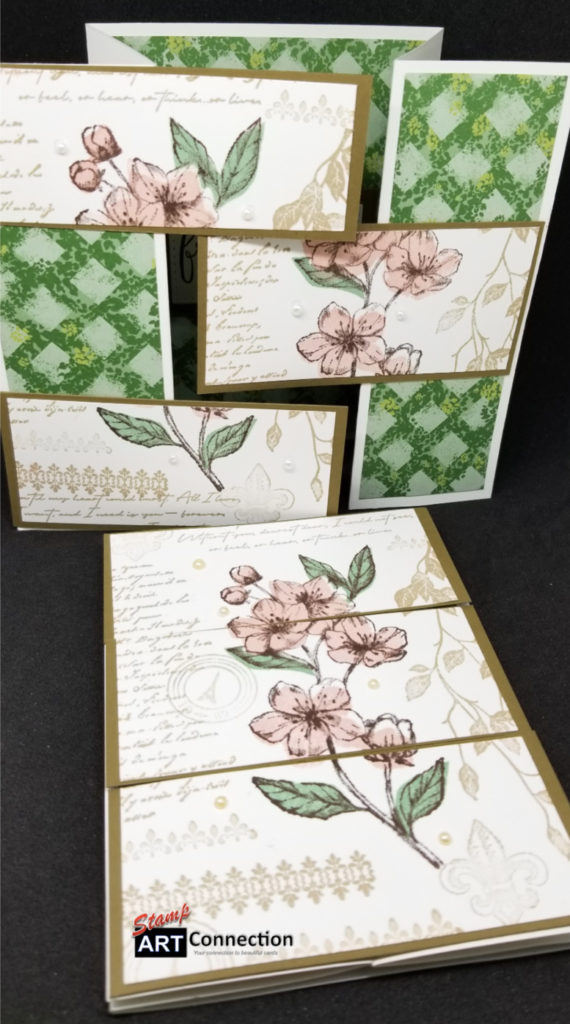
Social Distancing Through Crafting: Coloring Techniques using the Ornate Garden Suite
Spread the love!This week I feature some EASY coloring techniques using the Ornate Garden Suite. This is an “early release” item that will be featured in the new 2020-2021 Annual Catalog scheduled to go live on 3 June 2020. It Read More
Social Distancing through Crafting: Tropical Oasis Bundle
Spread the love!This week I explored techniques and ideas for using products from the Tropical Oasis Suite featured from the Mini-Catalog. The more I played with the products; the more fun I had creating cards using several techniques. I wanted Read More
Social Distancing through Crafting: Simple Background Stamping
Spread the love!If you are a member of my STAMPING FUSION FB Group — you can view the weekly FB LIVE videos I post on cardmaking. This week I demonstrated the “180 Degree Stamping” technique for creating backgrounds. This technique Read More