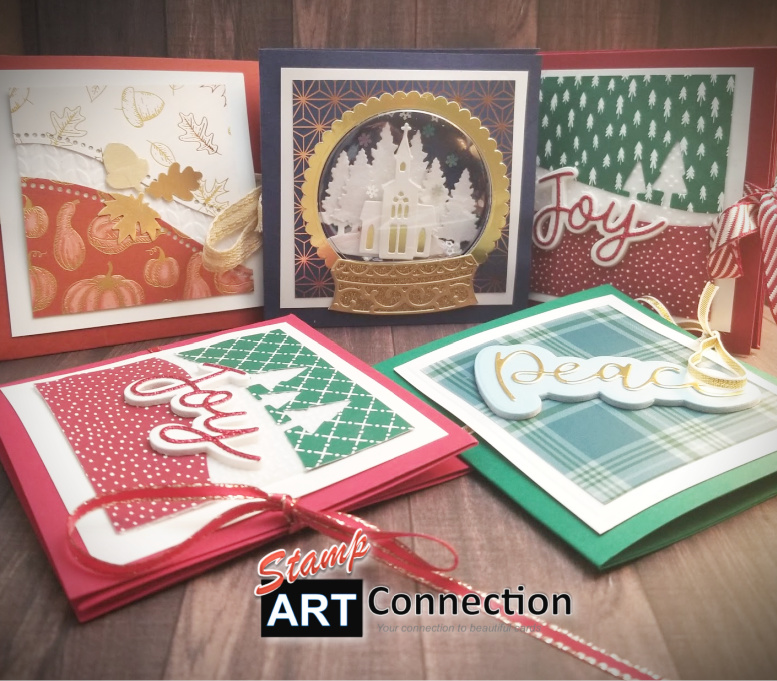
Fancy Folds Diagonal Fold Card featuring Poinsettia Place Suite

Spread the love!

I love demonstrating “fancy folds” using Stampin’ Up! products. SU makes it so easy since all their products are coordinated! Here is a really neat project that is looks harder than it really is! It is also known as the “Hip to be Square” card by Roni Johnson!

I created several projects using this fancy fold technique — Using the POINSETTIA PLACE Suite, SNOWMAN SEASON stamp and Snowman Builder Punch in the full 6″x6″ format with the matching box.

I also adapted the technique to 3″x3″ format to create fun smaller cards that fit perfectly in the 3″ Square Envelopes (145829) or Acetate Card Boxes (150428).

Follow my Video Tutorial below and I’ll show how to create a “WOW” card and custom box that you will love gift-ing for any occasion!

POINSETTIA PLACE SUITE Project

Supplies Needed:

  • CARD:
    • 2 pieces of 6″ x 12″ card stock in either the same (Whisper White) or coordinating colors (Real Red and Garden Green)
    • 3 pieces of 5 3/4″ square card stock for layers (Real Red)
      • Cut two in half to create 4 diagonal pieces.
      • The Third will be used for the center (with 5 1/2″ square piece for the sentiment)
    • 2 pieces of 5 1/2″ square card coordinating Designer Series Paper (DSP) (Plush Poinsettia and Poinsettia Place DSP)
      • Cut in half to create 4 diagonal pieces.
    • ADHESIVE SHEETS (152334) needed to back the Plush Poinsettia Specialty Paper
    • GOLD EMBOSSING POWDER
    • Versamark Ink
  • CARD FRONT:
    • FOREVER GOLD LASER-CUT SPECIALTY PAPER
    • 4″ x 4″ Whisper White Card stock
    • 3 3/4″ square Real Red CS (embossed with PARISIAN FLOURISH EMBOSSING FOLDER)
    • RED VELVET PAPER — create Poinsetta Flower (Click LINK Below)
    • BEADED PEARLS
  • BOX:
    • Bottom (Whisper White CS) 7 1/2″ square
    • Score 5/8″ all around
    • Lid (Real Red CS) 7 5/8″ square
    • Score 5/8″ all around
  • BOX FRONT:
    • 6″ x 6″ square in Whisper White CS
    • 5″ square Real Red CS
    • 4 3/4″ square Plush Poinsettia Paper
    • PEACE and JOY BUNDLE dies to cut “peace & joy”
    • FOAM ADHESIVE SHEETS with Whisper White CS
    • Gold Foil
    • Red GLimmer or Foil CS
    • WONDER OF THE SEASON Ribbon Combo Pack (Shaded Spruce Satin Ribbon)
  • TOOLS:
    • Simply Scored Scoring Tools (Score Board)
    • Paper Trimmer
    • Bone Folder
    • Take Your Pick Tool
    • Paper Snips
    • Tear & Tape Adhesive
    • Multipurpose Glue
    • Stampin’ Cut & Emboss Machine

Video Tutorial


MORE IDEAS — SNOWMAN Project

All the card stock and DSP dimensions are the same — just mix it up by choosing you own coordinating paper from the Holiday Catalog.


DOWNSIZE the Technique for Upsized WOW!

Downsize all dimensions to 3″ x 3″ square using DSP from the ‘TIS THE SEASON paper pack and the PEACE AND JOY BUNDLE!


PRODUCTS FEATURED:


Spread the love!

Box Corner Card Inspiration featuring the Curvy Celebrations Variety Bundle

Spread the love!

This is a fun and easy card that is packed with WOW! There are so many of the Holiday Catalog products which inspire, but most of all is the versatility of the CURVY CELEBRATIONS Variety Bundle with includes the CURVY CHRISTMAS, CURVY DIES and CLASSIC CHRISTMAS DSP> Explore some of the ideas below and view the tutorial for the basic instructions.

Cards feature the Trimming the Town Suite and DSP, Coming Home Bundle, All the Trimmings Ribbon Combo Pack, and Embellishments. The Wishes and Wonder Bundle, Peace and Joy Bundle Gather Together Bundle, and Country Home stamps set.

Gilded Autumn DSP cut with the Curvy Dies and embellished with Gather Together Leaves Dies in Gold Brushed Metallic Cardstock and Country Home Stamp set. Embellish with Gold Gems and 3/8″ Embroidered Ribbon from the Plaid TIdings Suite.
Special DSP from the Curvy Celebrations Variety Pack makes the perfect backdrop with the Trimming the Town DSP and Coming Home Bundle. The JOY sentiment from the Peace and Joy bundle on Foam Adhesive Sheets and Glitter Paper. The curved DIES from the Curvy Celebrations Bundle and sentiment is perfect!
Plaid Tidings DSP cut with Curvy Celebrations and embellished with Adhesive Baked Snowflakes sets off the design using the stag from the Wishes and Wonder Bundle in Gold Foil. The backdrop is created using the In the Pines Bundle with Garden Green and Shaded Spruce on Pool Party cardstock texturized with the Subtle Embossing Folder. The snow banks are created using white glimmer paper and Whisper White Card stock (flocked paper (retired)).

Gallery of Cards


Video Tutorial

Supply List:

  • Cardstock (cut 8″ x 8″)
  • Coordinating Designer Series Paper, Ribbon (21″) and embellishments
  • Paper Trimmer
  • Scoring Tool
  • Adhesive (All Purpose Glue and Tear Tape
  • Stamp Set/Dies: Curvy Christmas Stamp Set and Dies, Coming Home Bundle, the Wishes and Wonder Bundle, Peace and Joy Bundle, Gather Together Bundle, and Country Home stamp set.

Directions:

  • Trim cardstock to measure 8″x8″
  • Score at 4″, and rotate and score again at 4″. This will divide the 8″x8″ into four sections.
  • In the top-right quadrant, score diagonally from the corner to the center of the page where all the score lines meet
  • Cut the bottom 4″ score line up to the center of the page. This will separate the bottom two quadrants.
  • Crease all score lines.
  • Fold the bottom right and apply adhesive
  • Secure the bottom right quadrant (the one with the adhesive) to the TOP of the bottom left quadrant. This forms the box corner
  • Again, crease the diagonally scored line and apply adhesive to the top triangle only.
  • CREATE SCENES: Cut four 3.5″x3.5″ Whisper White pieces (front, backsides and bottom of corner)
  • Cut DSP 3″x3″ square and cut designs using the Curvy Dies or the Home Together Dies.

Products Featured


Spread the love!