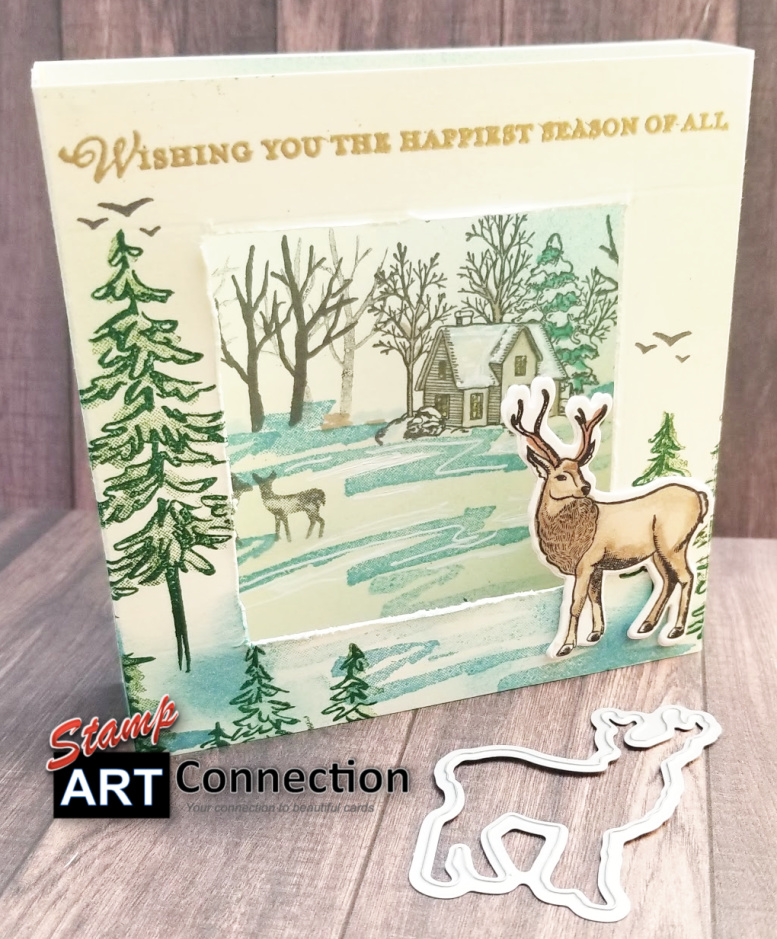
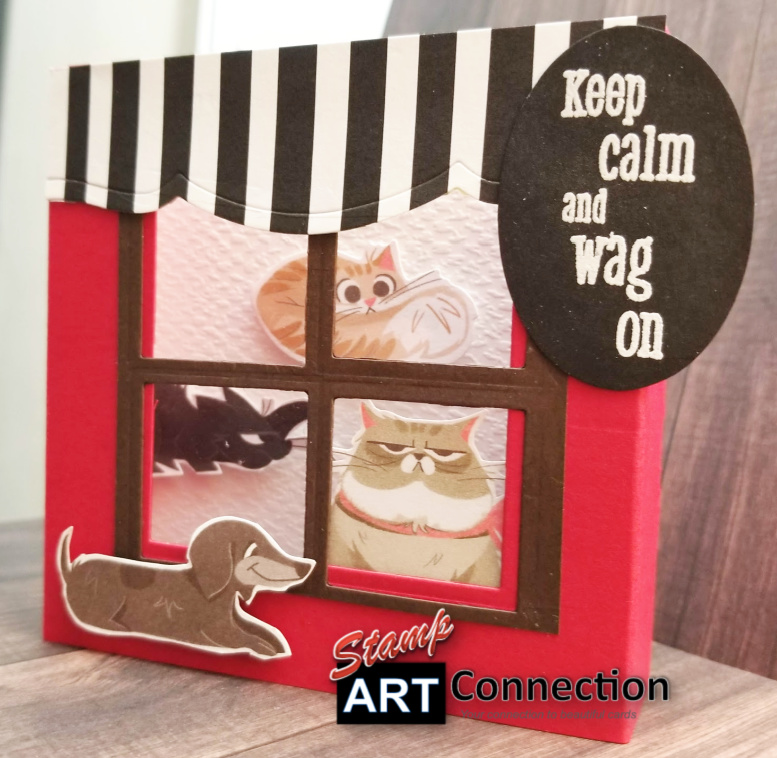
The Shadow Box technique is a great technique for any occasion. Unlike the previous shadow box project, the only stamping to be done here is for the sentiment! It’s just cardstock and DSP! All the products featured are from the Annual Catalog — PAMPERED PETS & WHALE OF A TIME suites. I either fussy cut, die-cut or used a punch to create the characters! SO EASY! I used the Layering Squares (151772) to create the window panes for these cards. There were made with my nieces in mind…and they LOVED them! I love the beauty and artistry of the Stampin’ Up! Designer Series Paper!
Follow the same general directions (see BUTTON) and view the Video Tutorial for tips and directions for constructing the card. It is really easy and once you make your first card–like me—you won’t want to stop!
I found this great fancy fold technique that creates a shadow box that is great for a scenic holiday composition. It is easy to assemble and an added bonus is that folds easily to fit in a standard envelope for mailing! Definitely a great way to spread added “wow” this season!
I created this holiday card featuring a great stag standing proundly in the foreground around evergreen trees with a lovely cottage snow scene in the background.
All the products featured are available in the current Holiday Catalog — the WISHES & WONDER Bundle,SNOW FRONT, STILL SCENES, and IN THE PINES stamp set.
VIDEO TUTORIAL: Besides all the basic information needed; I’ve included a LINK to my YOUTUBE channel tutorial below for details and “tips” to create the card.
Supply List:
CARD STOCK:
Whisper White or Very Vanilla Cardstock (11″x4″)
SCORE: 1″, 5″, 6″ 10″ (along the 11″ side)
Whisper White or Very Vanilla Cardstock (4″x4″)
SCENIC STAMPS/DIES:
WISHES & WONDER
SNOW FRONT
STILL SCENES
IN THE PINES
INKS:
Momento Black
Basic Grey
Shaded Spruce
Garden Green
Balmy Blue
Pool Party
Versamark (for GOLD embossing powder)
STAMPIN’ BLENDS Pens (Light & Dark):
Shaded Spruce,
Crumb Cake,
Pool Party,
Bronze,
Balmy Blue,
Daffodil Delight
TOOLS:
Sponge Dauber
Score Board
Ruler
Cutting & Embossing Machine
Exacto Knife
Precision Shears
Heat Gun
ADHESIVES:
Tear Tape
All-Purpose Glue
Dimensionals
Directions:
Step ONE: Cut a sheet 11″ x 4″ and score at 1″, 5″, 6″ and 10″.
Step TWO: Measure 3/4 in from each side. Draw square lightly in pencil and cut the open frame area.
Step THREE: Stamp the foreground images and stamp and cut out the main image (i.e. stage).
Step FOUR: Cut a piece of whisper white cardstock 4″x 4″ square.
Step FIVE: Stamp distant background images on this panel which will be adhered to the inside of the shadowbox.
Step SIX: Sponge onor use the sponge brayer to color for the sky (Pool Party) and snow (Balmy Blue) and color the cottage with Stampin’ Blends (refer to the video tutorial for directions).