🎃 Spooky Halloween Book Frame Card | Featuring STAMPIN’ UP! Fright Night & Spooky Halloween Bundles, Sizzix & Ranger Multimedia Products
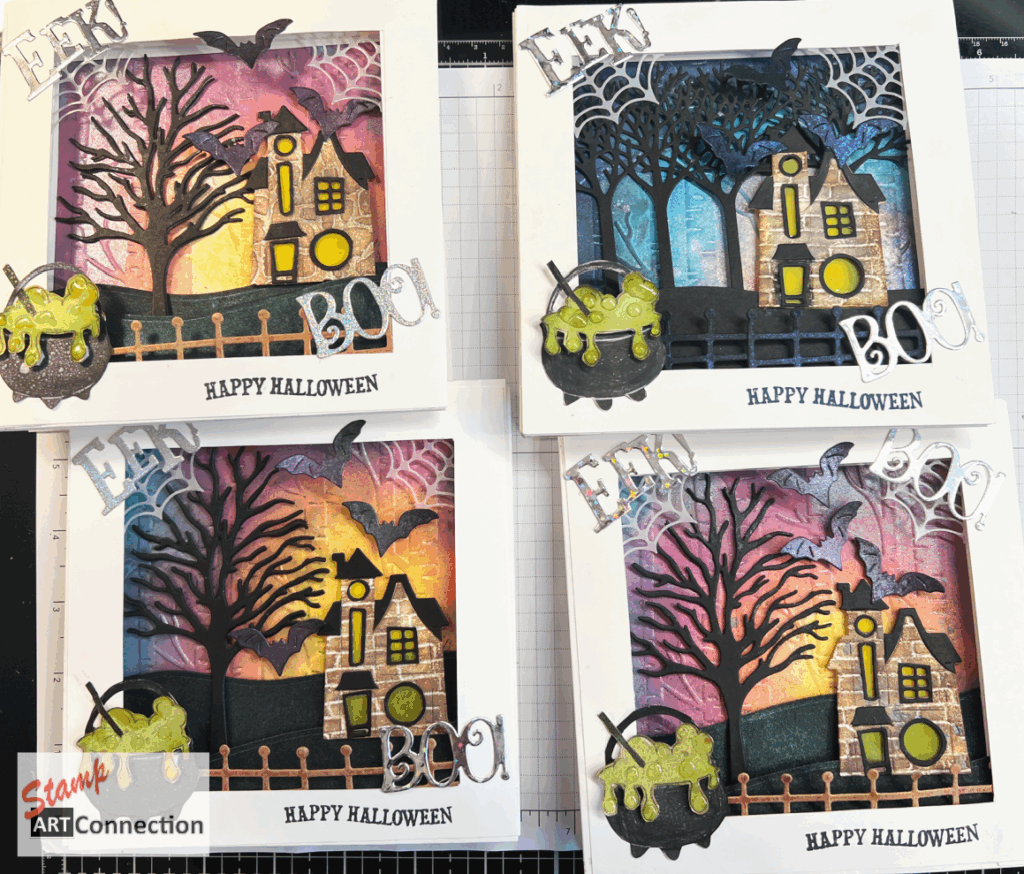
Ready to conjure up something spooktacular this Halloween? In my latest Video Tutorial, I’ll show you how to create a Spooky Halloween Book Frame Card — a 6” x 6” masterpiece that folds flat for mailing but opens up to reveal a dimensional haunted scene!
This eerie-yet-elegant card combines Stampin’ Up!’s Fright Night Bundle and Spooky Halloween Bundle with a few retired favorites and mixed-media techniques that add drama, shimmer, and depth to every layer.
🕸️ Supplies & Product Highlights
Stampin’ Up! Products Used:
- Fright Night Bundle
- Spooky Halloween Bundle
- Woodland Textured Embossing Folder (retired)
- Beautiful Trees Dies (retired)
- Inspiring Canopy Dies (retired)
- Spooky Halloween DSP (for the witch’s cauldron and background elements)
- Holographic Cardstock (for “EEK” and “BOO” die-cuts)
- Vellum (for ghostly spider webs)
- Basic White Cardstock (for background and base and House layer)
- Basic Black Cardstock (for trees and hill silhouettes and House layer)
- Crumb Cake Cardstock (for fence and House layer)
- Yellow VELLUM cardstock piece (to illuminate the haunted house window glow)
Inks & Sprays:
- RANGER Distress Oxide Inks: Wild Honey, Abandoned Coral, Seedless Preserves, Peacock Feathers
- RANGER Distress Spritz Sprays: Fossilized Amber, Wilted Violet, Cracked Pistachio, Weathered Wood, Rusty Hinge
- Sizzix 3D Texture Fade MINI Embossing Folders – 665462- BRICK / 665461 – Stone textures
📏 Cutting & Scoring Measurements
Start with:
- (2) Basic White Cardstock pieces cut to 6” x 6”
- One will become the embossed background, the other forms the back panel.
Top Frame Panel:
- Cut 6 1/8” square (this extra size ensures it covers the front)
- Use a 6” cardboard template and cut ¾” around to create the frame opening.
Frame Sides:
- Cut four pieces at 3” x 6”
- Score each along the short side at ¾”, 1½”, and 2¼”
Back Stand:
- Cut 10½” x 6”
- Score at ½”, 1½”, 2½”, and 6½”
- Add a 3” x 6” DSP panel to decorate the back stand
💀 Assembling the Book Frame
All the scoring and folding steps are demonstrated in detail in my video tutorial — so you can follow along as we build the dimensional “book” frame that gives this project its signature 3D effect.
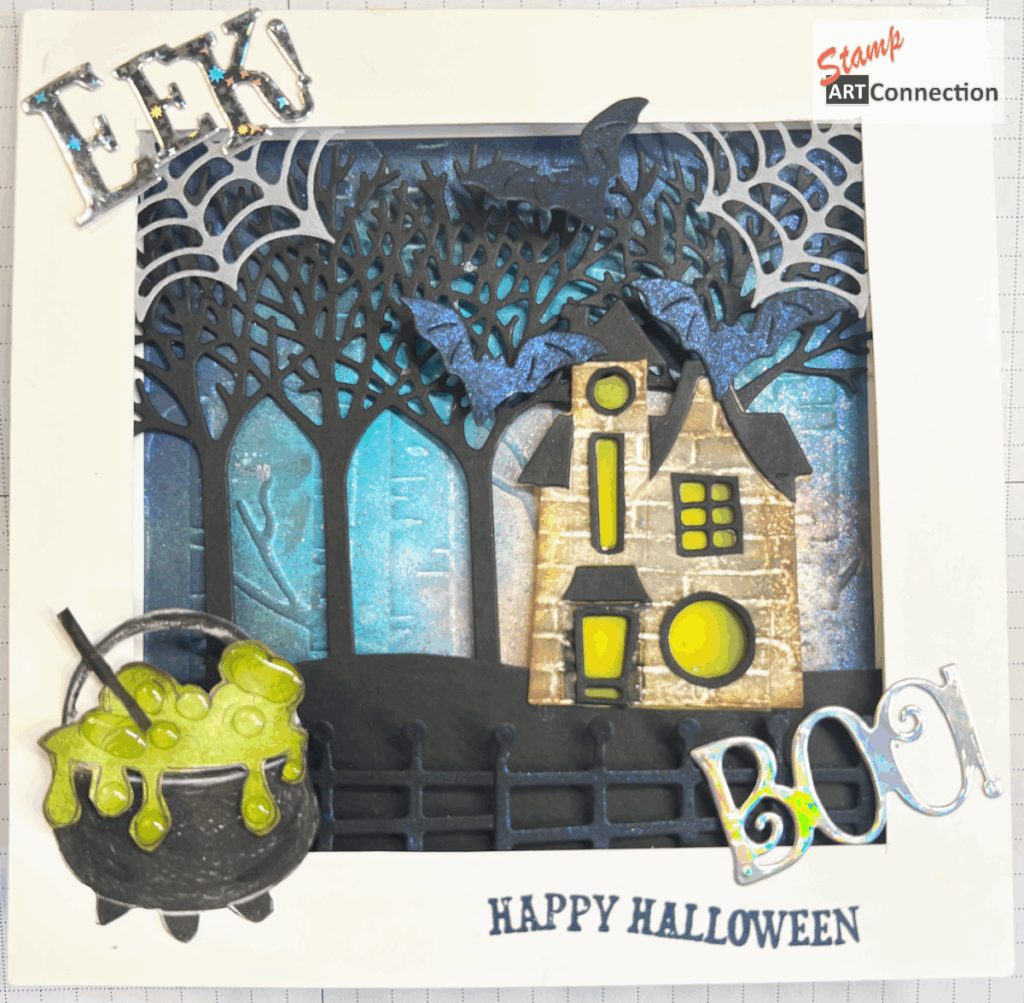
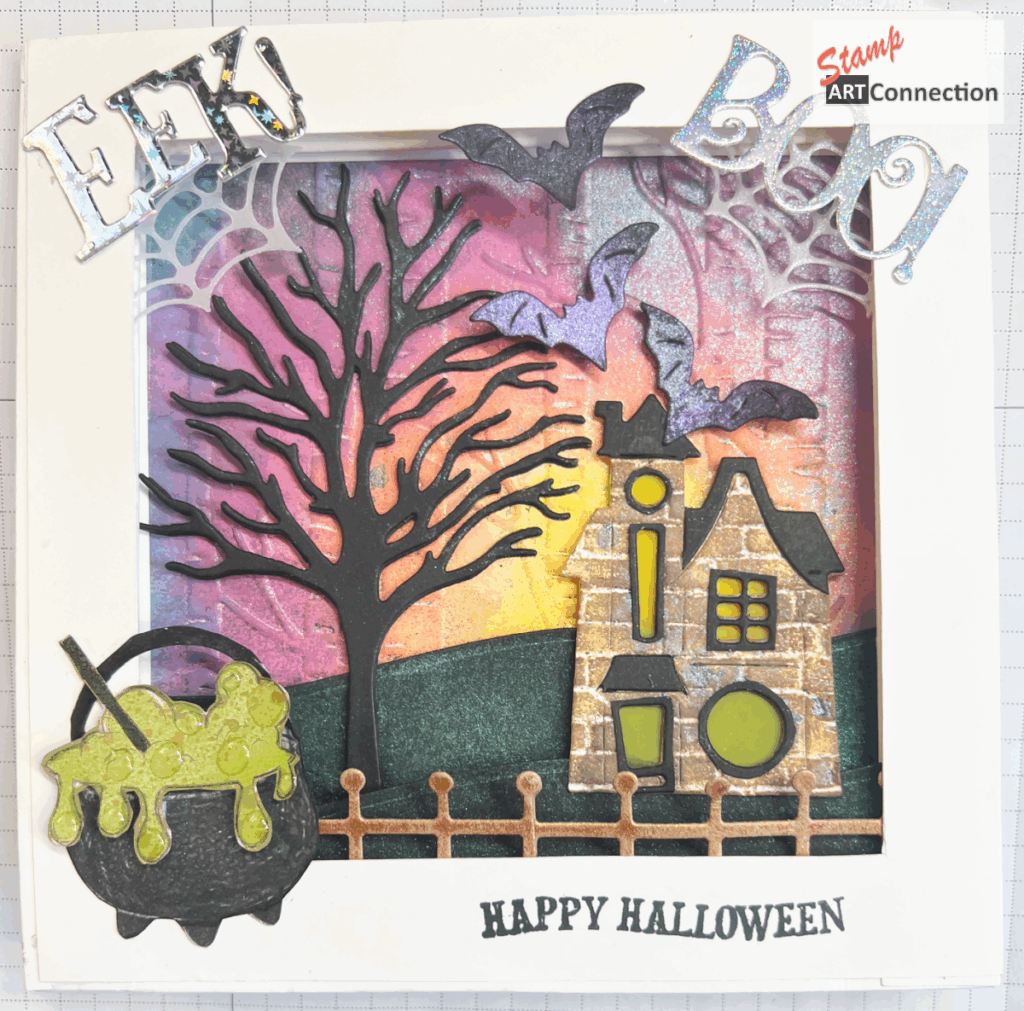
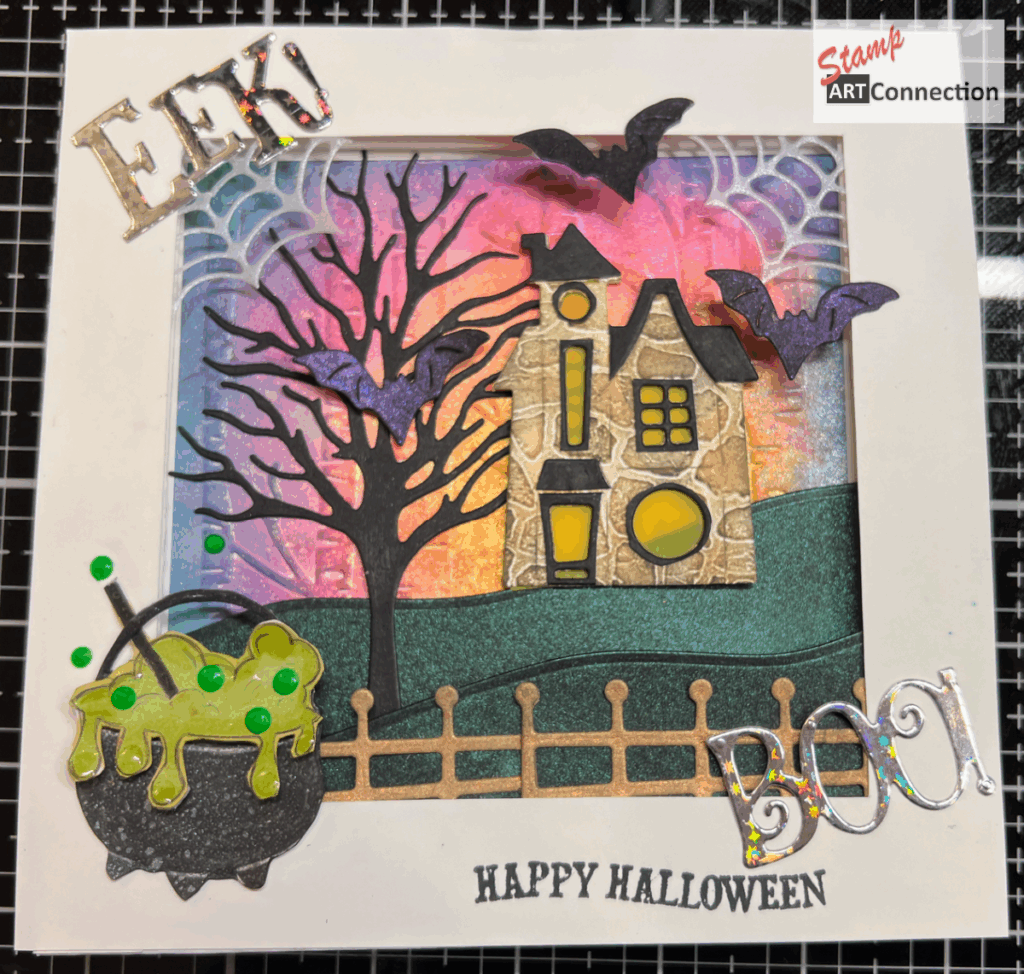
You’ll see how I layered embossed panels, Distress Oxide ink blends, and shimmering Spritz sprays to bring this eerie woodland background to life.
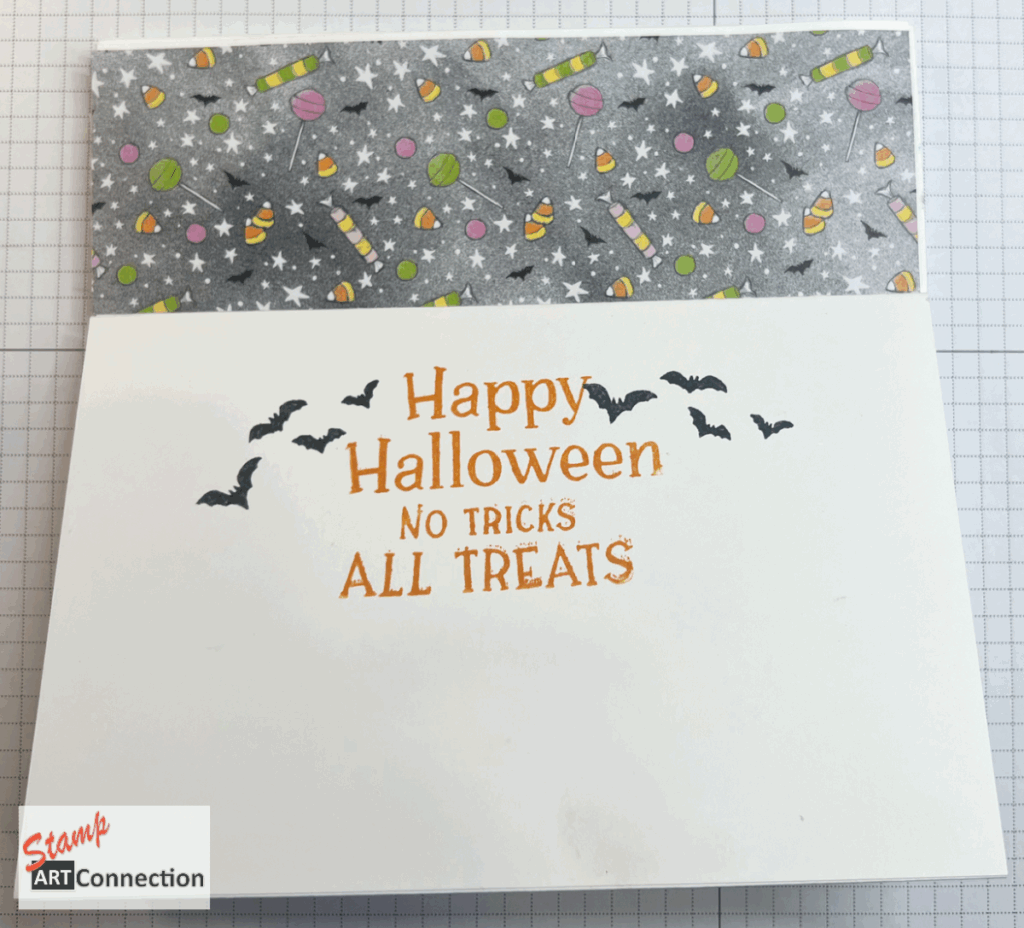
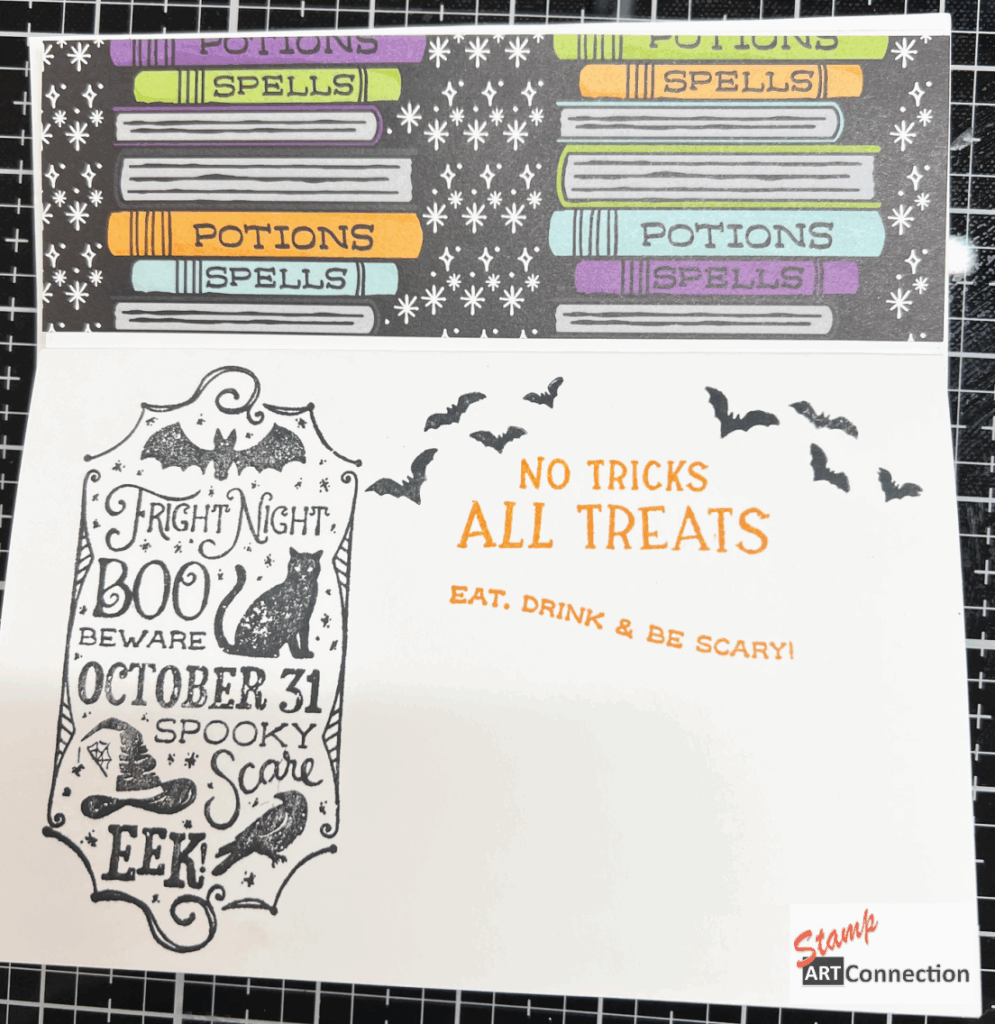
Add your haunting embellishments — the Witch’s Cauldron, Haunted House, EEK and BOO sentiments — and finish with a hint of vellum cobwebs and flying bats.
The result? A shimmering, shadowy Halloween scene that’s part storybook, part mini art frame — and 100% handmade magic!
👻 Finishing Touches
- Fold flat and mail in a 6” x 6” envelope
- Customize the BACK panel for a personal message or photo.
- Add Wink of Stella or Glow in the Dark Acrylic paint dots for an extra touch of Halloween sparkle!
🎥 Watch the Full Tutorial
👉 Watch my Spooky Halloween Book Frame Card Video on YouTube!
Follow step-by-step as I demonstrate the cutting, scoring, layering, and mixed-media techniques that make this project shine.
🧙♀️ Craft Along with Me!
Whether you’re creating Halloween décor, a spooky gift, or a showpiece card, this project is a fun and artistic way to celebrate the season using your favorite Stampin’ Up! products — both new and retired.
Don’t forget to subscribe to my YouTube Channel and visit StampARTConnection.com for printable tutorials, PDFs, and inspiration.
Would you like me to create a matching YouTube description and Pinterest pin caption for this project too (using your SEO keywords like Halloween cardmaking, book frame card tutorial, Stampin’ Up! Halloween crafts)?
GALLERY

Stampin’ Up! Products