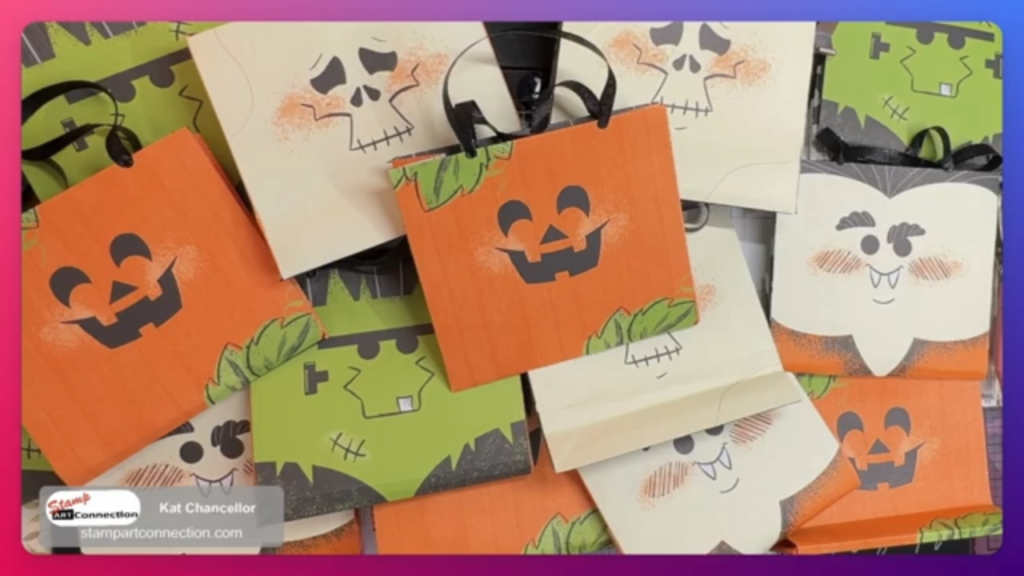
Halloween treats are even more fun when the packaging is part of the surprise! 🎃 Today I’m sharing Halloween Treat & Gift Bags created with the Spooktacular 6″ x 6″ Designer Series Paper and a few simple coordinating supplies.
These bags are a fun way to turn your favorite Halloween treats, small gifts, or party favors into something extra special—and because the Designer Series Paper coordinates so beautifully, you can create a whole collection of bags without making every one exactly the same.
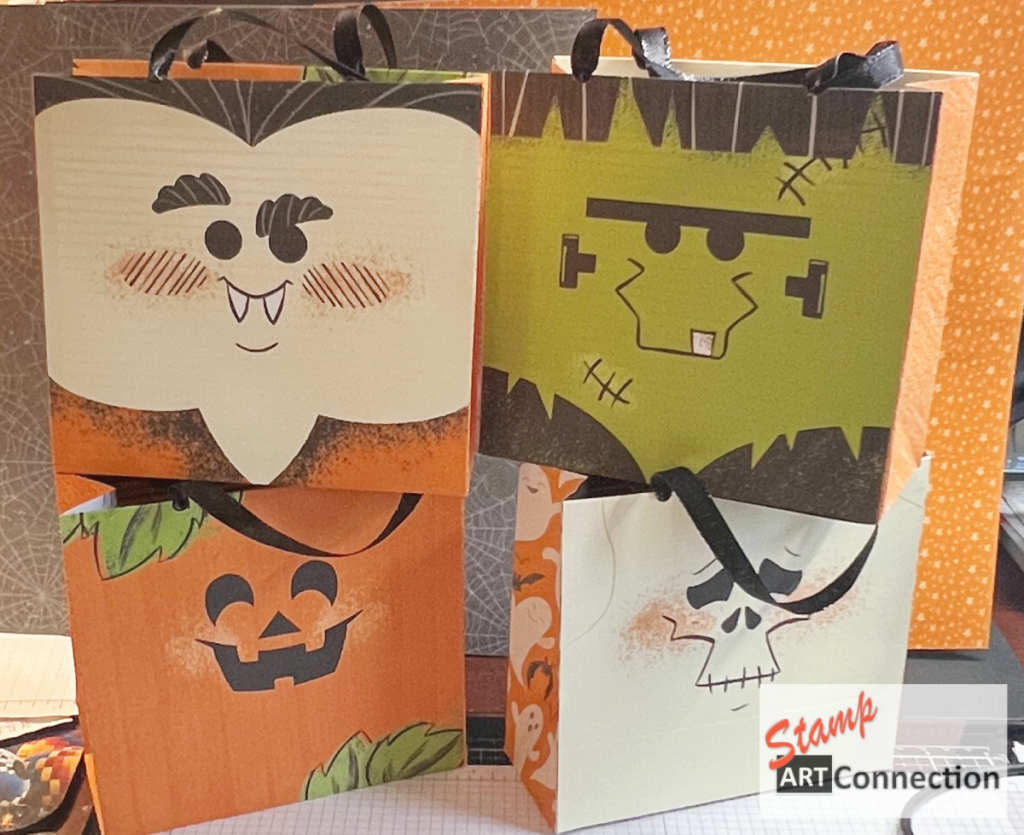
Let the Designer Series Paper Do the Decorating!
The star of these projects is the Spooktacular 6″ x 6″ Designer Series Paper. The Halloween patterns make it easy to mix and match designs while keeping all of your finished treat bags looking like they belong together.
FRONT & BACK Panels – Use a piece of 6″ square DSP. SCORE at .5″ along the 6″ side to create TOP flap and 1.5″ for the BACK PANEL (Gusset).
SIDE PANELS – Cut 3″ x 6″ from coordinating DSP. SCORE at .75 along 6″ side, 1.5″ in the middle, and .5″ along the bottom 3″ side. Cut bottom corners to bevel.
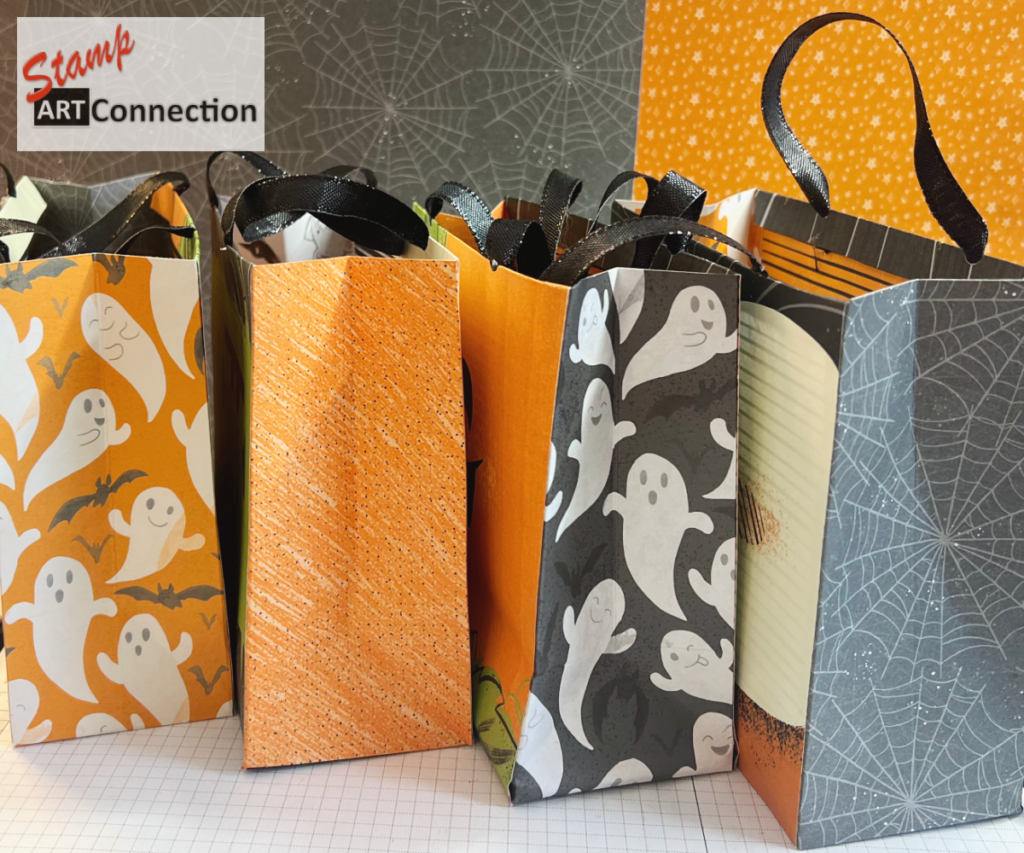
BOTTOM PANEL: Using Basic Black DSP cut 3″ x 6″ and score along the 6″ side .75″. Cut corners to bevel.
YOU WILL ALSO NEED: All Purpose Glue, HOT GLUE GUN, Hole Punch.
VIDEO TUTORIAL
Then I added two pieces of Iridescent Ribbon cut 8″ each for a little shimmer. I used a HOT GLUE GUN to attach the pieces. I love the unexpected sparkle—it gives these Halloween bags just enough shine without taking away from those fabulous DSP patterns.
Mix & Match Your Patterns
One of my favorite parts of working with coordinating Designer Series Paper is deciding which patterns to put together.
Don’t be afraid to mix them!
And remember—use BOTH sides of your DSP! Sometimes the pattern on the back is exactly what you need for that little extra detail.
From Treat Bag to Gift Bag
These aren’t just for candy!
Fill your Spooktacular bags with:
- Halloween candy or chocolates
- Cookies or other individually wrapped treats
- Small crafting goodies
- Gift cards
- Halloween jewelry or accessories
- Mini hand lotions or lip balms
- Small toys
- Party favors
- A little “Boo!” gift for a friend, neighbor, teacher, or coworker
You can even make several at once and have them ready for those unexpected Halloween visitors or last-minute gifts.
Perfect for Halloween Batch Crafting
This is also a great project when you need to make multiple Halloween treats or favors.
Lay out your Spooktacular DSP, Basic Black cardstock, ribbon, adhesive, and embellishments assembly-line style. Cut everything first, then assemble your bags and finish them with ribbon.
Before you know it, you’ll have your own little Halloween treat-bag factory!
Make Your Halloween Treats Spooktacular!
Whether you’re filling them with candy, a small gift, or a special surprise, handmade packaging makes the recipient feel like they’re getting something much more special than what’s tucked inside.
And that’s one of the things I love most about paper crafting—we can take something as simple as a Halloween treat and turn it into a handmade gift.
Grab your Spooktacular 6″ x 6″ Designer Series Paper, Basic Black cardstock, and Iridescent Ribbon and start mixing and matching those Halloween patterns!
Happy Halloween crafting! 🎃👻🖤
Stamp ART Connection
Your connection to beautiful cards—and creative paper crafting!