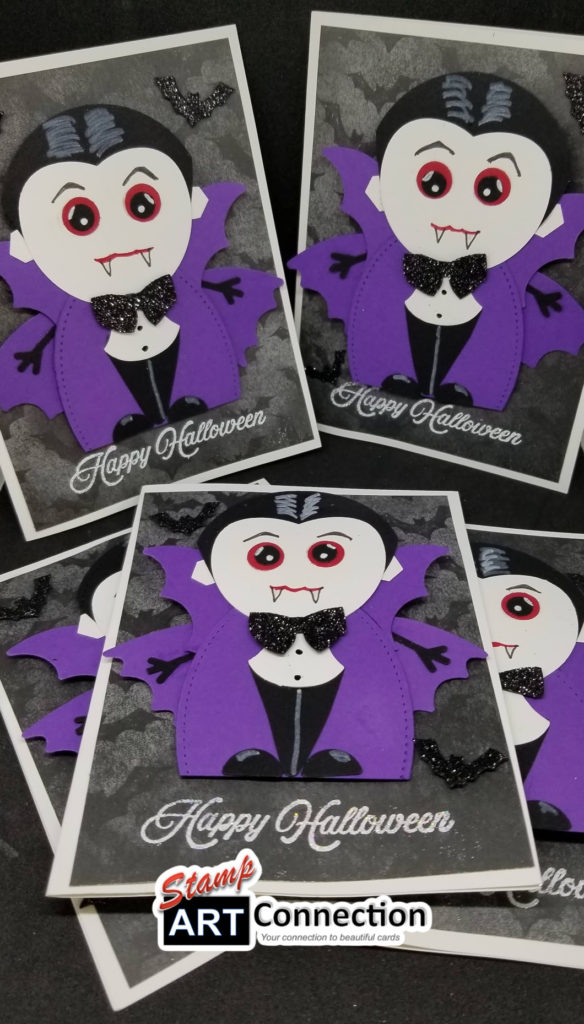
Fun DRACULA vampire Punch Art Card

Spread the love!

Join me as I assemble a wonderfully FUN and creative Halloween card using punches from my Stampin’ Up stash to create this Dracula Card!

Graciela Valdez Vera is the Demonstrator that created the original design. I took it a step further by creating a more ghoulish looking vampire..blood-red lips and all!

Graciela’s original design!
My take on a ghoulish vamp!

Video Tutorial


Pieces and Parts…ideas if you don’t have THAT punch!

Umbrella Punch, large OVAL of Stitched Shapes, Apple Builder Punch, a BOW punch, Snowman Builder Punch, Layering Triangles.
  • CARDSTOCK: Basic Black, Blackberry Bliss, Whisper White, Real Red
  • DSP: Black GLITTER paper, Magic in this Night DSP
  • EMBOSSING: Silver Embossing Powder
  • STAMP SET: Hallows Night Magic
  • DIES: Halloween Magic Dies, Stitched Shapes Dies and/or Triangle Dies
  • Punches: Umbrella Punch, Apple Builder Punch, Snowman Builder Punch, Gleaming Ornament Punch
  • SHAPES NEEDED: Bow Tie, circle punch for feet
  • PENS: Stampin’ Chalk, Stampin’ Write Marker, Gel Pens (white/black)
  • ADHESIVES: All Purpose Glue, Black Dimensionals
  • WOBBLE SPRING: available on AMAZON

Use the smallest CIRCLE of the Stitched Shapes Dies to create an easy VEST if you don’t have the retired OWL punch!

Just CUT the edges of the CIRCLE to create the vest shape!

Products Featured:


Spread the love!

Hallows Night Gift Bags using 6″x6″ DSP

Spread the love!

Here’s a great project to create gift bags from 6″x6″ Designer Series Paper (DSP) that is easy to follow. What led me to this idea is that I was looking for a creative way to use 6″x6″ DSP to create some gift bags to send to the Pediatrics Unit as part of my “make a card and give a smile” program for the holidays.

If you like this idea, don’t hesitate to take advantage of the month long sale this October to stock up on DSP at 15% discount! Check out the LINK to purchase the MAGIC IN THIS NIGHT DESIGNER SERIES PAPER (DSP) for only $9.78 (regularly $11.50).

Lastly, I’ve provided a quick tutorial with all the steps and tips for assembling these bags as well as the basic dimensions and scoring below!

Thanks for stopping by….please leave a comment!

Video Tutorial

Join me on my WEDNESDAY LIVE for weekly projects for more ideas!


Project Details

  • DIMENSIONS
  • 2 Sheets “6X6” DSP for front and back PANELS
  • 1 sheet coordinating cardstock for the BOTTOM – 3″x6″
  • 2 pieces cut 3″x6″ coordinating DSP for the SIDE PANELS
  • SCORE
  • Score both front and back PANELS at 1/4″ at the top. Score the back PANEL at 1 1/2″ from the bottom
  • Score the 2 SIDE PANELS both 1/4″ along the 6″ side and once along the 3″side
  • Score sides from 2″ from the bottom and 1 1/2″ for the center
  • Score the BOTTOM PANEL (3″ x 6″) 1/4″ along the 6″ side
  • ASSEMBLY
  • Refer to Video Tutorial
  • TOOLS
  • Cutting Machine
  • Scoreboard and Scoring Tool
  • All Purpose Glue
  • Hot Glue Gun

Products Featured


Spread the love!