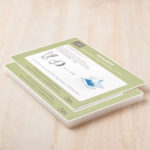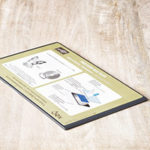
The Many Blessings Stamp Set has become a favorite. Yes, I may live in Florida, but the fall season has always been a favorite time of year. Having spent my middle school and high school years in the mid-west, and then living a year in the northeast while I was in the Navy; it doesn’t take much to remind me of the colors, textures, aromas, and flavors. To that, I love the images created by SU and inspired by Ruth Snyder (Million Dollar Sales Achiever). You know this set will be around for a while and is a great value since it offers so many options over the year. Since my favorite fall image has always been a pumpkin patch or cornucopia brimming with the fall harvest; I had to stamp and color the Pumpkin image!
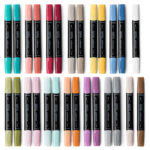
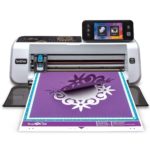
This is an easy project; especially if you enjoy coloring. Needless to say, I just love to “zone out” and color for hours. Coloring with Stamping Blends has become a stress reducer after a long day at the office! With the light/dark pens….you really can’t go wrong! So, besides demonstrating how easy it is to color these great images; I want to introduce you the joys of a BROTHER Scan N Cut machine. It is an investment…I have owned mine for nearly 3 years and I use it instead of fussy cutting images that don’t come with framelits. I also like to produce enough to create plenty of cards and tags. Certainly, let me know if you are interested in learning more and I can provide some tips.
Here are all the products and dimensions used to make three projects and a LINK to the Video Tutorial. Please leave a comment! Thanks for stopping by!
INSTRUCTIONS for PROJECTS:
Using standard card sizes:
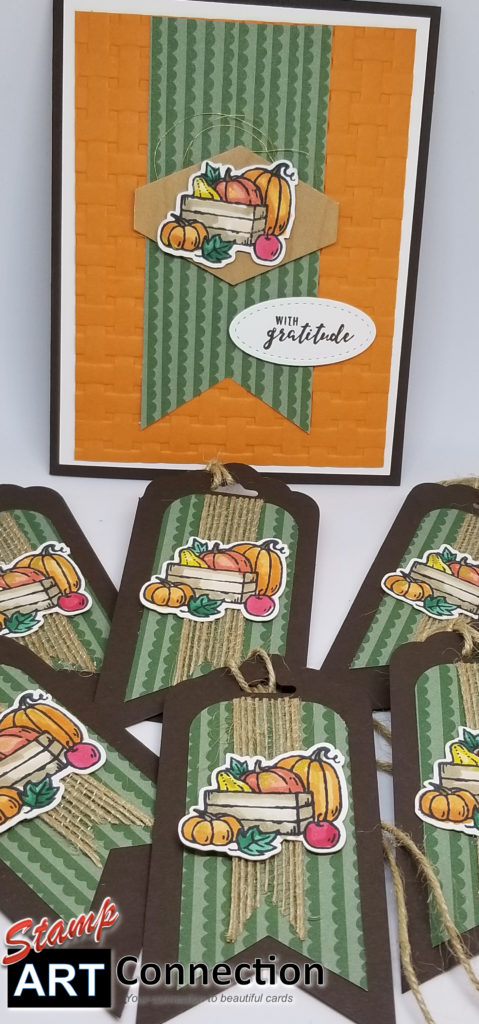
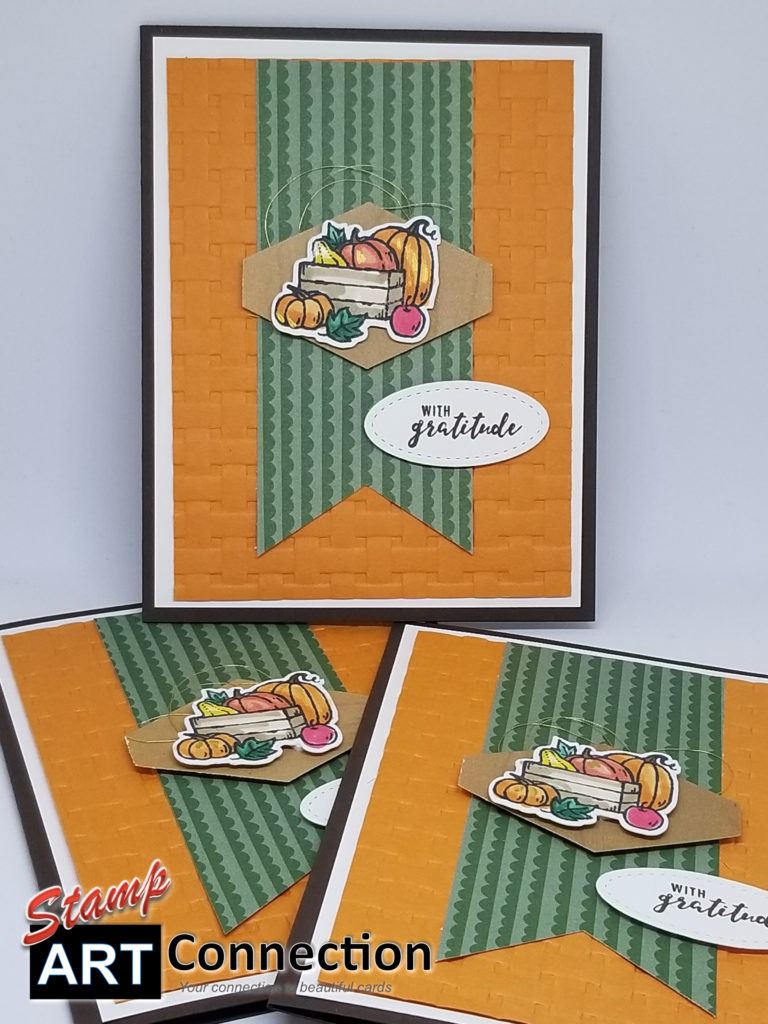
- The base card is cut at 5.5″x4.25″ in EARLY ESPRESSO, WHISPER WHITE cut at 5.25″x4″ and PUMPKIN PIE cut at 5″x3.75″.
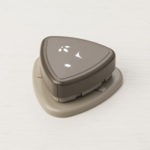
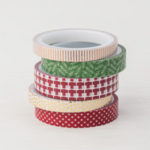
- Use a complementary pattern in any Designer Series Paper you like; I choose a piece from the TUTTI-FRUITI DSP (retired) in GARDEN GREEN cut at 2″x6″ and cut with the TRIPLE BANNER Punch.
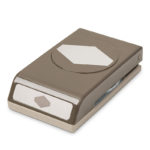
TRIPLE BANNER PUNCH - WOOD TEXTURES DSP paper is used to cut the diamond shape using the TAILORED TAG punch.
- The image is stamped with MOMENTO BLACK ink and colored using the STAMPING BLENDS markers in PUMPKIN PIE, DAFFODIL DELIGHT, CRUMB CAKE, SHADED SPRUCE, CALYPSO CORAL, AND REAL RED.

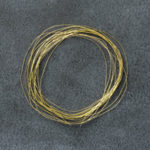
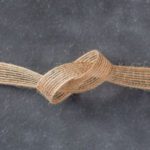
- Use the GOLD THREAD as an accent.
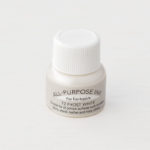
- Paint images with VEGAS GOLD All Purpose Ink featured in the Holiday Catalog.
- STITCHED FRAMELITS (oval) is used to cut out the sentiment which is stamped with Early Espresso ink.
- The sentiment is stamped from the ITTY BITTY Sentiments


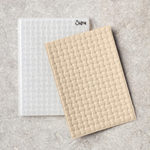
- The Pumpkin Pie piece is embossed using the BASKETWEAVE 3D Dynamic Embossing Folder and your BIG SHOT.
- I used the “Brother Scan N’ Cut” machine to cut out multiple images for cards and tags.
- Cut 5″x3.75 Whisper White for the inside of the card.
Making Tags:
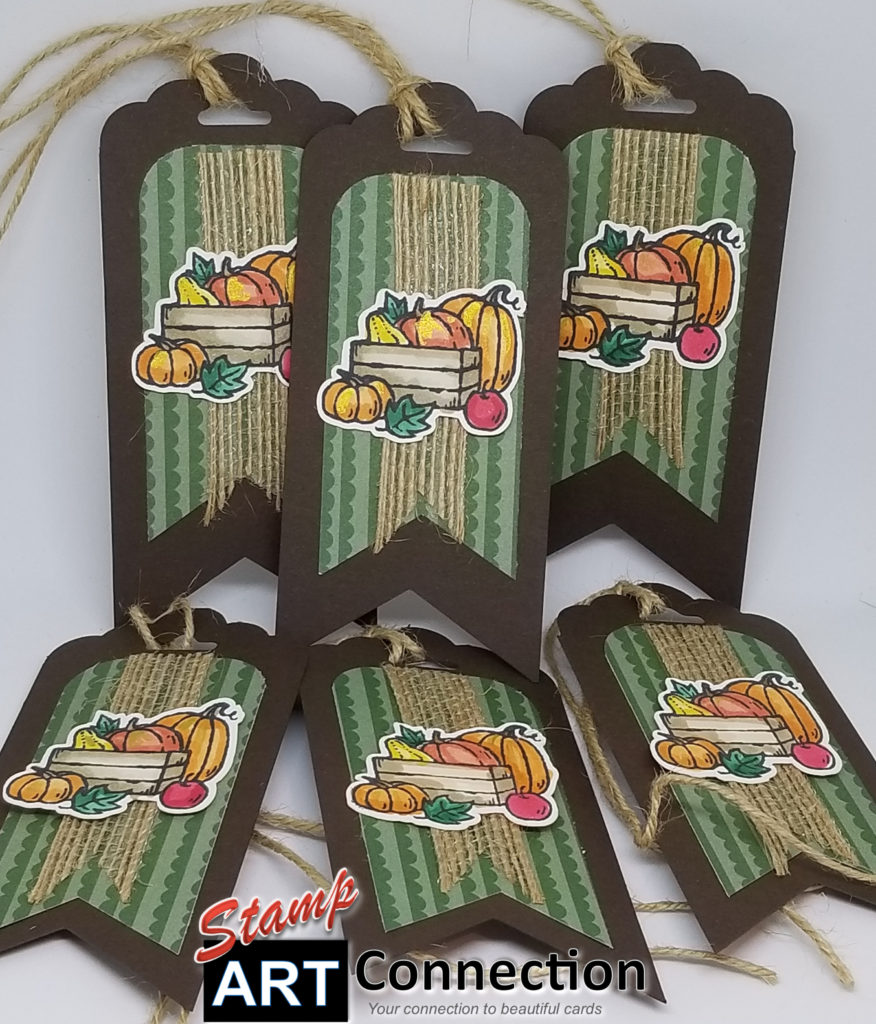
- Tag base is 2″x6″ in EARLY ESPRESSO card stock.
- Use the SCALLOPED TAG TOPPER Punch to cut the top of the tags and the TRIPLE BANNER Punch to cut the bottom.
TRIPLE BANNER PUCH 
SCALLOPED TAG TOPPER - Cut 1.5″x 4″(depending on the length of tag) from coordinating DSP
- Trim corners with the DETAILED TRIO Punch (new from AC) and the bottom with the TRIPLE BANNER punch.
- Cut BURLAP RIBBON (to fit tag) and trim with “V” notch at the bottom.
- Use GLUE DOTS to adhere the image and Twine for the top.
CHRISTMAS CARD:
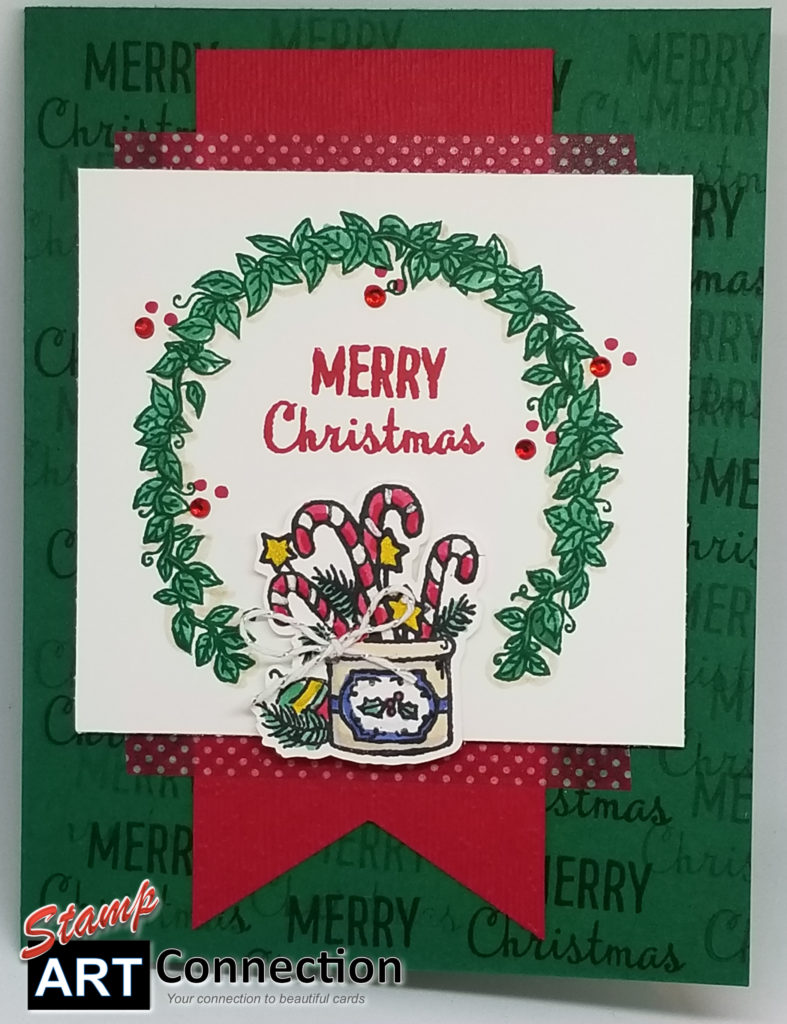
- Base card cut 5.5″x4.25″ in SHADED SPRUCE card stock.
- Stamp “Merry Christmas” from the Many Blessings set in Shaded Spruce to cover card front. Utilize the “stamp – stamp off” technique to create the pattern.
- Cut WHISPER WHITE card stock 3.5″ x 3.25″ and REAL RED cut 2″x5″
- Stamp WW with leaf “arch” in Shaded Spruce and color with Stamping Blends (same color). Use CRUMB CAKE (light) to outline the image.
- Use the SUBTLE Embossing Folder to emboss the Real Red card stock and then trim the bottom with the TRIPLE BANNER Punch.
- Center and adhere Red banner with a strip SUITE SEASON SPECIALTY WASHI TAPE from the Holiday Catalog.
- Stamp candy cane image with MOMENTO BLACK and color with Stamping Blends colors REAL RED, SHADED SPRUCE, DAFFODIL DELIGHT, NIGHT OF NAVY (light) and CRUMB CAKE. Stamp “Merry Christmas” with REAL RED ink.
- Embellish candy cane image with FROST WHITE and stars with VEGAS GOLD SHIMMER PAINT available in the Holiday Catalog.
- Either fussy cut or use the “Scan N Cut” to cut out the image and adhere with DIMENSIONALs on WW piece.
- Embellish with RED RHINESTONE BASIC JEWELS from the Holiday Catalog.
- Cut a 6 ” piece to create a small bow with SILVER BAKER’S TWINE.

Many Blessings Video Tutorial:
Let me demonstrate coloring techniques, production tips, and project ideas!
OTHER PRODUCTS FEATURED: