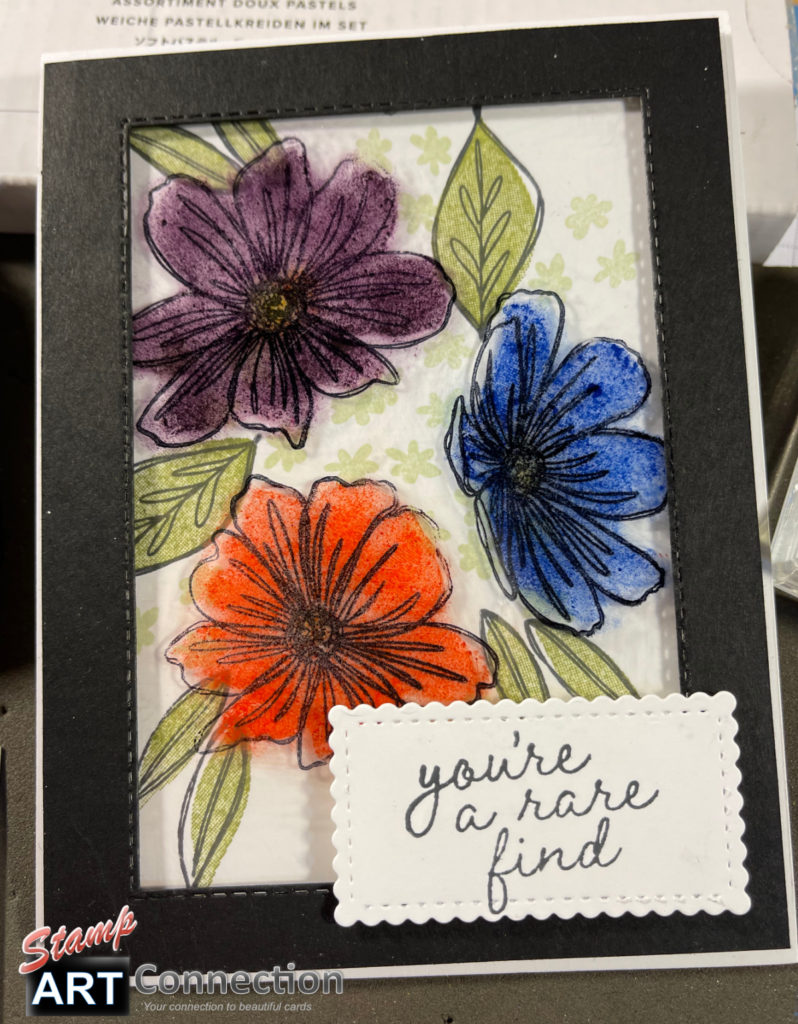
Here is a technique for creating a unique “window card” using Versamark and the new SU Soft Pastels Assortment featured in the 2021-2022 Annual Catalog.
TIP: If you order a photopolymer stamp set from SU, the stamps are fixed between two window sheets. One is a thin acetate and the other is thicker. Remove your stamps and adhere them to the case — then you have the thick ACETATE sheet to use for this project. Otherwise, the window sheets are sold on page 136 of the Annual Catalog (142314).
I clean the acetate sheet with alcohol wipes to remove any dirt/smudges. Follow my Video Tutorial for all the steps.
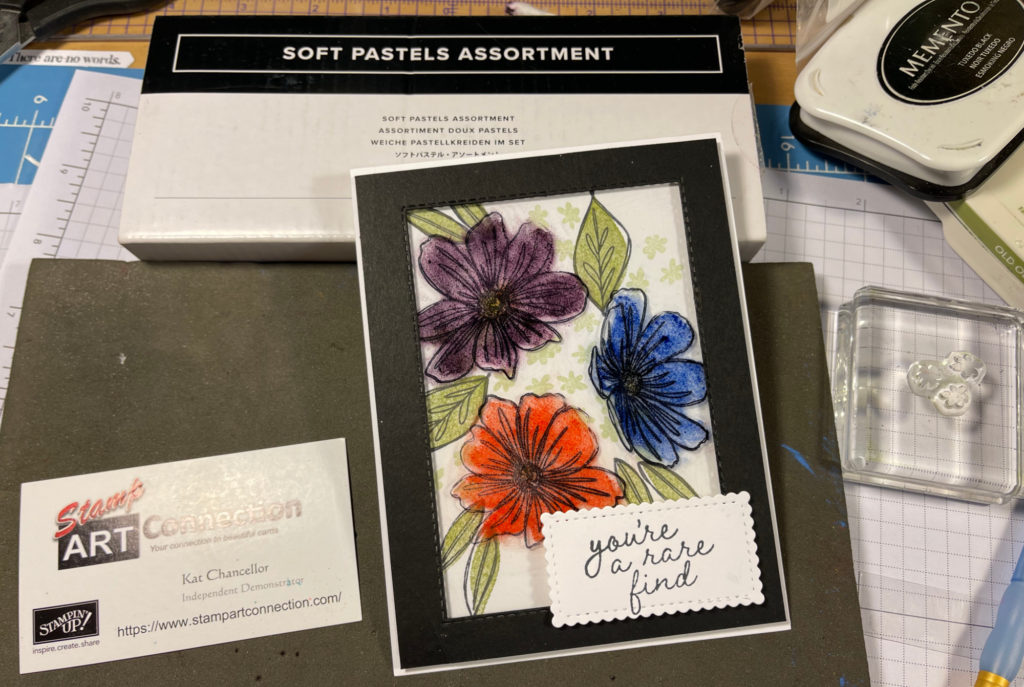
Basic Steps:
- Clean the acetate sheet
- Use a Two Step Stamp set (outline and fill stamps) like the ART IN BLOOM set
- Use your STAMPARATUS to position your stamps on the acetate
- Stamp with STAZON Black permanent ink with the outline stamps
- Stamp with VERSAMARK using the “fill” stamps
- Choose colors from the SOFT PASTELS ASSORTMENT
- Take a sheet of GRID PAPER (cut or folded)
- RUB the chaulk on the paper until there is a pile of powder
- Pick the powder up using a sponge dauber and then lightly apply to the VERSAMARK on the acetate.
- I used a background piece of Whisper White cardstock that I stamped with Memento Black ink for the LEAVES and OLD OLIVE and SOFT SEAFOAM for suble background stamping
- Mount the acetate on Dimensionals after you have framed with Basic Black cardstock
- I used the layering Rectangle Stitched Framelit Dies to create my frame.
- Pick a sentiment and mount in the corner. I used the dies from the COLOR & CONTOUR Bundle
Products needed are:
- Window Sheet (repurpose from a SU stamp set)
- Whisper White Card Stock (5.5″ x 4.25″)
- Basic Black Card Stock (5.25″ x 4″)
- Versamark, StazOn, Memento Black, Old Olive and Soft Seafoam Inks
- Soft Pastels Assortment (Gorgeous Grape, Night of Navy, Poppy Parade, Daffodil Delight)
- Rectangle Stitched Framelit Dies
- STAMPARATUS
- Sponge Daubers
- Cotton Swabs
- Adhesives: TEAR TAPE
- Stampin’ Dimensionals (Black)
Video Tutorial
Featured Products
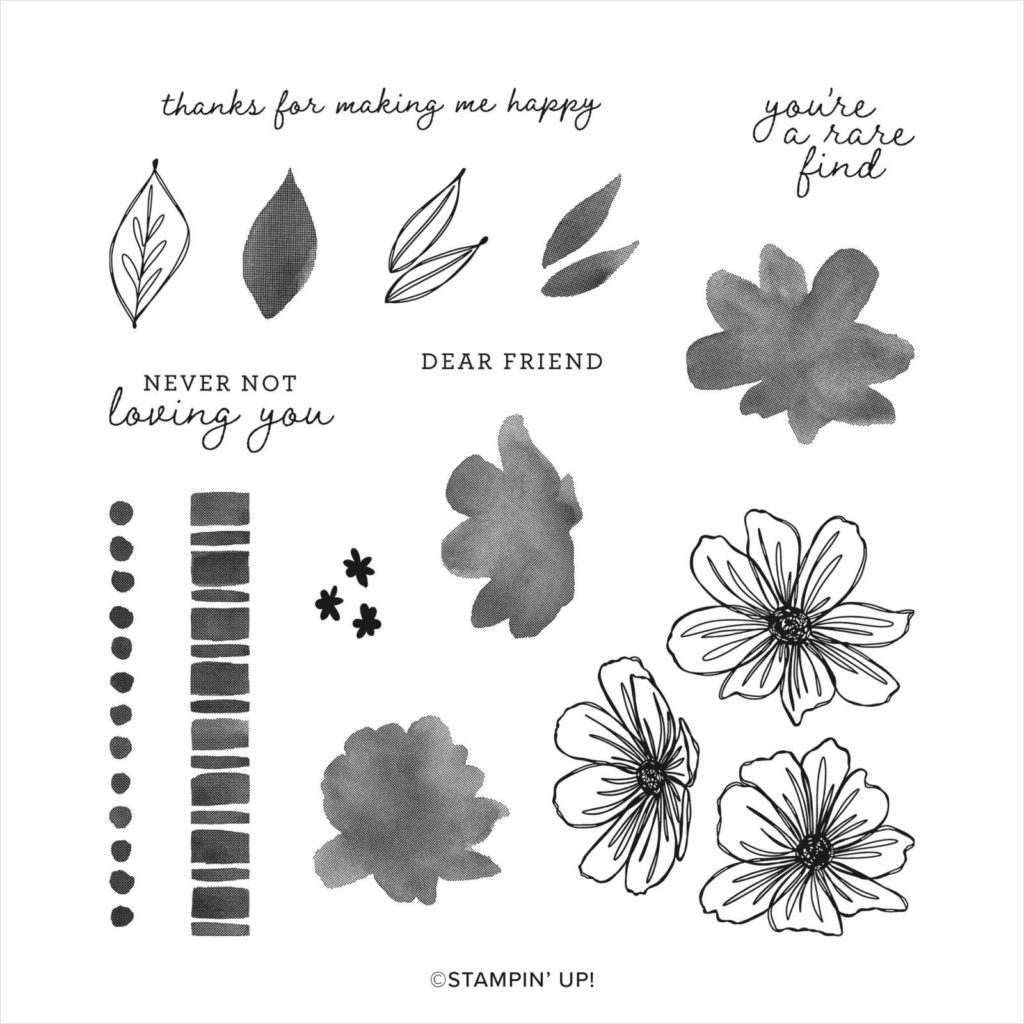
https://www.stampinup.com/products/art-in-bloom-bundle 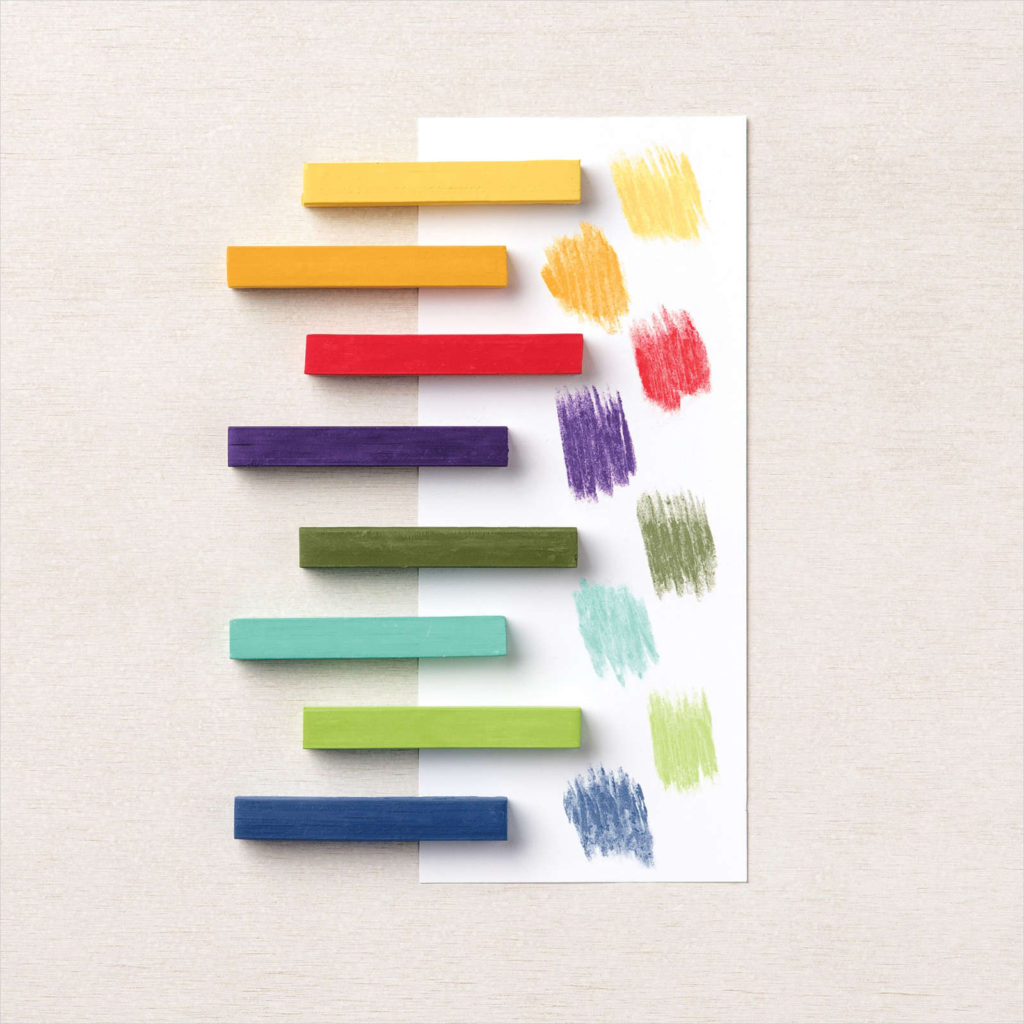
https://www.stampinup.com/products/soft-pastels-assortment 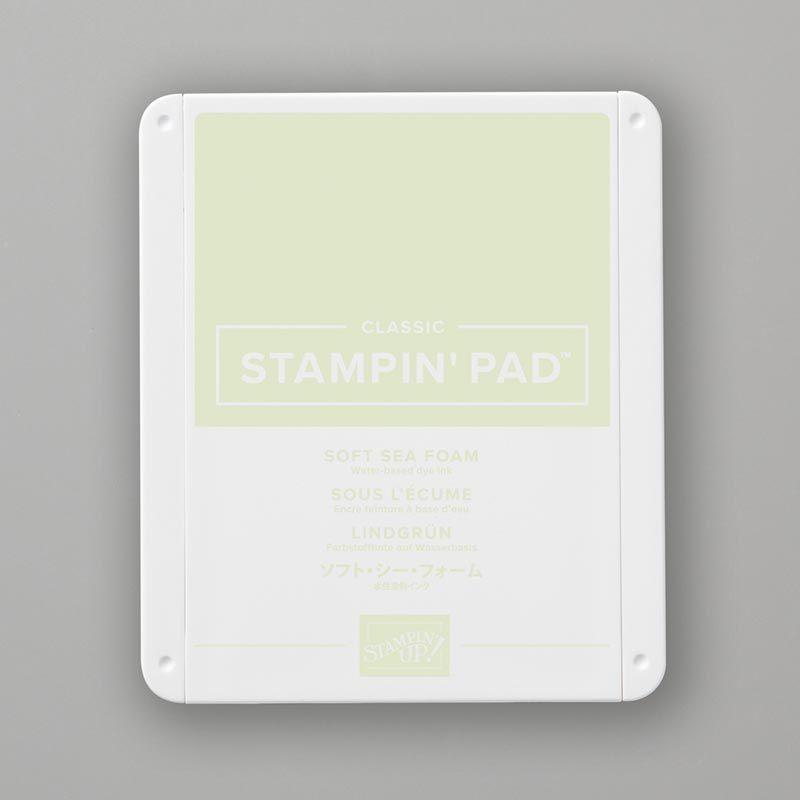
Soft Sea Foam 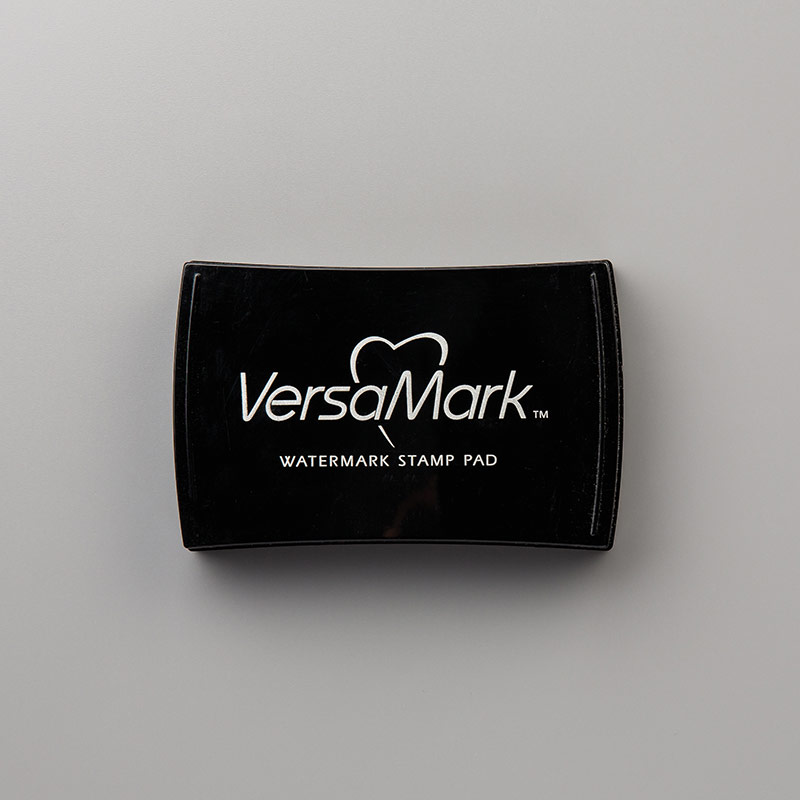
VersaMark 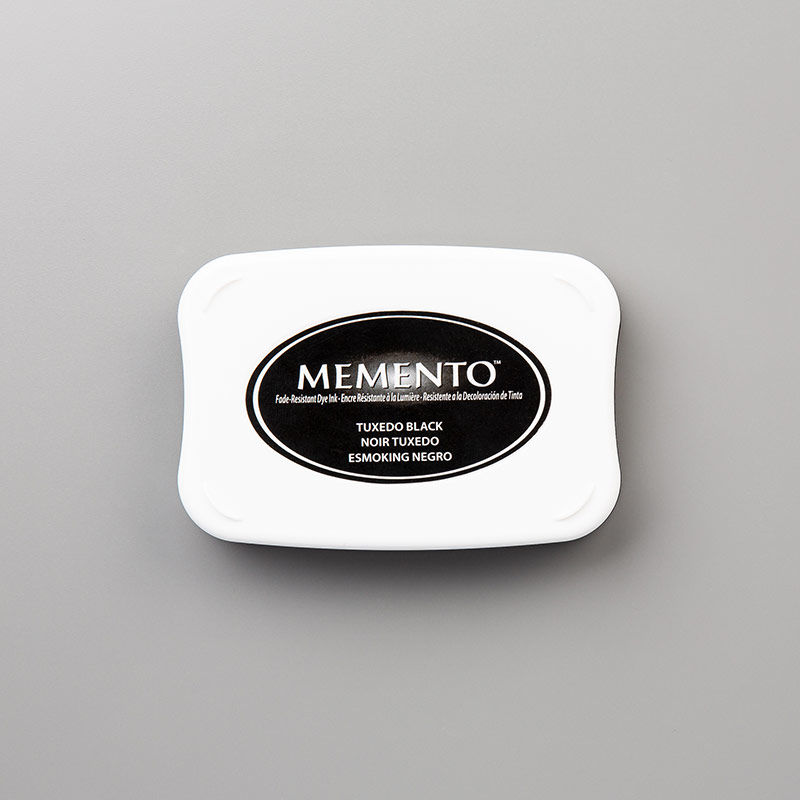
Memento Black Ink 
Stamp & Pierce Mat 
Silicon Mat 
https://www.stampinup.com/products/clear-block-bundle 
https://www.stampinup.com/products/colors-contour-bundle-(english) 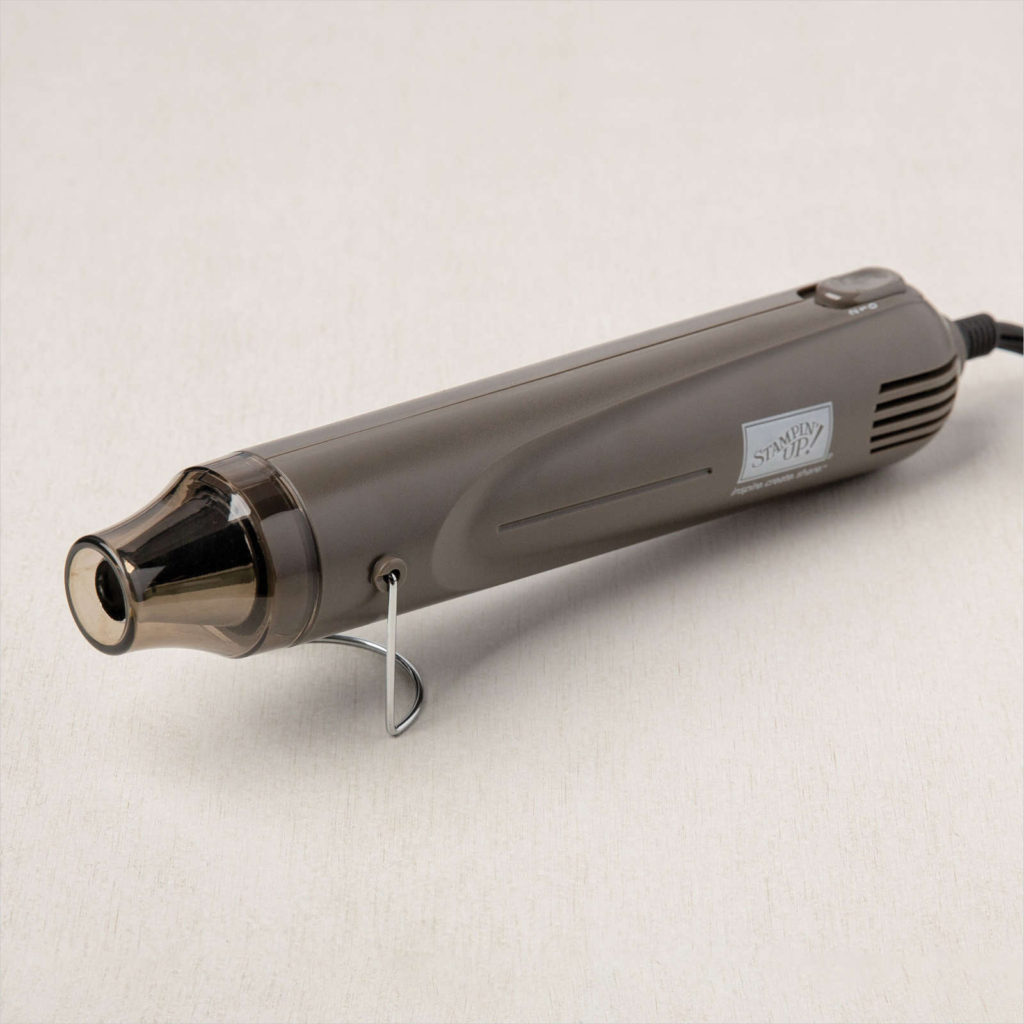
Heat Gun 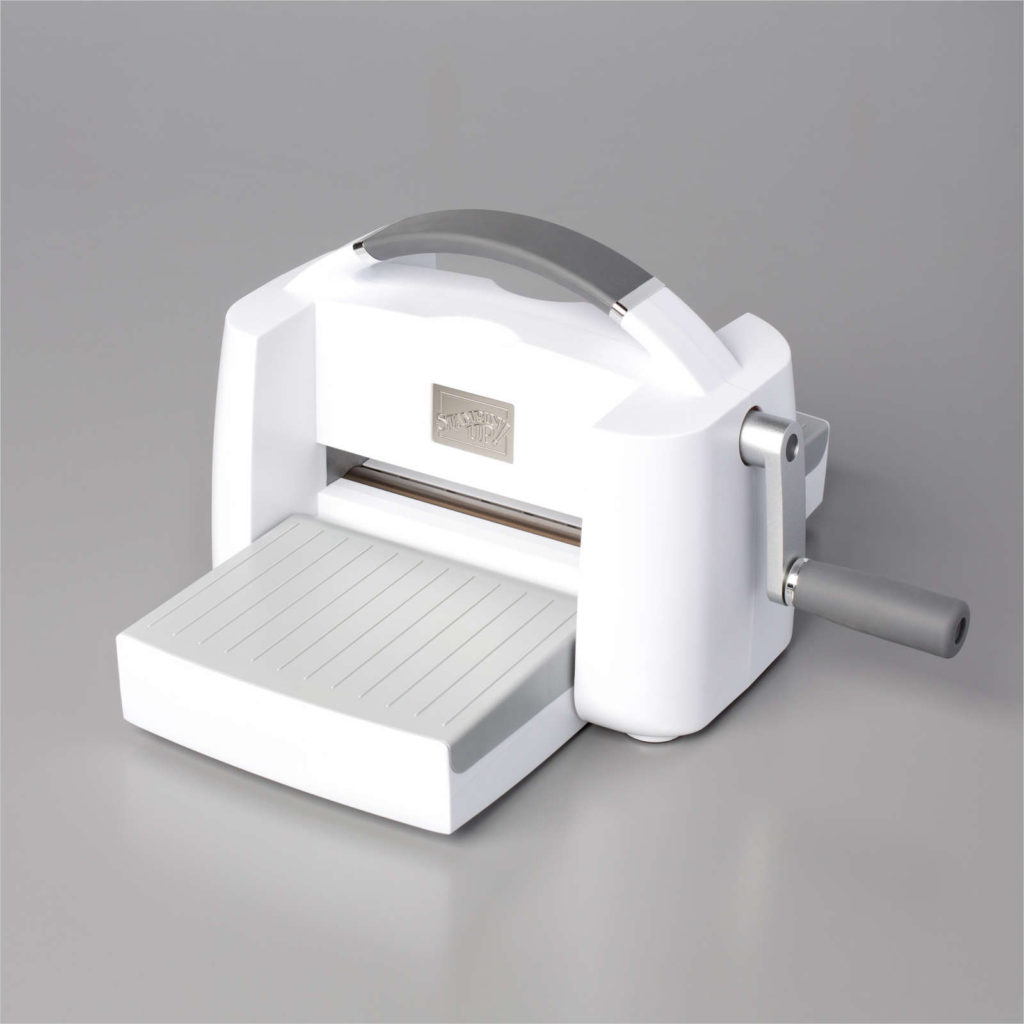
Cut & Embossing Machine 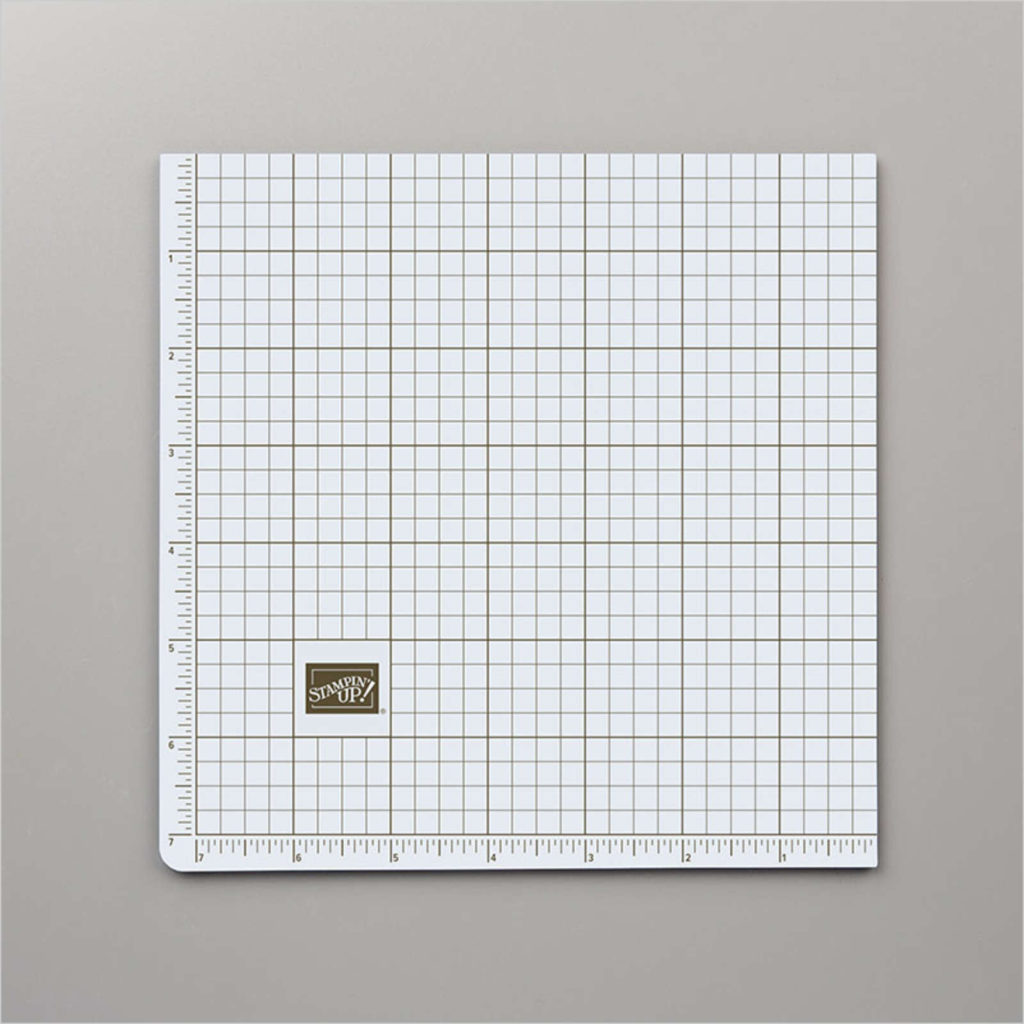
STAMPARATUS DELUXE FOAM MAT 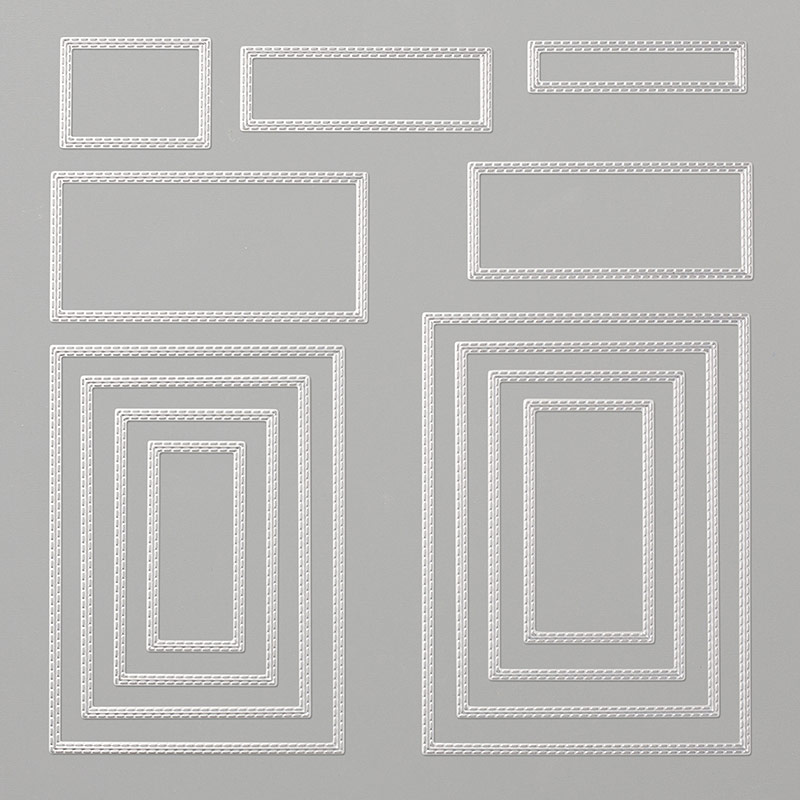
https://www.stampinup.com/products/stitched-rectangles-dies 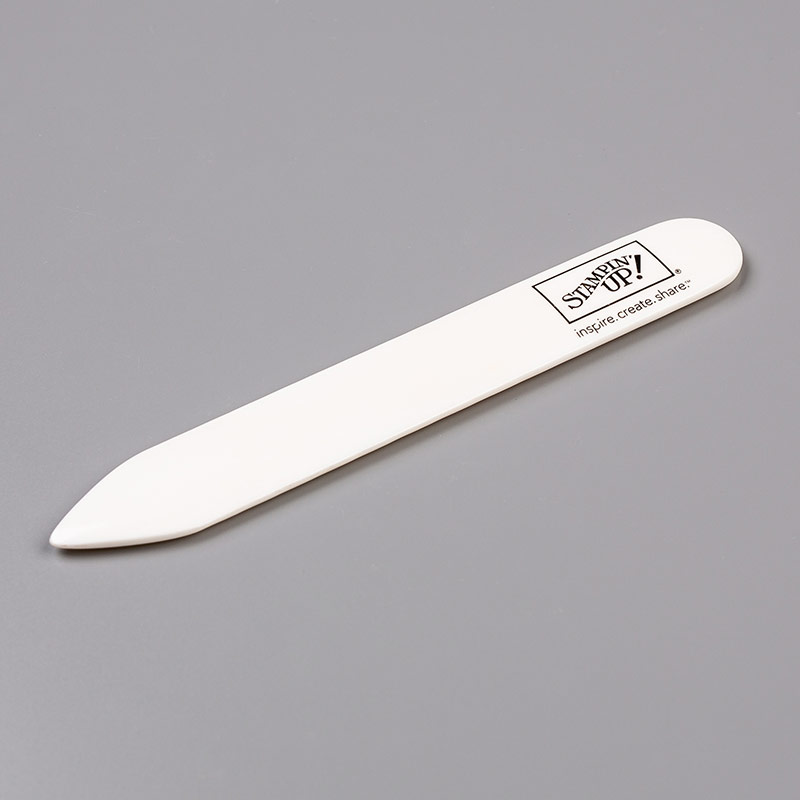
Bone Folder 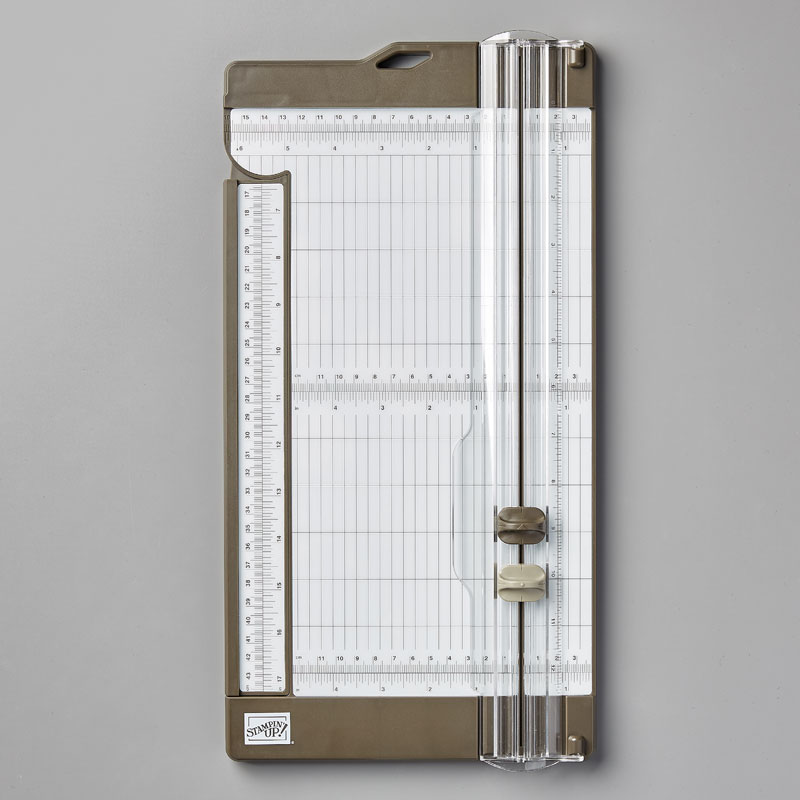
Paper Trimmer 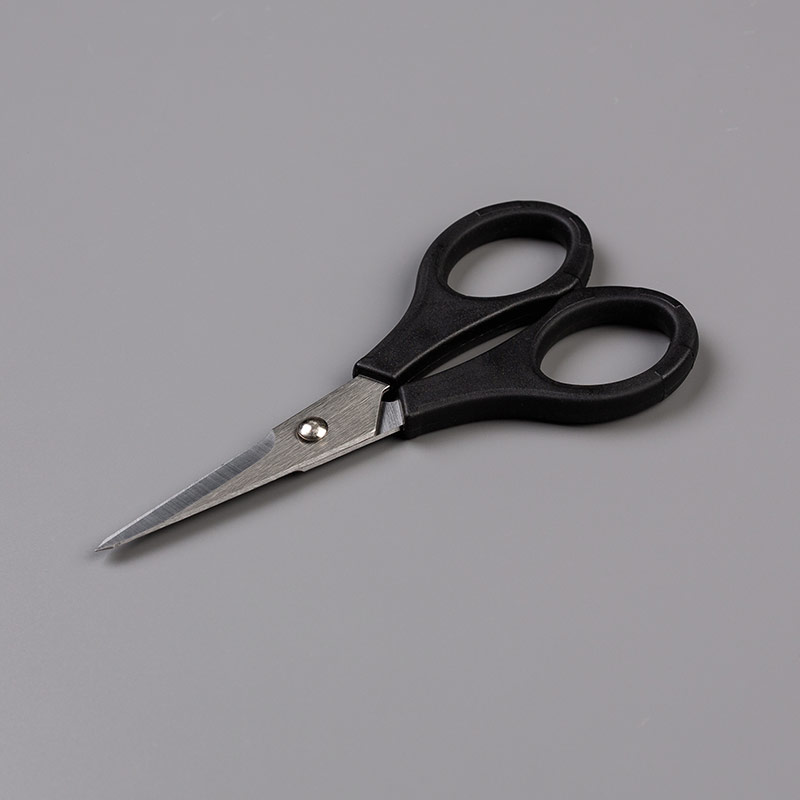
Precision Sears 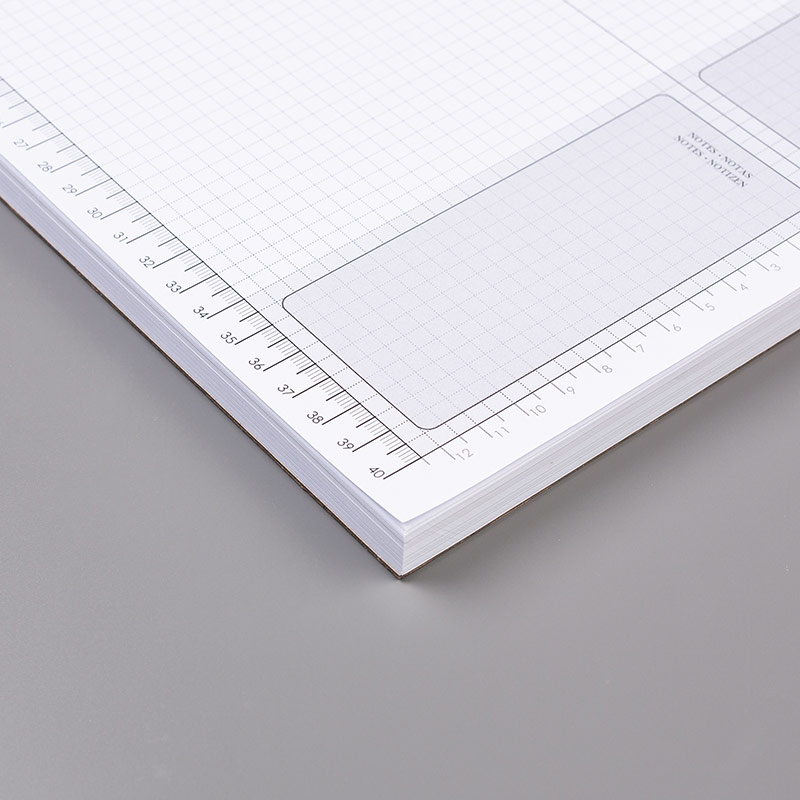
Grid Paper 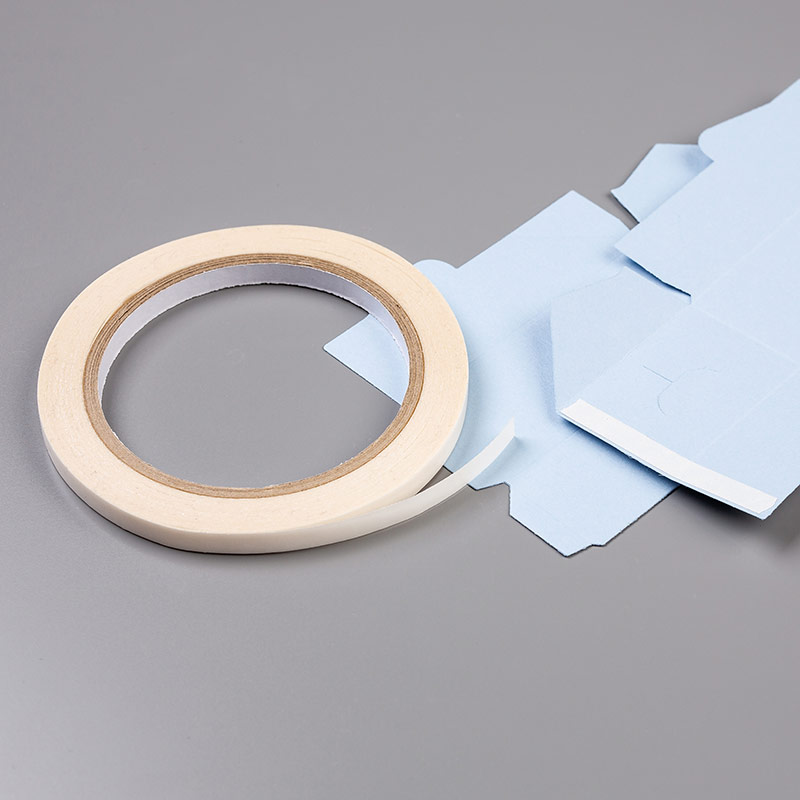
Tear Tape
Close Up Detail
