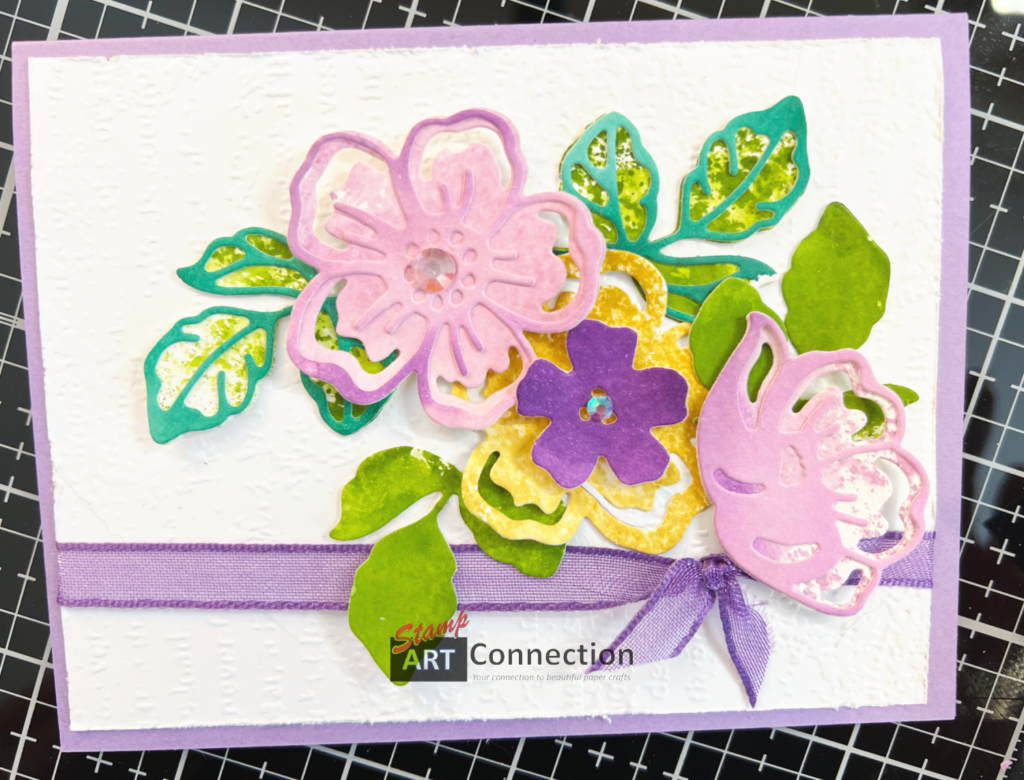
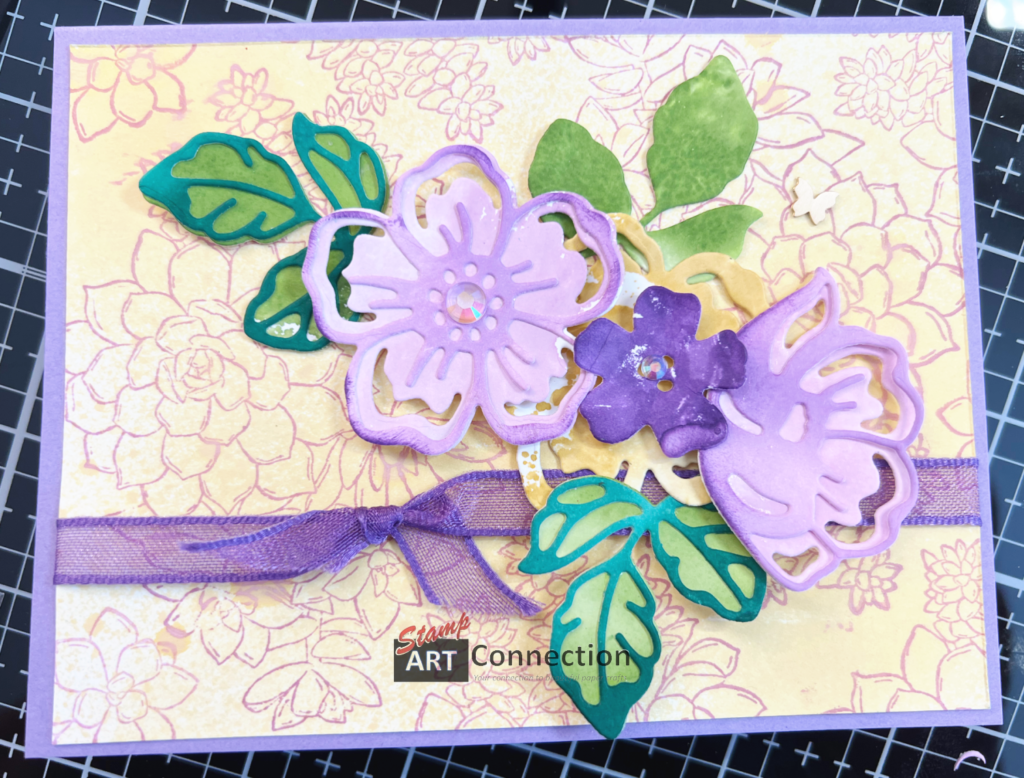
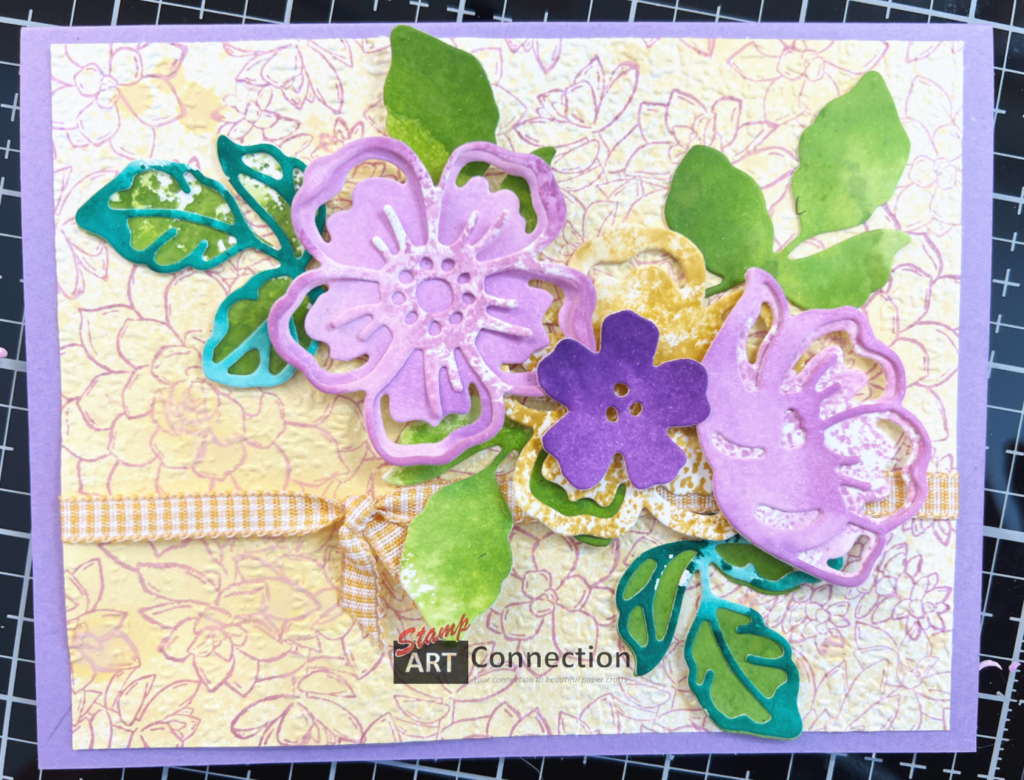
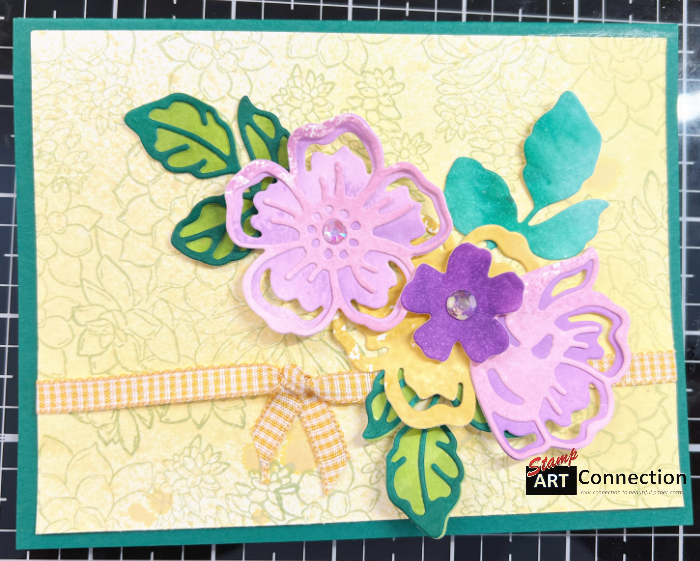
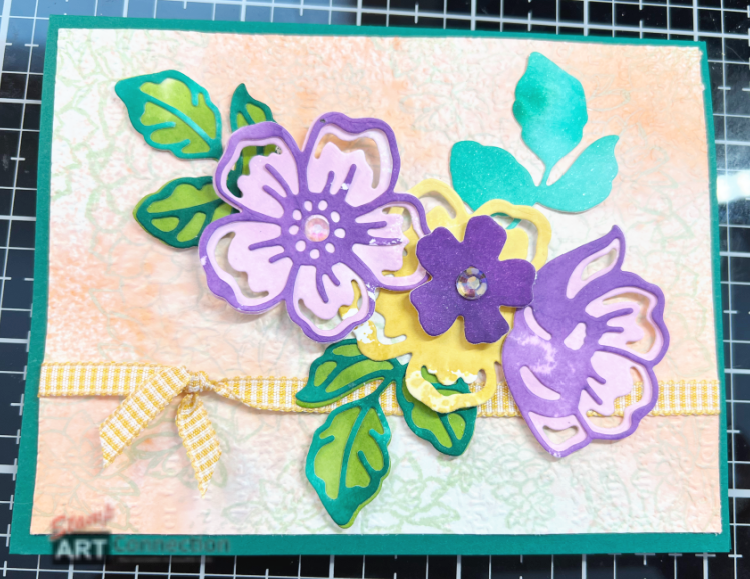
I’ve just moved into a new house! As of yet, I still don’t have easy access to my stamping supplies. All I have is paper, ink pads, stamps, and dies.
What to do?
Well, because all I have on hand is paper, stamps, inks, and dies I’m going to have to get creative. This is a great opportunity to be a bit frugal and just use what I have in my craft room.
So here is a project using Basic White Cardstock and using an inking technique to design some background cardstock and then I use another inking technique for creating the flowers and leaves. I love the color variations that I’m able to create and really add to the beauty of the flower arrangements. I used coordinating cardstock for the BASE CARD to frame each bouquet. Watch my My Video Tutorial for all the steps. Thank you for stopping by and please leave a comment! Cheers, Kat
What You Need
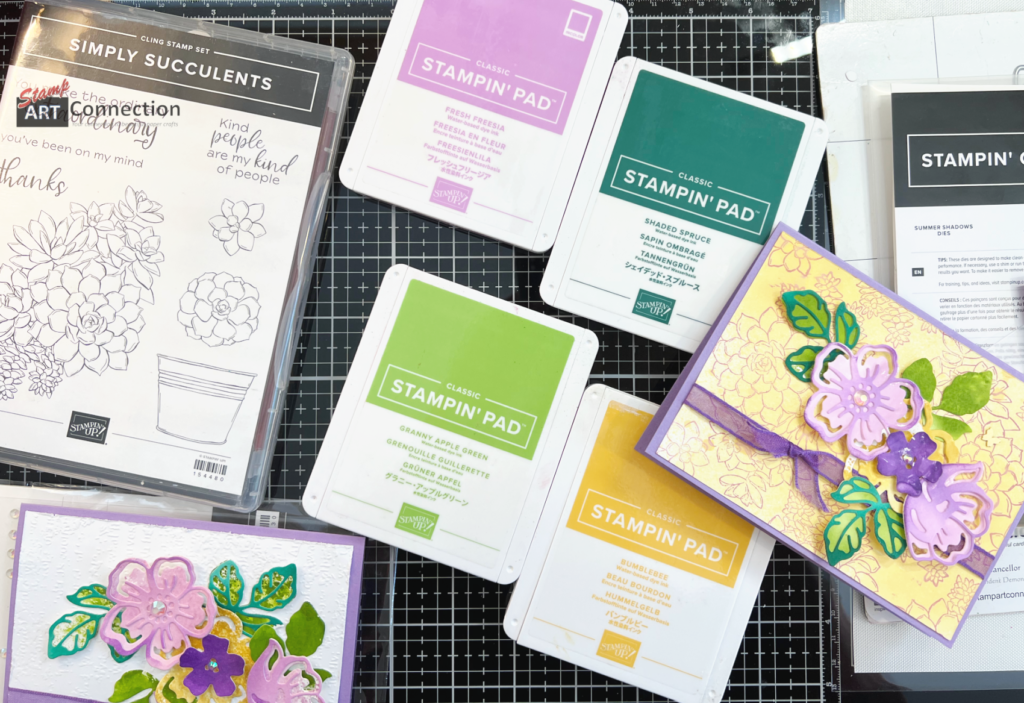
PRODUCT LIST:
- Stamps & Dies:
- Simply Succulents Stamp
- Summer Shadows Dies
- Card Stock:
- Base Card: Highland Heather
- Layers: Basic White
- Ink:
- Fresh Freesia,
- Shaded Spruce,
- Bumblebee (substitute Pale Papaya),
- Granny Apple Green,
- Gorgeous Grape ink pads
- Bumblebee/Pale Papaya Re-inker
- Tools:
- Stampin’ Cut & Emboss Machine
- Large Acrylic Block (H) for coloring
- Water Painters (151298) for blending
- Two Stampin’ Spritzers
- Mix approximately 7 drops from the Re-inker bottle with H20 to create desired color strength (test on a paper towel)
- H20 for blending
- Heat Tool to accelerate the drying
- FINE TIP GLUE
- TEAR TAPE (to secure the ribbon to the back of the front layer)
- MULTI-PURPOSE GLUE
- REGULAR & MINI DIMENSIONALS
- Best Ever Craft Mat (to keep the Die Cut Machine from slipping while cutting) –see MY FAVORITE PRODUCTS LINK
- Embellishments
- Coordinating ribbon (approximately 9”)
- Iridescent Rhinestone Basic Jewels
- Brushed Brass Butterflies
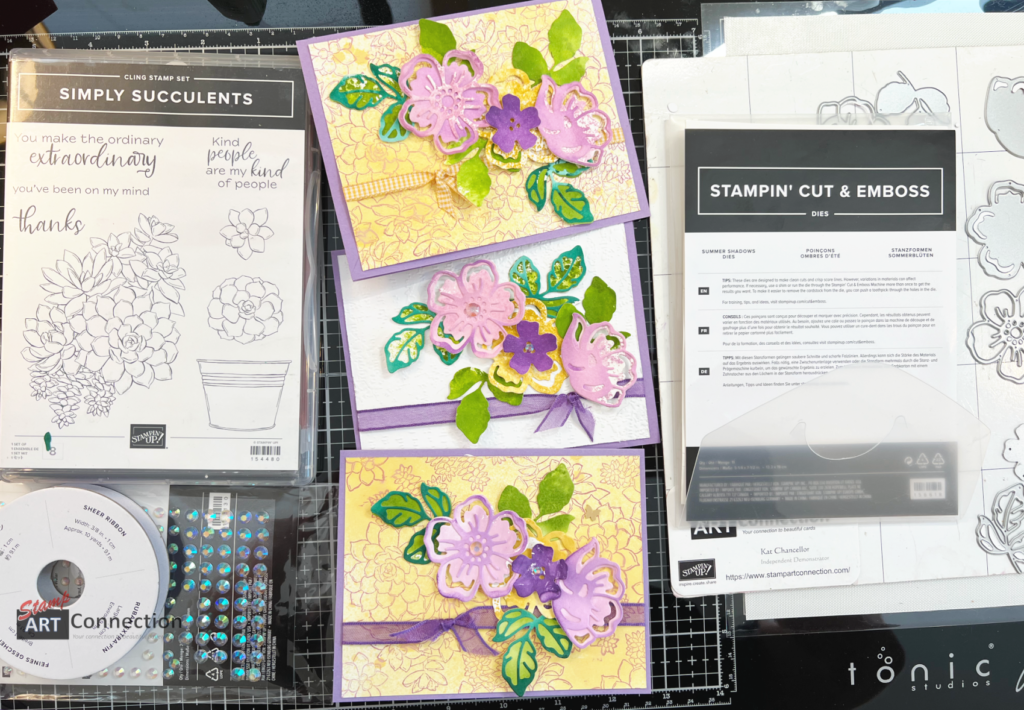
VIDEO TUTORIAL
GALLERY
