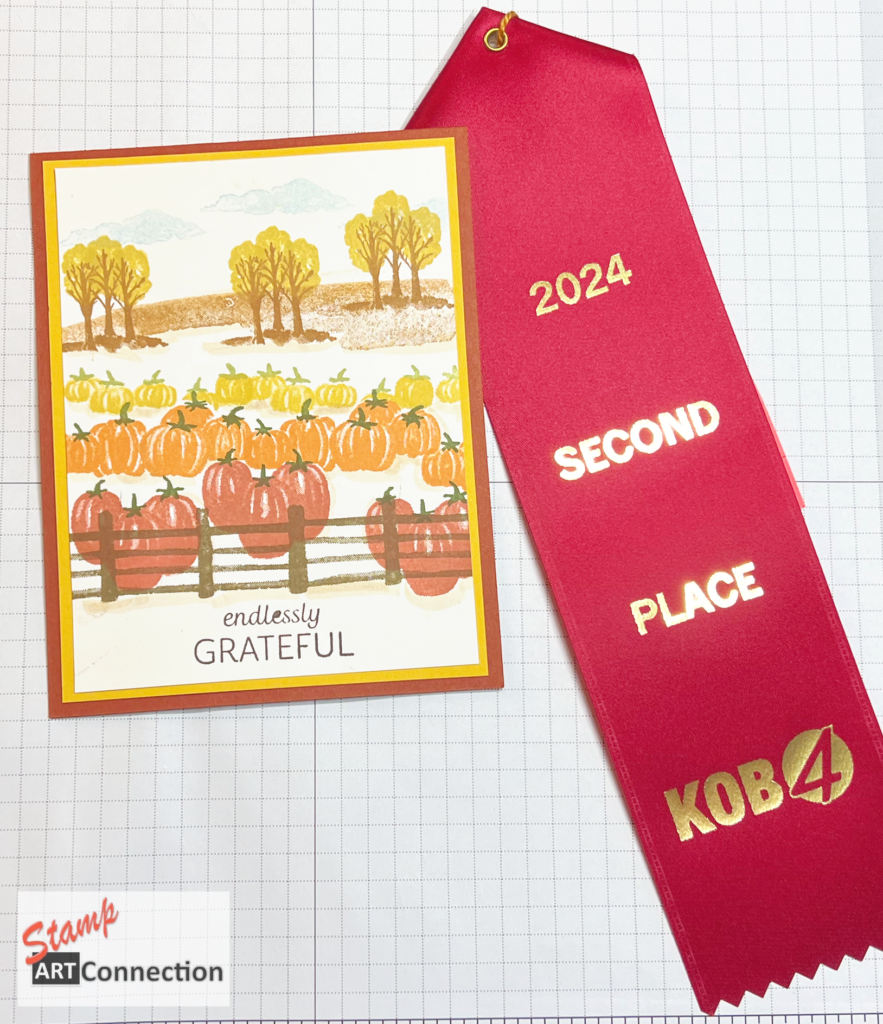
Award-Winning Autumn: Creating with the Scenic Pumpkin Patch Stamp Set”
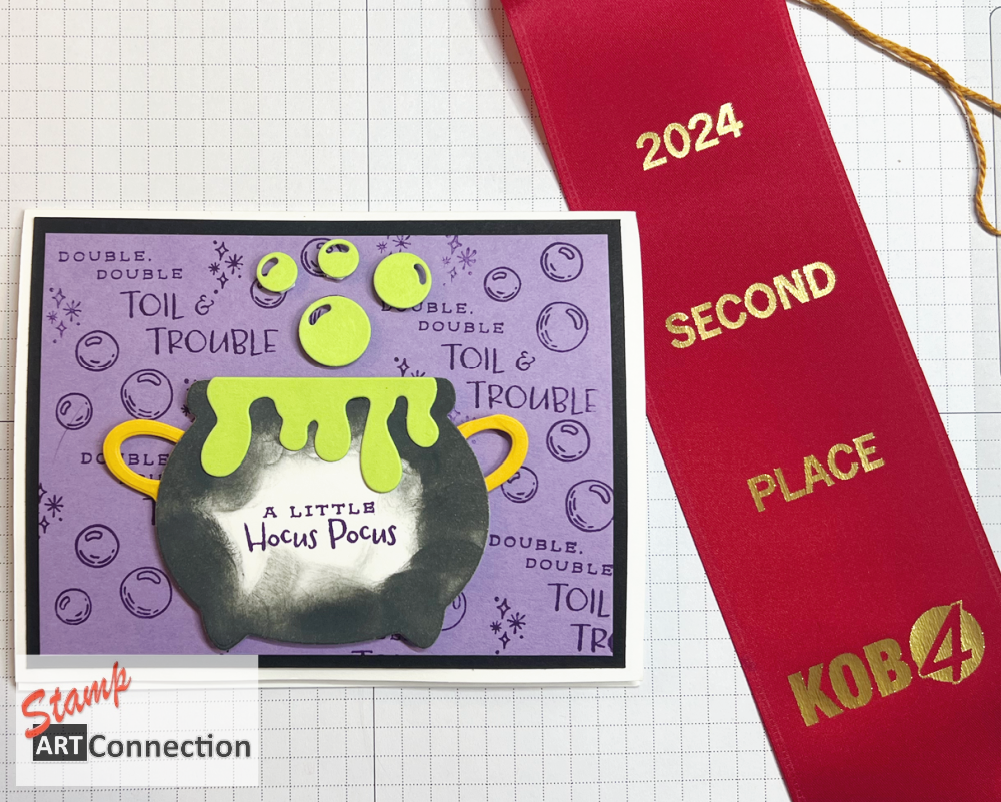
Spread the love!🎃 Second Place Ribbon at the New Mexico State Fair with the Scenic Pumpkin Patch Stamp Set! I am beyond excited to share that a recent creation using Stampin’ Up!’s Scenic Pumpkin Patch stamp set earned me a Read More