If you subscribe to my newsletter you know that I featured the “25 Products Under $25” and have made it a personal challenge to create projects from that list! So….the first item on that list is the PRESSED PETALS Journal! Let the challenge commence!
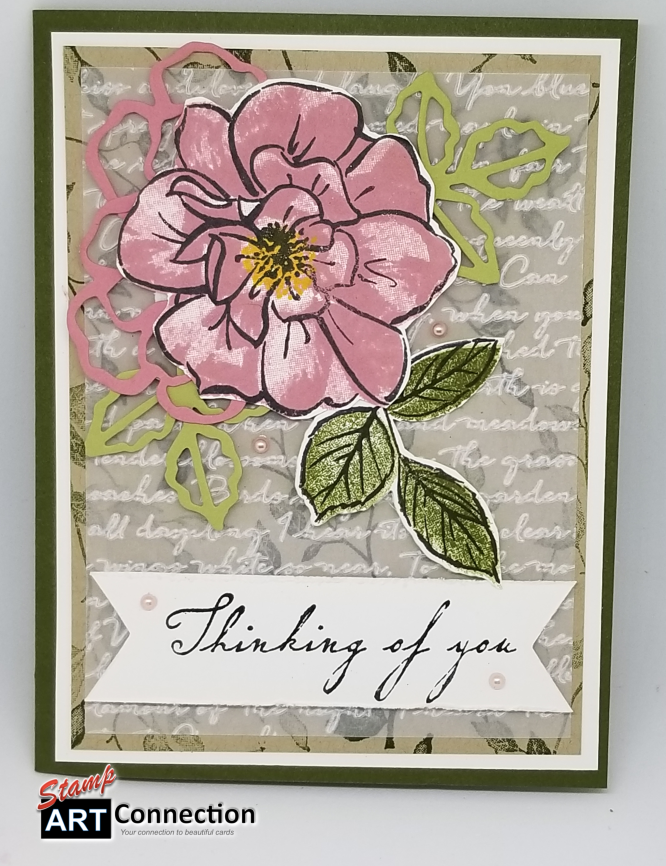
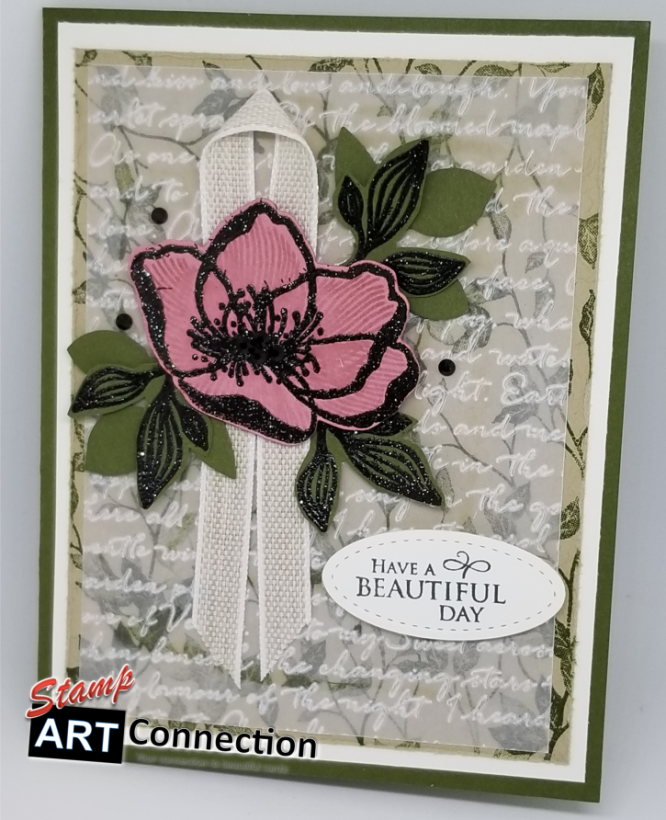
I fully admit. I went “ga-ga” for this project. I mean; the length of this post should be an indication! It kind of happened in steps…FIRST: I was intrigued by the JOURNAL and inspired to create some projects from the “25 Products…” page. I ordered the JOURNAL as part of my pre-order; while I waited — I created a series of cards (posted at the bottom) to play with the idea of how to create the journal cover. I wanted to add a ribbon tie because I thought as a memory keeper…you need a ribbon tie to hold all your pieces and parts in place! Must-Have Ribbon! I had so much fun with the “To a Wild Rose” set and then just drooled over the Scripty embossing folder on vellum! It is featured in every project. What fun!
SECOND: I received my Holiday Pre-Order and fell in love with the journal once I had the chance to look closely at the softly “de-bossed” cover and twenty-five memory keeping pages perfect for journaling, photos or even pressed flowers (think as a gift for a bride or wedding party!).
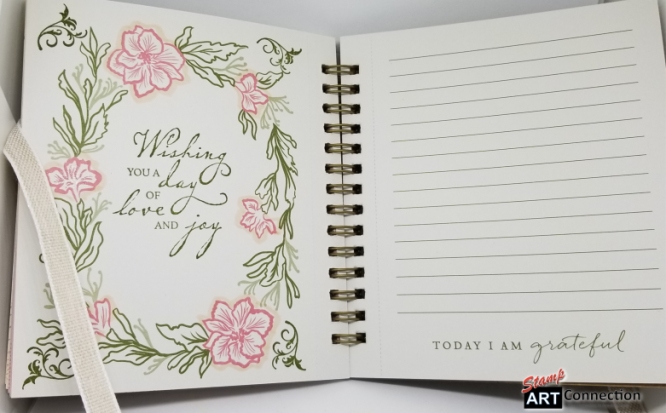
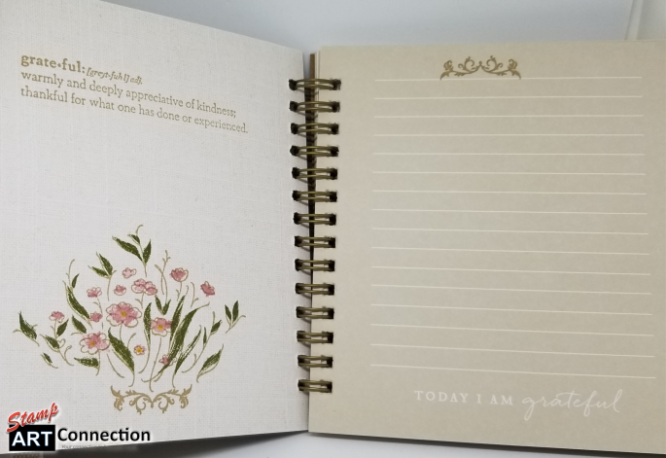
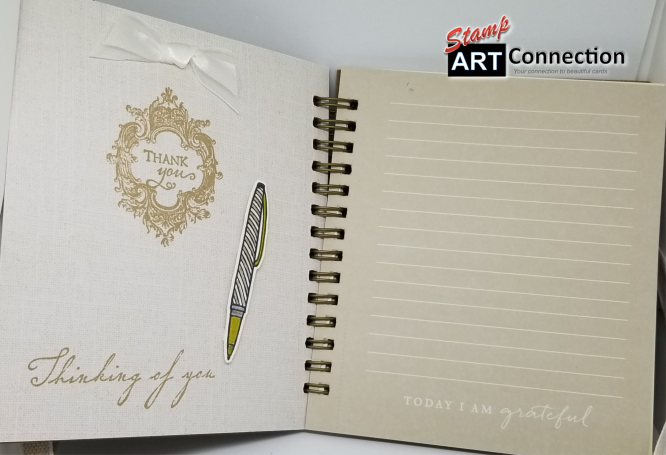
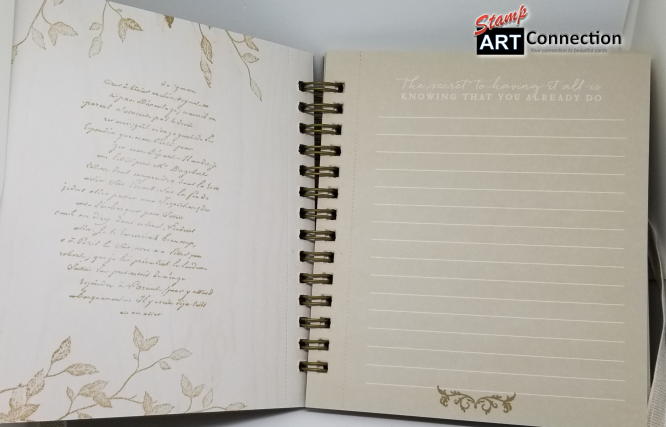
THIRD: I went crazy one rainy afternoon and just filled the pages with all my favorite stamps, images, sentiments and snips of ribbon to further embellish the pages. Now, I admit I got carried away and you really don’t need to stamp E-V-E-R-Y page! But have fun trying!!! I had my nieces in mind and wanted to add little sentiments of thanks, gratitude, love, and blessings. What a way to make a really personal gift!
Please take a moment to view my Video Tutorial for creating a lovely cover design. Let your imagination inspire you for the holidays to create this perfect stocking stuffer for friends and family. And then check out the cards that are further inspired by the project at the bottom!
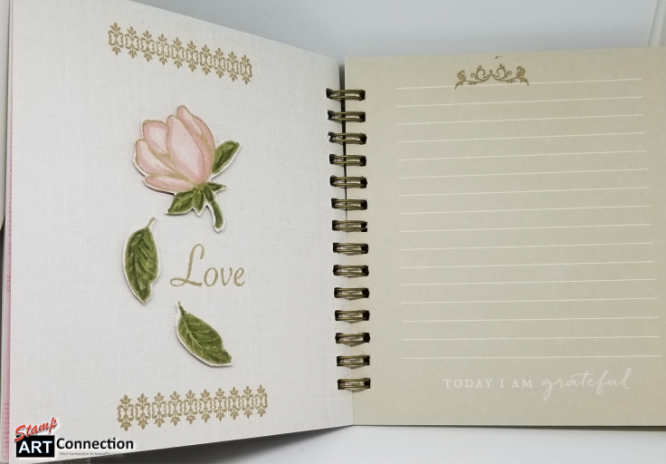
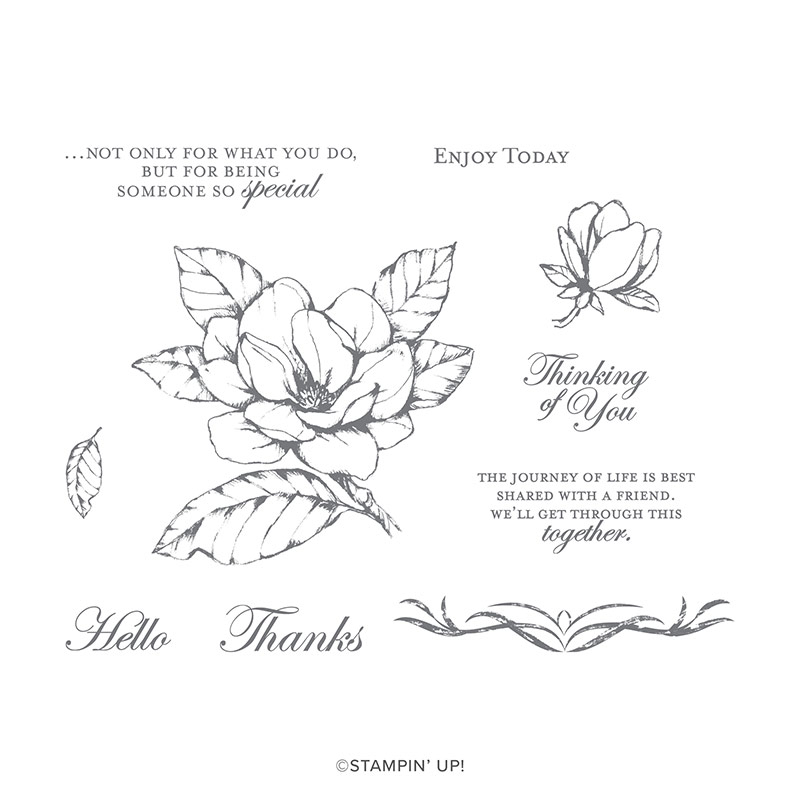
Here’s a TIP: Don’t use Stampin’ Blends to color any images on the journal pages. The pens BLEED and will ruin the reverse page. What I did was stamp (the magnolia blossom) on separate card-stock, cut it out and then pasted in on the page with a dimensional after coloring with PETAL PINK and MOSSY MEADOW.
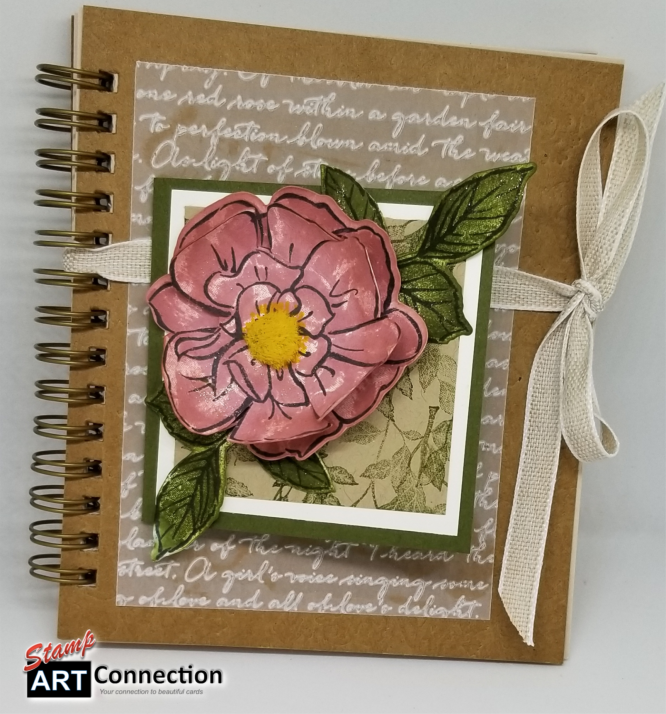
To A Wild Rose Journal Cover
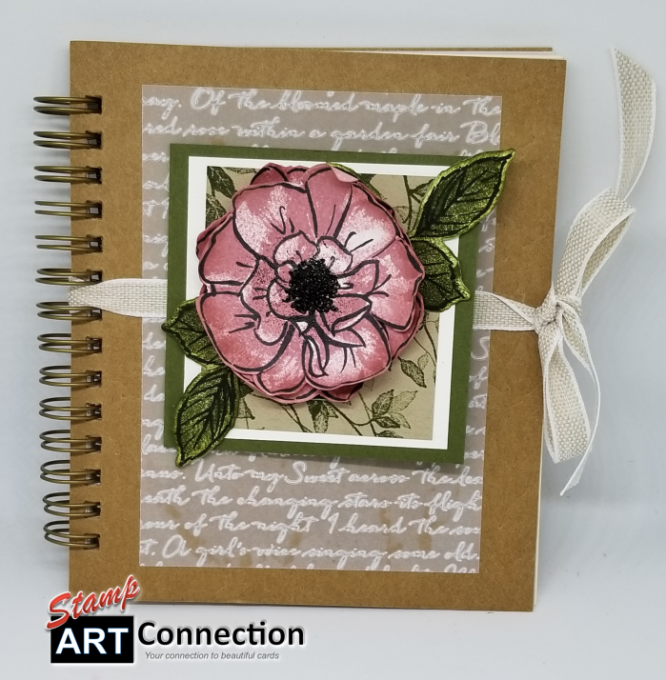
RECIPE:
- Vellum (cut 3.5″ x 4.75″) & embossed with the Scripty 3D Embossing folder.
- Mossy Meadow Card Stock (cut at 3″ x 6″ and scored at 3″)
- Whisper White (cut at 2.75″ square)
- Crumb Cake (cut at 2.25″ square)
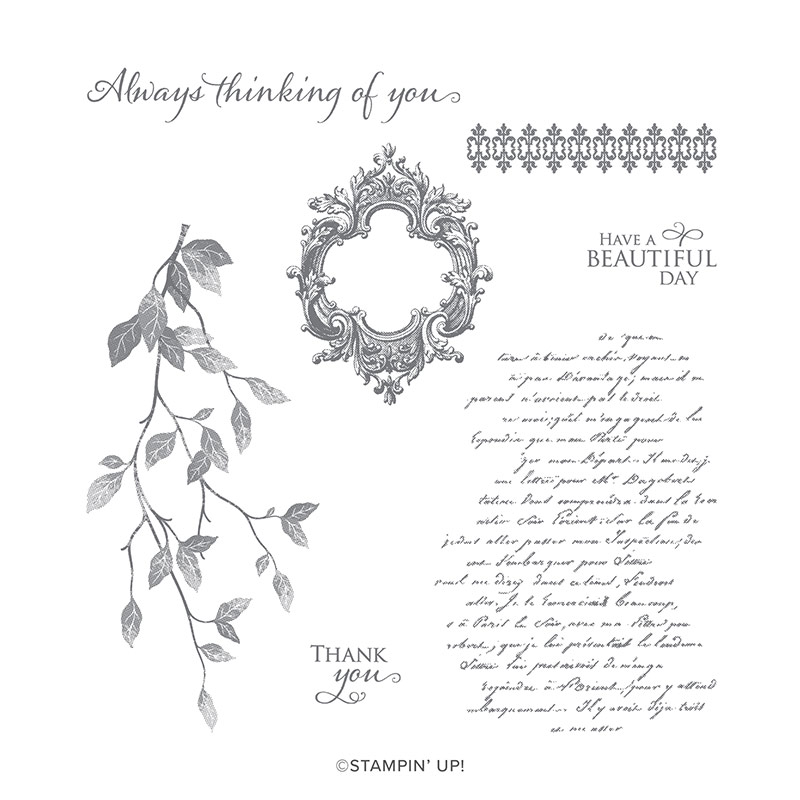
- Very Versailles Stamp Set (inside journal pages stamped with Crumb Cake and Mossy Meadow Inks)
- Mossy Meadow Ink (use the stamp-stamp-off technique to create a background pattern with the leaves stamp on the Crumb Cake CS. from the Very Versailles set)
- To A Wild Rose Bundle (stamp TWO Roses on WW cardstock with Memento Black and Rocco Rose Inks using the stamp-stamp-off technique for the background stamp and full ink strength for the second stamp (this is a TWO STEP stamp image). Use same for LEAVES using Mossy Meadow ink.
- Cut out TWO Flowers and TWO leaves
- Sponge Daubers – Daub ink around the edges of both the flowers and leaves after cutting them out to soften edges.
- Refer to VIDEO: Carefully snip petals apart and then use BONE FOLDER to c-a-r-e-f-u-l-l-y curl the petals.
- Snip 22″ of Ribbon and refer to VIDEO on assembly.
PRODUCTS FEATURED:
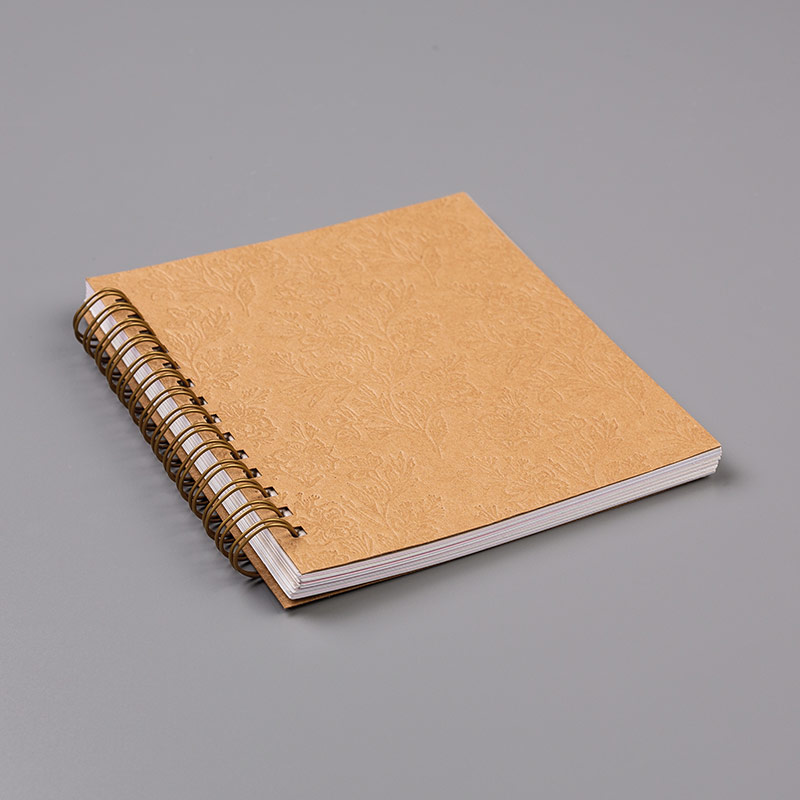
149588
Price: $6.50
The Pressed Petals Journal is a spiral-bound journal with perforated pages that you can remove and use on card fronts or memory-keeping pages. Debossed cover.
* 24 sheets: 4 each of 6 designs
* 4-1/4″ x 5-1/2″ (10.8 x 14 cm)
* Acid free
* Lignin free
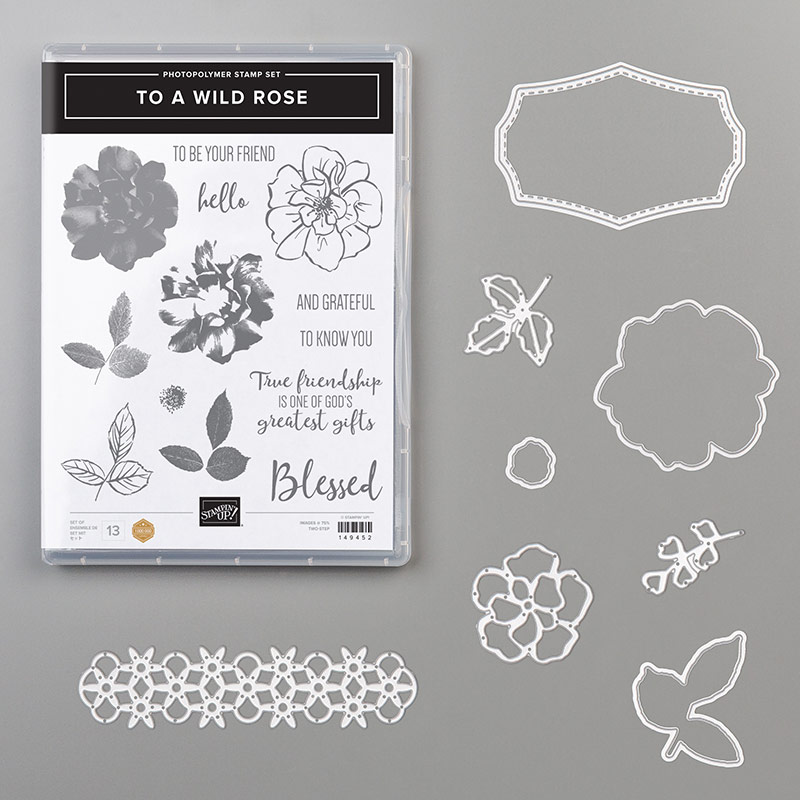
151073
Price: $54.00
To a Wild Rose Bundle includes the To a Wild Rose Photopolymer Stamp Set and the Wild Rose Dies. Also available in French.
MUST HAVE — Click and add to your SHOPPING CART NOW — the Scripty 3D Embossing Folder makes gorgeous backgrounds on cardstock or vellum.
149634
Price: $10.00
149512
Price: $6.00
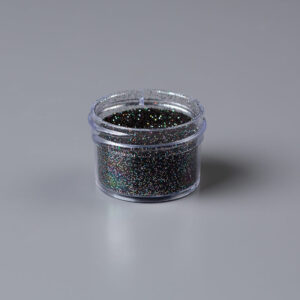
Shimmer Black Stampin’ Emboss Powder lets you turn stamped images into glossy raised designs. Just use VersaMark Pad, embossing powder, and Heat Tool.
149485
Price: $9.00
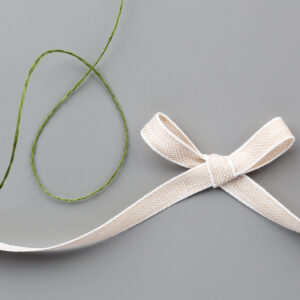
The Magnolia Lane Ribbon Combo Pack gives you double the options with a spool of craft thread and a spool of craft ribbon.
Inspire — Add messages and images to personalize your Journal featuring these products:
149306
Price: $24.00
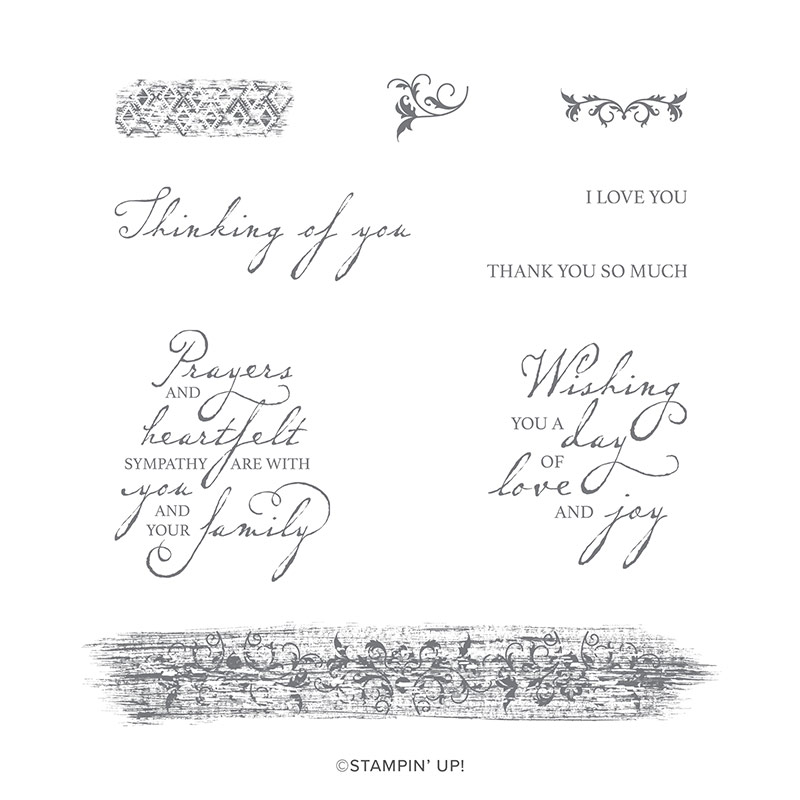
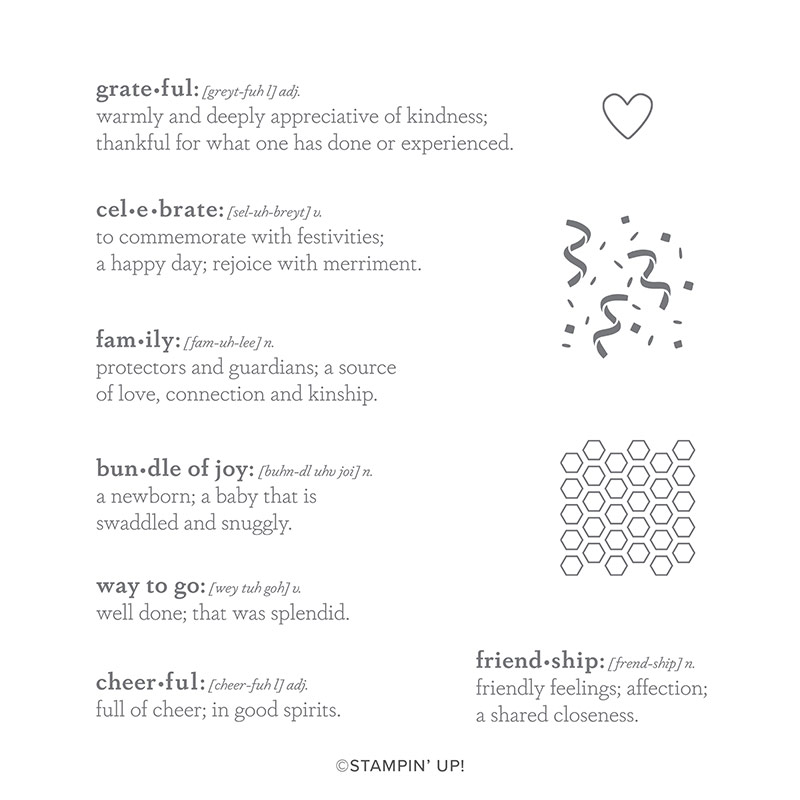
For the happy times and sad times, the hard times and glad times, the Woven Heirlooms Stamp Set has just what you need. Also available in French.
149454
Price: $21.00
Happy words make happy projects and happy people. Use the Praiseworthy Prose Stamp Set to spread a little happiness. Also available in French.
149239
Price: $21.00
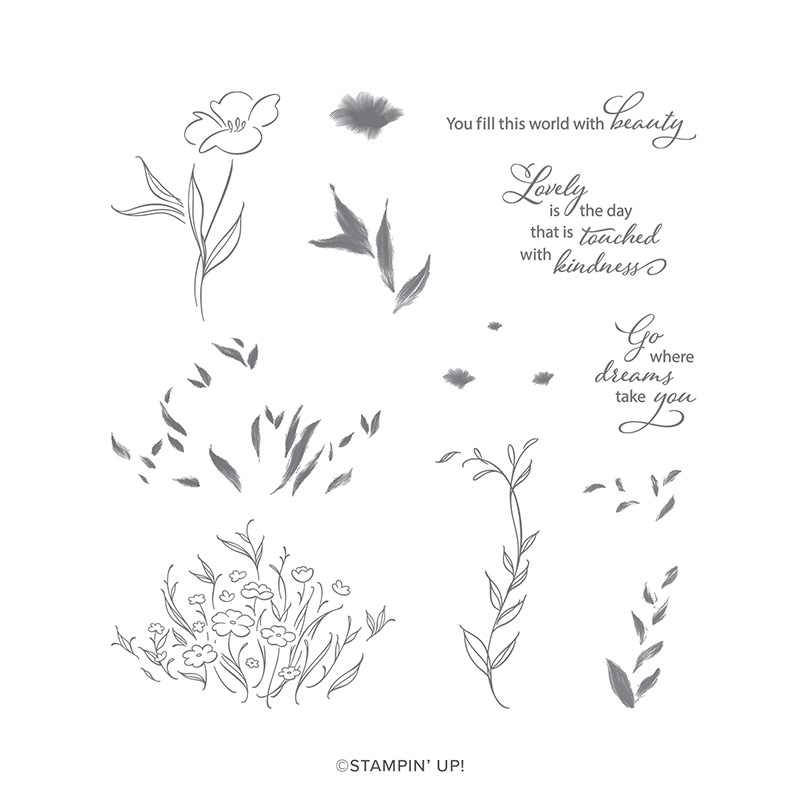
Lovely is the day when someone receives a gift from you made with the gorgeous Lovely Is the Day Stamp Set.
149298
Price: $36.00
The Good Morning Magnolia Stamp Set is a versatile floral stamp set featuring a gorgeous magnolia for your wow projects! Also available in French.
149275
Price: $23.00
Discover your inner rococo with the picturesque design of the Very Versailles Stamp Set!
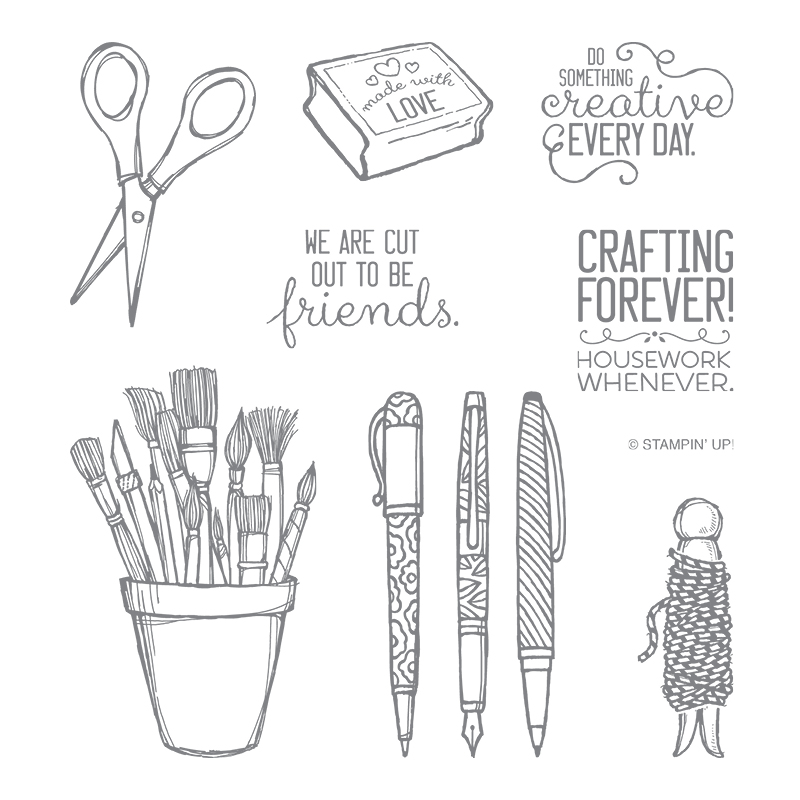
151231
Price: $20.00
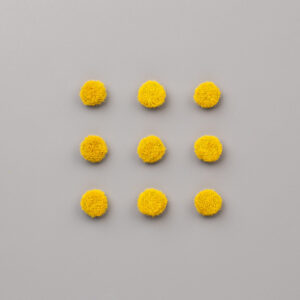
149442
Price: $6.00
Pressed Petals Inspiration
Another Journal Cover using the Pressed Floral Suite.
- Whisper White and So Saffron Card Stock
- Pressed Petals DSP
- Stitched Label Dies (WW), Petal Label (So Saffron)
- TIP: One way to seal your DSP to your cover is to use CLEAR embossing powder and your Heat Tool. Just spread the powder over the DSP and HEAT. Then add the other layers.
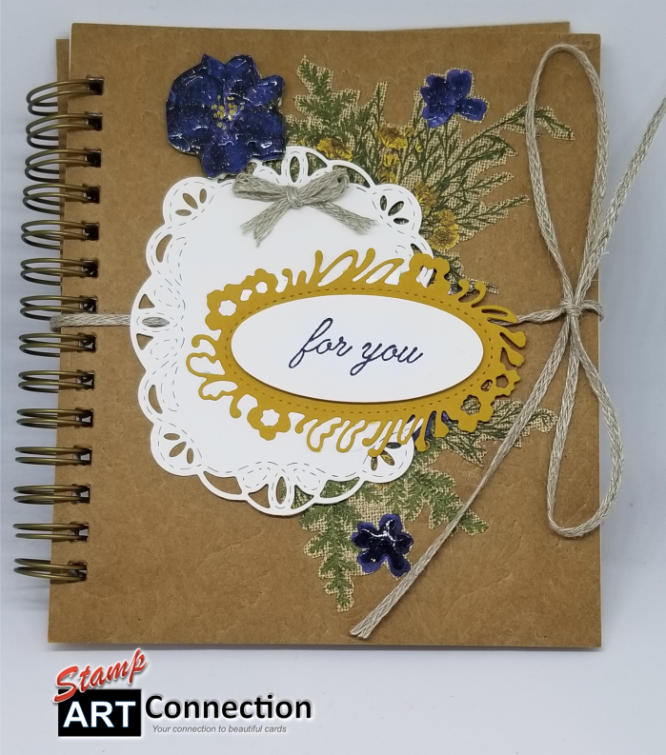
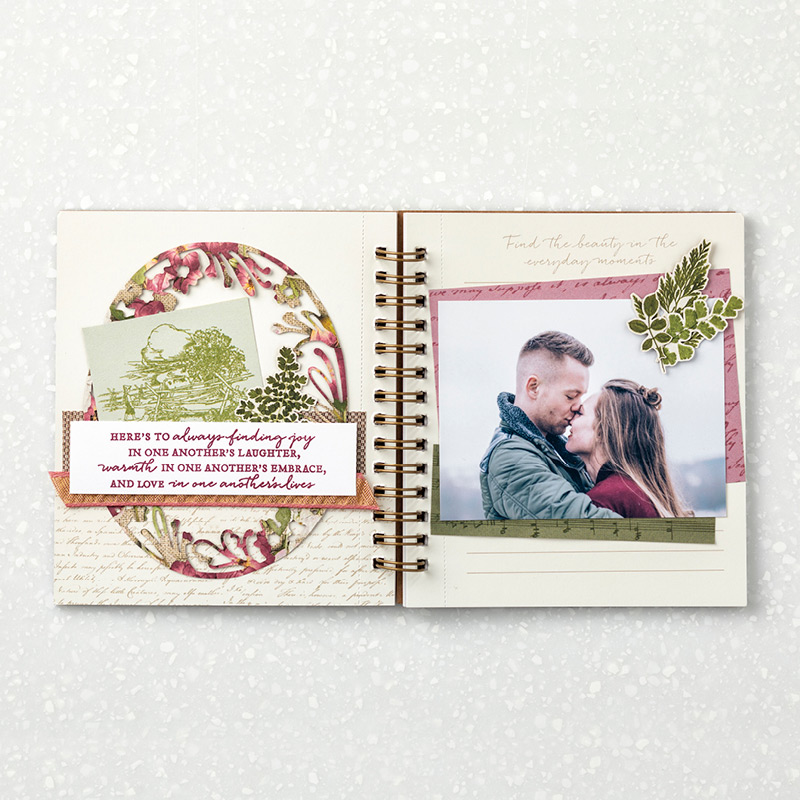
Stamps: Path of Petals
Paper: Pressed Petals DSP, Pressed Petals Journal, Whisper White
Ink: Merry Merlot
Accessories: ½” Rococo Rose Gathered Ribbon
Adhesives: Snail, Glue Dots
Tools: Petal Labels Dies

152193
Price: $97.00
The Pressed Petals Suite Bundle gives you a coordinating selection of products with one simple purchase. It includes the stamp set and tool bundle at 10% off plus one each of the other items listed. Also available in French.
The Pressed Petals Suite Bundle includes
* Path of Petals Photopolymer Stamp Set (10% off)
* Petal Labels Dies (10% off)
* Scripty 3D Embossing Folder
* Designer Elements
* Pressed Petals Journal
* Rococo Rose 1/2″ (1.3 cm) Gathered Ribbon
* Pressed Petals Specialty Designer Series Paper
* Pressed Petals Specialty Washi Tape
Card Inspirations
146842
Price: $21.00
