
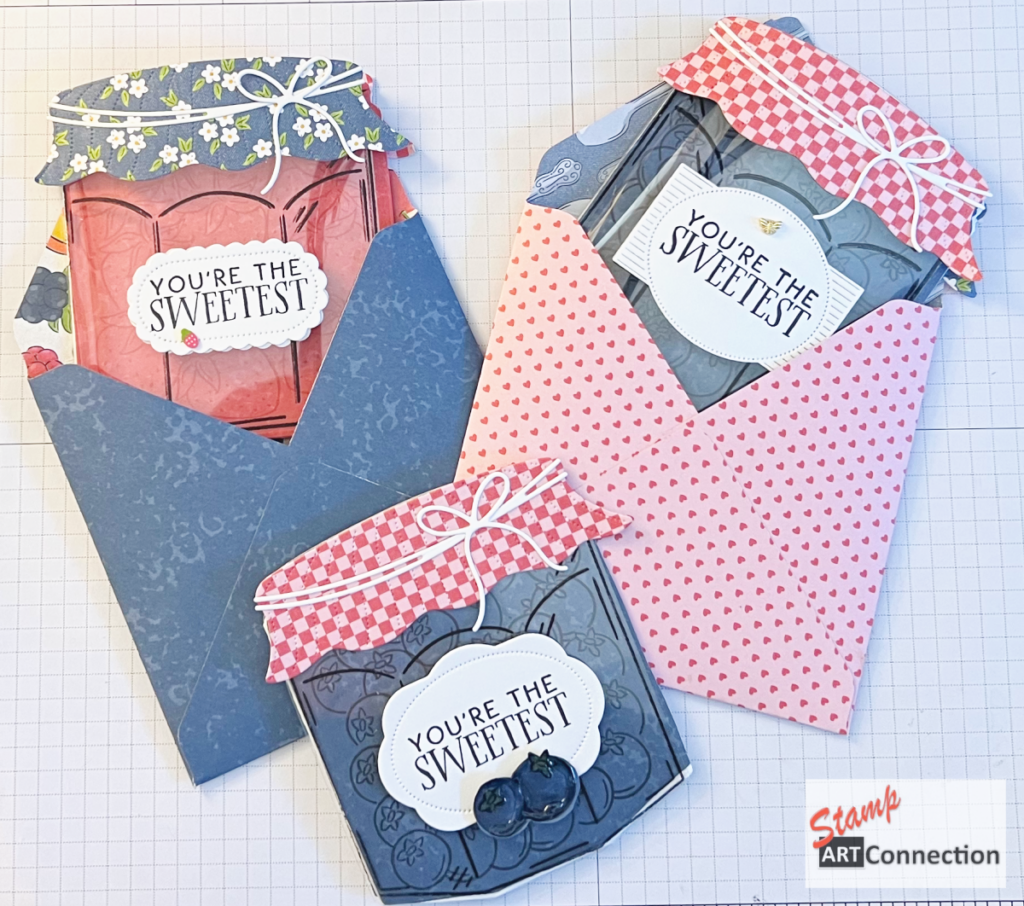
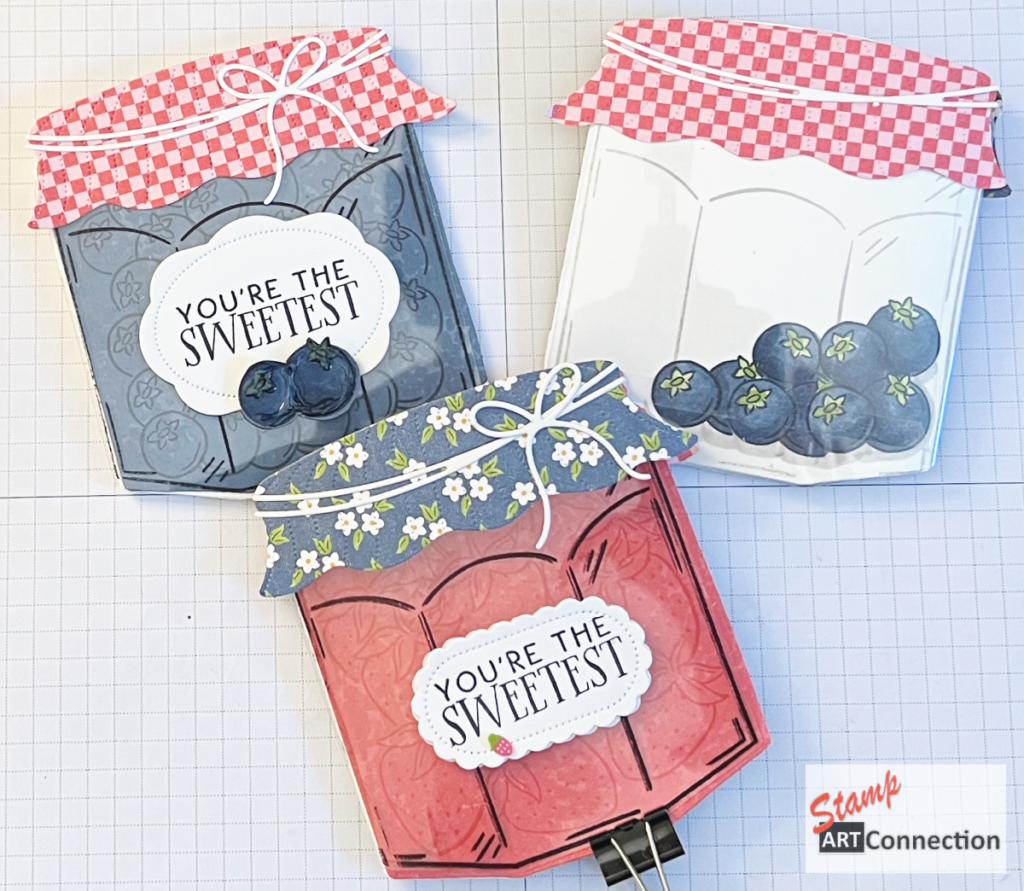
🍓 Tri-Fold Sweetness: A 4.5″ Square Card with a Wow Factor!
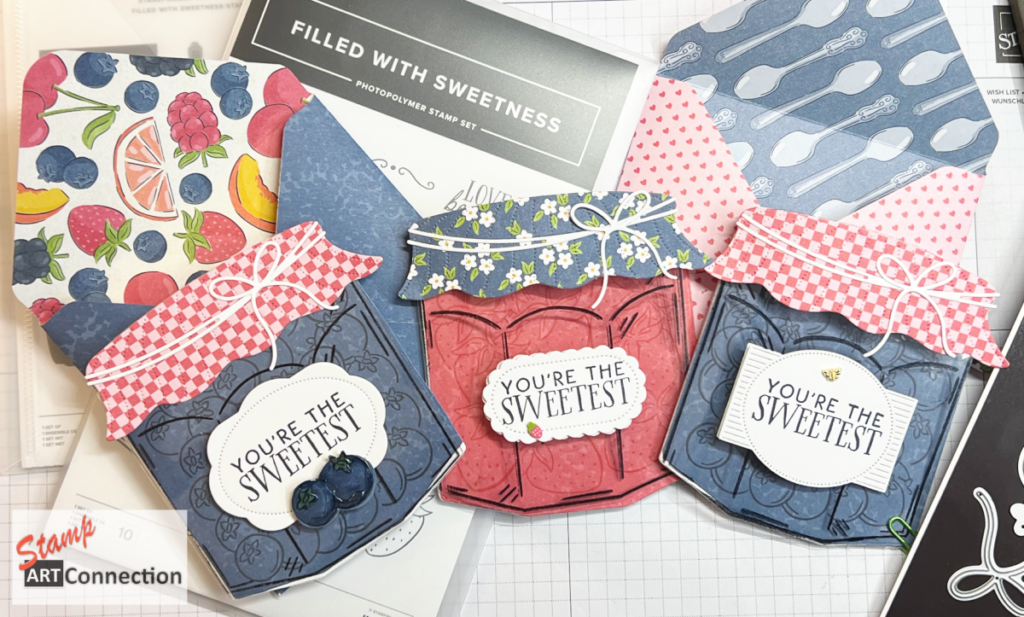
If you love cards that tell a story the moment they’re opened, this one is going to be a favorite! Today I’m sharing my “Filled with Sweetness” TRI-FOLD Card—inspired by the adorable Homemade Sweet Collection and the coordinating Filled with Sweetness Bundle.
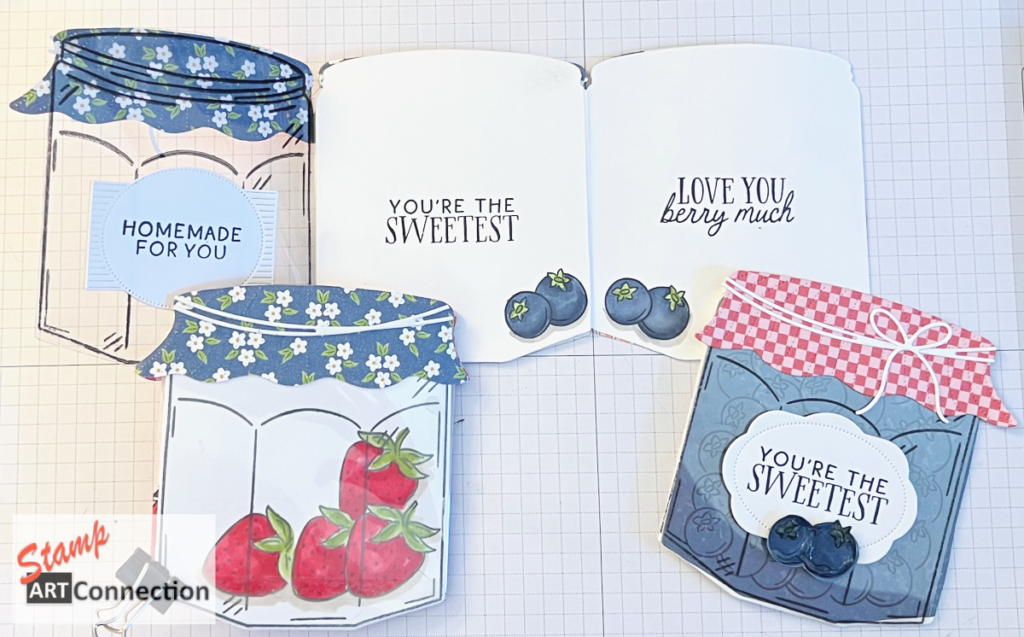
This design is extra special because it combines die-cut precision, a clever masking technique, and a full acetate wrap to create the illusion of a jar filled with fruit preserves. It’s interactive, eye-catching, and folds down to fit perfectly in a 4.5″ square envelope!
🎥 Watch the Full Tutorial
Be sure to check out my YouTube video where I walk you through each step of this project—from die cutting to assembling that gorgeous acetate wrap and colorful jam jar topper.
✨ What Makes This Card So Special?
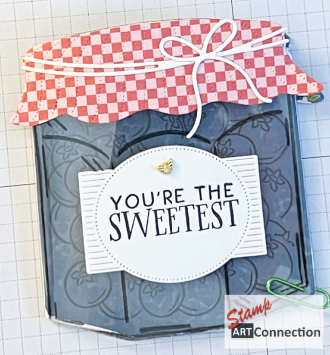
- 🍓 Jar Illusion Design – Looks like a jar of sweet preserves behind acetate
- ✂️ Die-Cut Base – Created using the Filled with Sweetness Bundle die
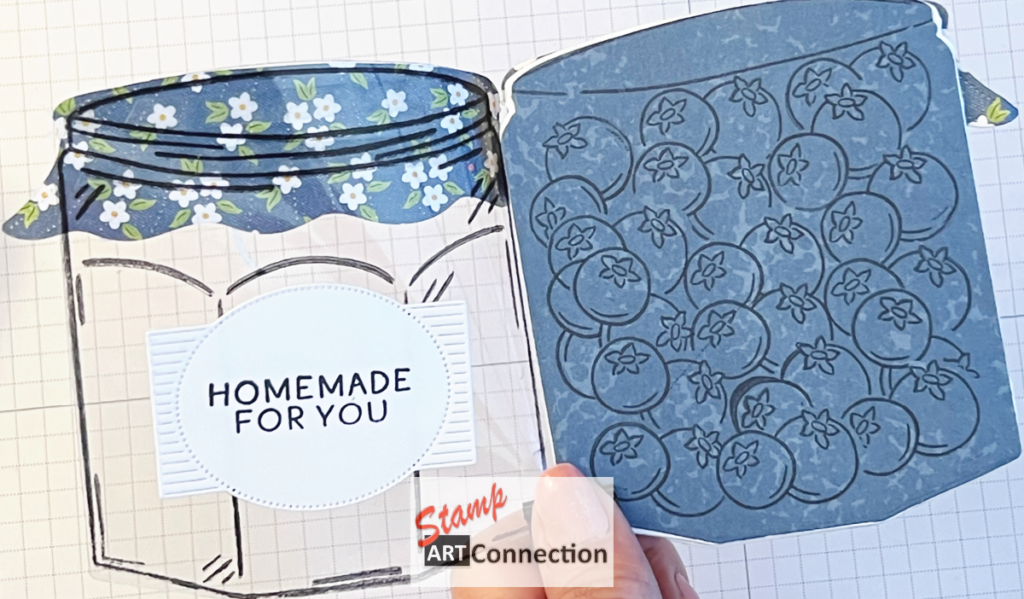
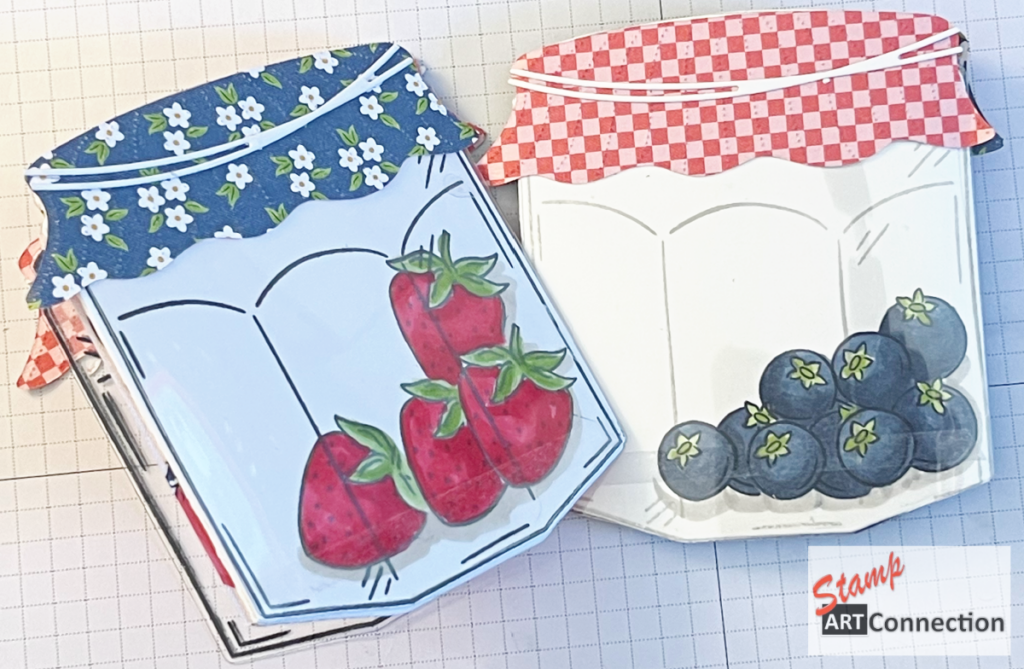
- 🎨 Masking Technique – Builds a full “jar” of layered berries
- 💎 Acetate Wrap – Front and back for a polished, professional finish
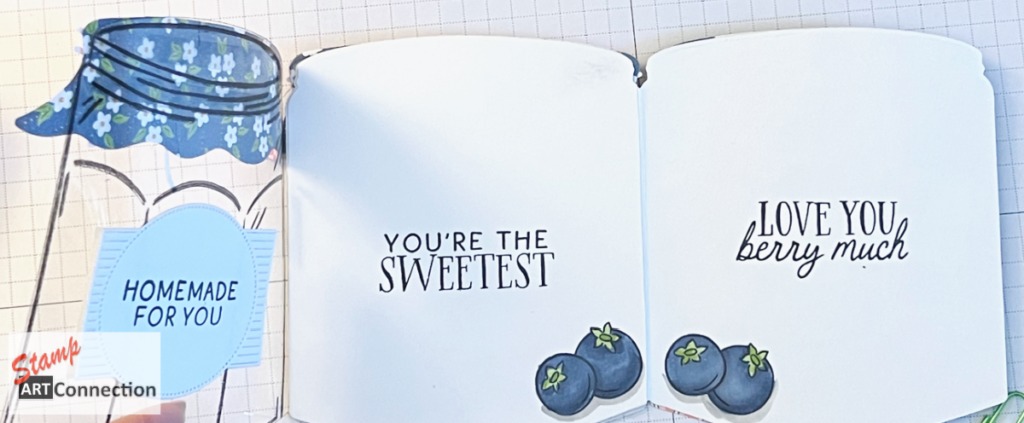
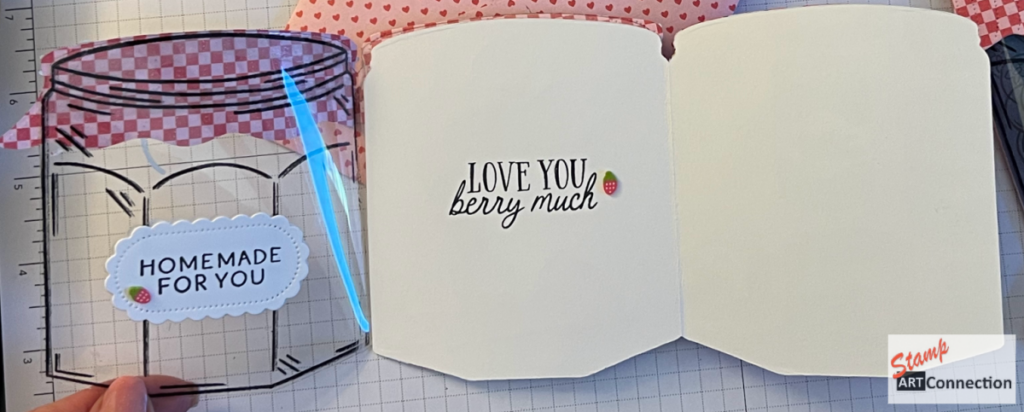
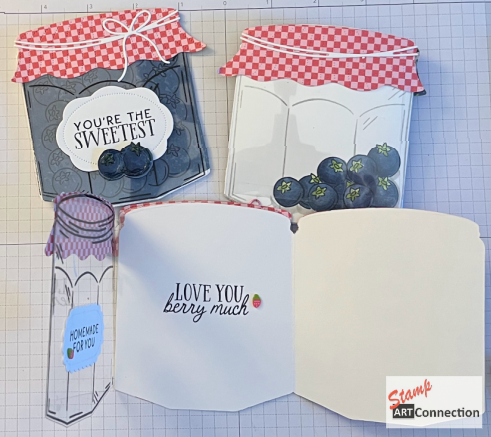
- 💌 Tri-Fold Interior – Opens to reveal layered panels and heartfelt sentiments
📏 Finished Size
- 4.5″ x 4.5″
- Fits perfectly in a 4.5″ square envelope
✂️ Project Breakdown & Measurements
Die-Cut Pieces
- Card Base: Die cut from Basic White cardstock using the Filled with Sweetness die
- Back Panel: Additional die-cut piece from Basic White
- Stamped DSP Layer: Die-cut from Homemade Sweetness 12″ x 12″ DSP
Acetate Cover
- Window Sheet: 8″ x 5″
- Wraps around the front and back of the card to create that “jar” effect
🎨 Ink & Coloring Details
- StazOn Ink – Perfect for stamping directly on acetate
- Secret Sea Ink – For outlines and sentiments
- Strawberry Slush Ink – For stamping those juicy berries 🍓
- Stampin’ Blends:
- Real Red – for vibrant berry shading
- Granny Apple Green – for fresh leaves
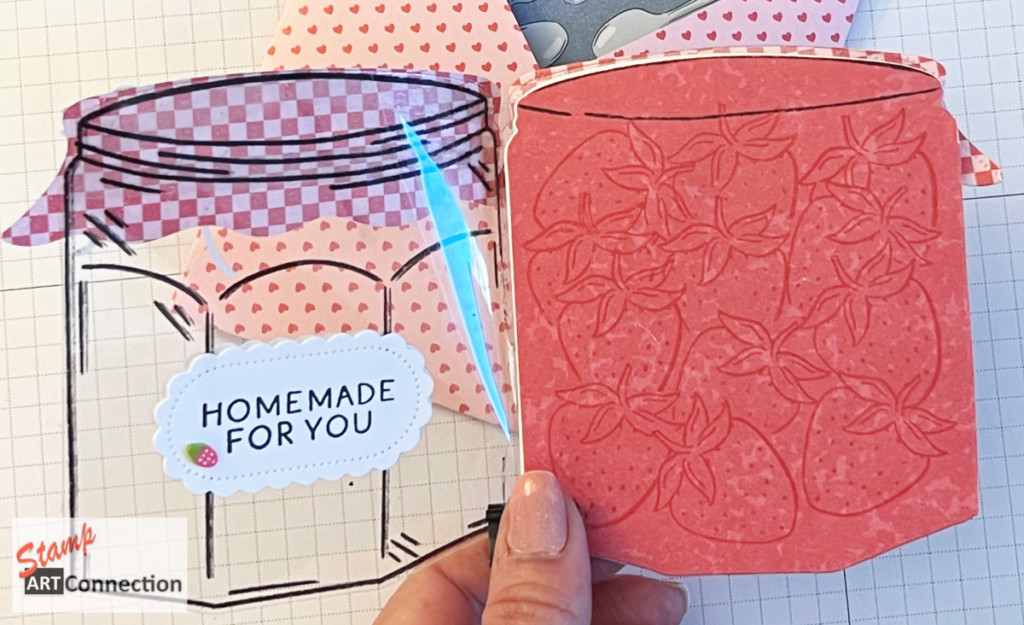
🧠 Technique Spotlight: Masking for Dimension
This card really shines thanks to the masking technique!
- Stamp your berry image onto your DSP layer.
- Cover the stamped image with a mask (paper or sticky note).
- Stamp additional berries around it.
- Repeat to “fill” the jar.
- Remove masks—and just like that—you have a beautifully layered, full jar of preserves!
👉 This technique creates depth and gives the illusion that the jar is overflowing with sweetness.
🧩 Assembly Overview
- Die cut your base and layers using the Filled with Sweetness die
- Stamp and mask your berry-filled DSP panel
- Color berries and leaves using Stampin’ Blends
- Stamp jar image on a piece of 5″ x 8″ acetate using StazOn ink (for that crisp, permanent image)
- Cut the acetate using the card “die”. Fold the acetate around the card front and back
- Assemble your tri-fold panels inside with sentiments.
- Cut JAM JAR TOPPER from patterned DSP for front and back (TIP: follow the tip for cutting like sides to match — front to back on VIDEO).
💡 Design Tips
- Keep your acetate clean—handle edges to avoid fingerprints
- Use Tear & Tape and GLUE DOTS for a strong hold on acetate
- Let your StazOn ink dry completely before handling
- Add embellishments from the collection — strawberry pieces or TINY BEEs .
💖 Why You’ll Love This Card
This project is the perfect blend of creative technique and polished presentation. It looks intricate—but thanks to the coordinating dies and simple masking, it comes together beautifully.
Whether you’re sending a birthday wish, a thank you, or just a little handmade happiness, this card is truly… filled with sweetness.
FEATURED PRODUCTS
🛍️ Ready to Create Your Own?
Shop the Homemade Sweet Collection and start crafting your own tri-fold masterpiece today!
👉 Shop here: https://stampartconnection.stampinup.net/
If you try this design, I’d LOVE to see it! Tag your creations and let’s keep inspiring each other—one beautiful card at a time. 💕
PROJECT GALLERY
✨ Stamp ART Connection – your connection to beautiful cards ✨
Cute! Do you have instructions/pattern for the envelope? Thank you!
Camille, I used an Envelop Punch Board. Card size for 4 1/2″ square — paper size is 7 1/2″ x 7 1/2″. If you don’t have a punch board, mark each side at 3 3/4″ — at those MARKs draw lines to connect and then use your scoreboard to SCORE along those lines. Use those lines to fold the pieces toward each other to create the envelop. Just use either glue or Tear Tape to afix them. Hope this helps! Kat