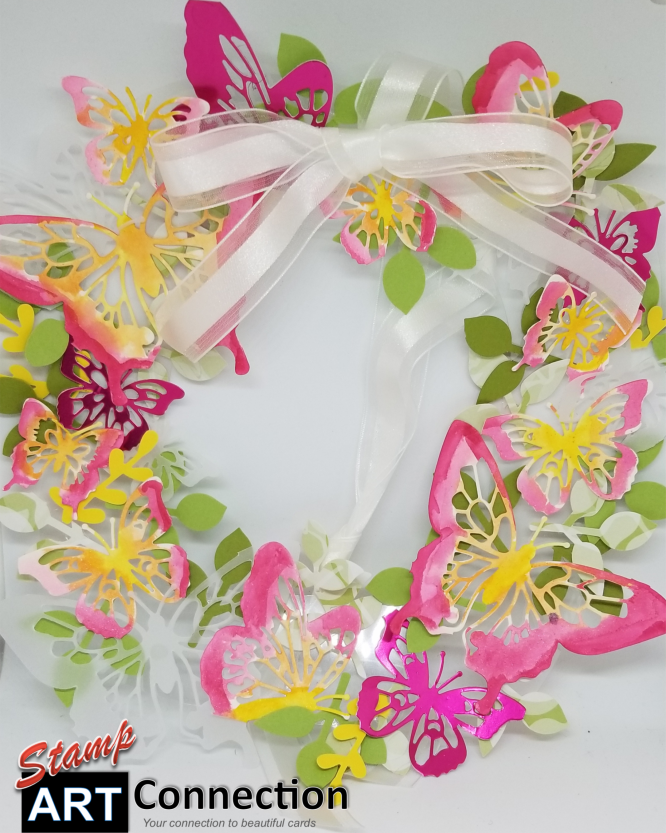
Butterflies are just perfect for spring! I used the Butterfly Beauty Dies to create this wreath. I was inspired by Cheri Stojkovich’s watercolor coloring technique featured on Cheri’s Cards. Thank you Cheri for the inspiration. I wanted to take it to the next level and create something that I could hang on my window, place on a table for Easter dinner or give to a friend to cheer them up.
If you love layering and creating a wreaths…you will enjoy this project. One of the innovations I made was to use a WINDOW SHEET as my base for the wreath. This really worked well and allowed the project to remain and “light and airy” which is perfect for a butterfly wreath!
I provide all the products and directions as well as a Video Tutorial and some bonus cards that I creates from the extras butterflies I had after the project. Enjoy, leave a comment and thank you for stopping by!!!
Products:
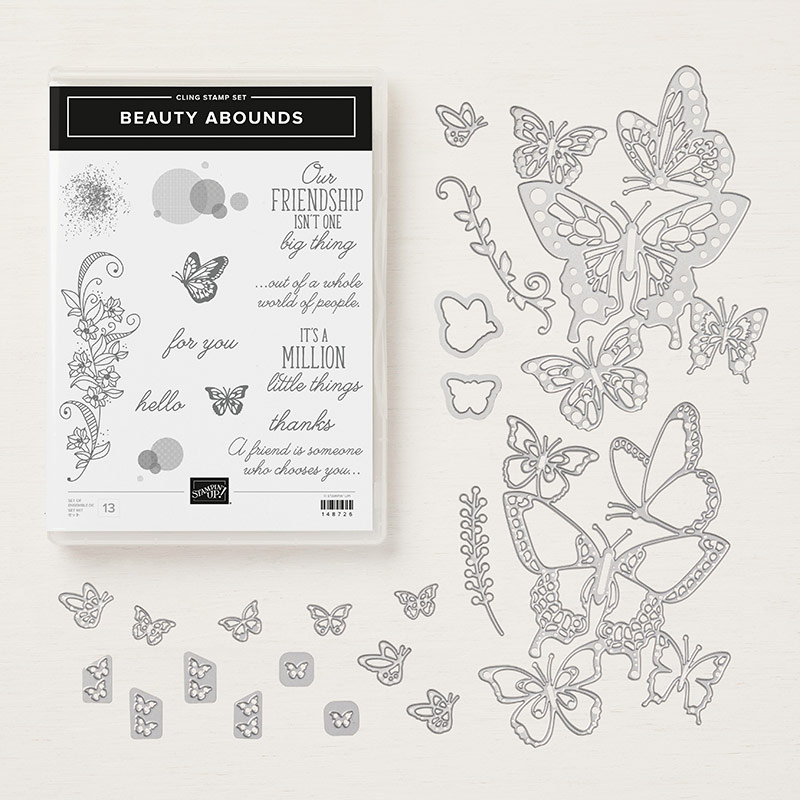
Butterfly Beauty Die (OC)
150617
Price: $55.75
Friendship is a million little things. Like sending a card to show someone what they mean to you.
Bundle and save! Buy these two coordinating products and save 10%.
BEAUTY ABOUNDS CLING STAMP SET
* 13 cling stamps
* Suggested clear blocks (sold separately): a, b, c, h
BUTTERFLY BEAUTY THINLITS DIES
* 20 dies
* Largest die: 3-7/8 x 5-1/8″ (9.8 x 13 cm)
* Use with Big Shot
Card Stock:
-Shimmery White (1 sheet to cut 3 dies)
-Vellum (1/2 sheet to cut 1 die)
-Window sheet (7”x7”)
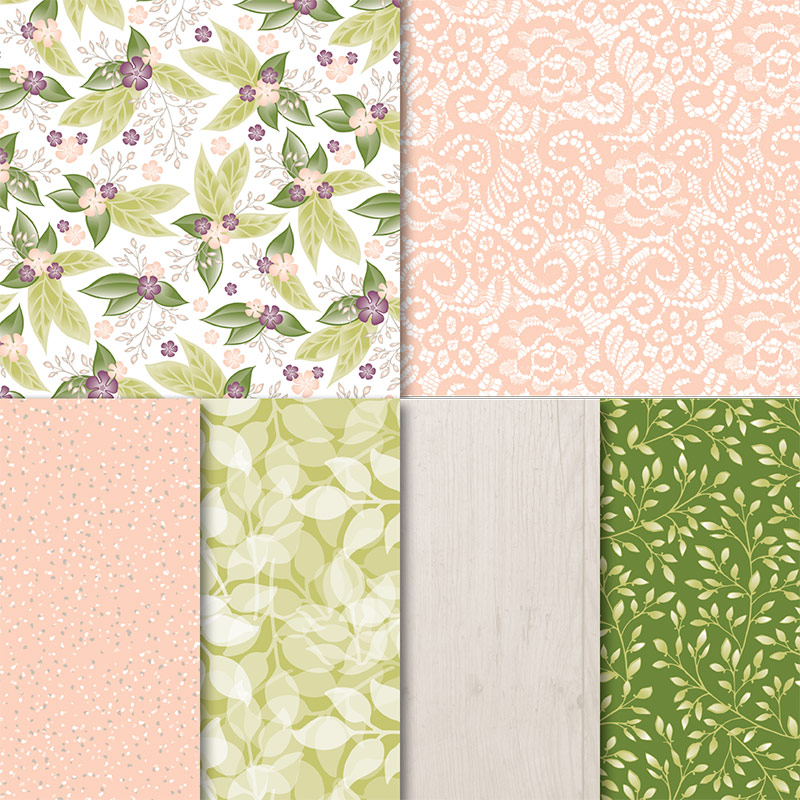
– Romance DSP
-Pear Pizazz, Mossy Meadow for foliage
– Foil Sheet (Lovely Lipstick to cut 1 die) OPTIONAL
Ink:
Lovely Lipstick, Grapefruit Grove, Daffodil Delight
148586
Price: $14.00
Soft, elegant designs for weddings, anniversaries, and more. Includes printed vellum for layering and hand-cutting accents.
12 sheets total:
* 6 vellum sheets, 3 each of 2 single-sided designs
* 6 printed sheets, 3 each of 2 double-sided designs
* 12″ x 12″ (30.5 x 30.5 cm)
* Acid free
* Lignin free
Coordinating colors: Fresh Fig, Mossy Meadow, Pear Pizzazz, Petal Pink, Sahara Sand, Whisper White
Tools:
–Big Shot
– Intricate plate
-Die Brush
– Aqua Painter
– Scissors
-Punches: Leave and Sprig (optional)
Adhesives: Glue Dots, Dimensionals (Mini)
Embellishments: Ribbon
DIRECTIONS:
•Cut Paper Pieces
–Die Cut: Using the Butterly Die and the Big Shot cut: –3 in Shimmery White –1 in Vellum –1 Foil (Optional)
•Use Die Brush or Paper Piercing Tool to remove all the pieces.
•Coloring
–Assemble inks (press middle) and open. Ensure the lids are “inked” after pressing.
–Use Aqua Painter beginning with Daffodil Delight and color the inside of the butterfly
–Use Grapefruit Grove and color the portion of the wings moving out.
–Use Lovely Lipstick to color the edges of the wings.
–Color each of the three Shimmery White die cuts the same and let dry.
•Cut Foliage with Punches:
–Leaf Punch cut:
•15 Pieces from the Romance DSP
•12 Pieces from Pear Pizazz
•8 Pieces from Mossy Meadow
–Sprig Punch (optional) cut: 6 from Daffodil Delight


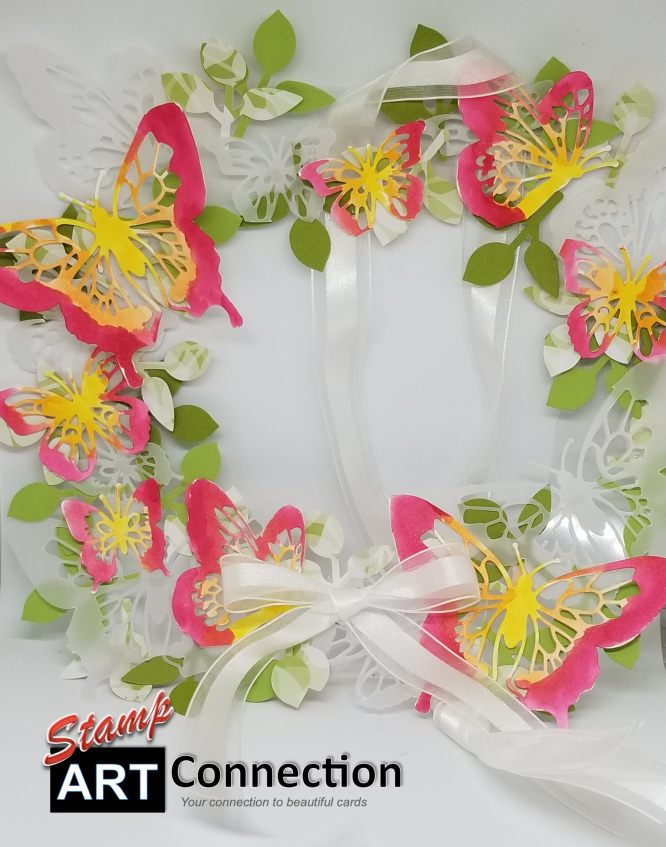
Card Inspirations
Once I created my wreaths….I fell in love with the color combinations and used the extra butterflies to create these coordinating cards! Enjoy!
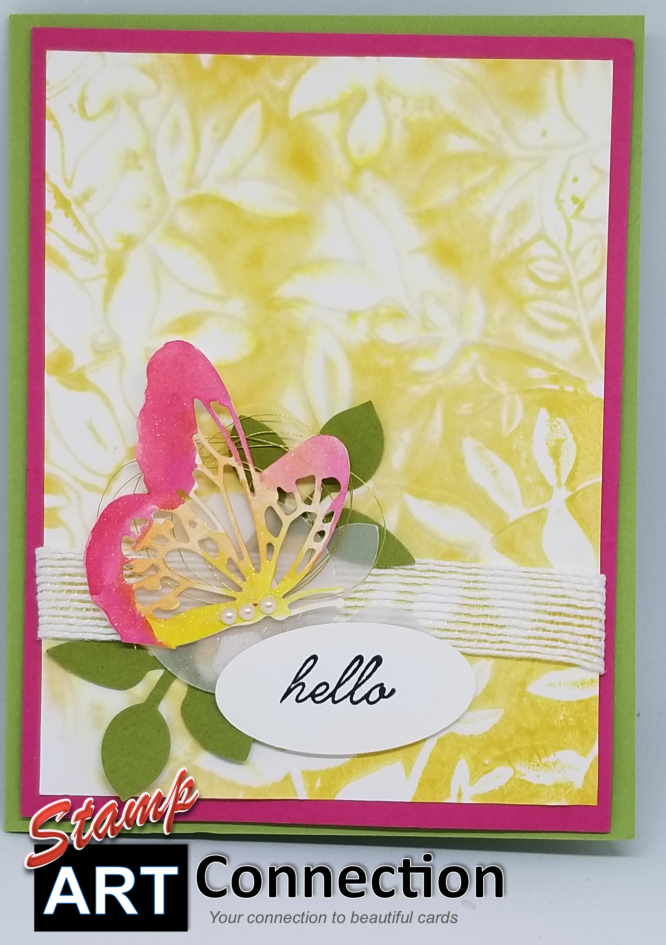
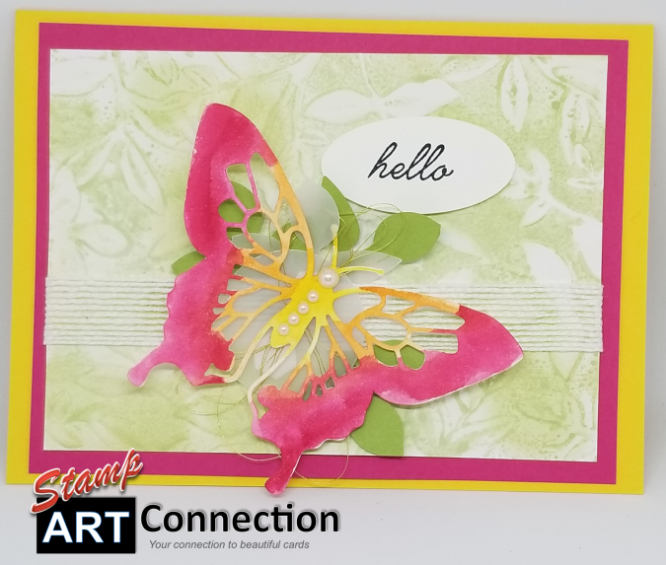
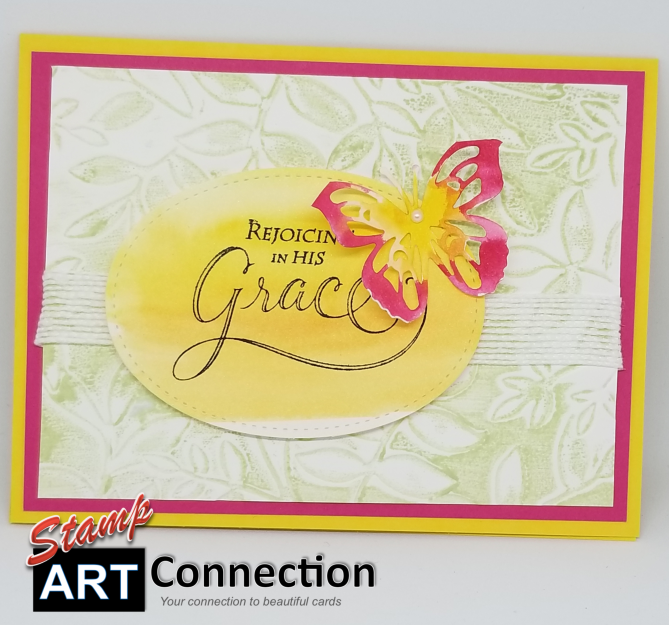

Wonderful blog! Do you have any tips and hints
for aspiring writers? I’m planning to start my own website soon but I’m
a little lost on everything. Would you suggest starting with a free platform like WordPress or
go for a paid option? There are so many options out there
that I’m totally overwhelmed .. Any ideas? Cheers!
I started my first BLOG on BLOGSPOT; it’s free. Start there to figure out what you want. Experiment with style and most importantly — getting content. Plan your content and figure out where you are going to get content. Do that before investing in a paid option. Then, when you’re rolling and you are serious about creating your own website…then use BLUE HOST. It is surprisingly affordable and you get more bang for your buck. BLUEHOST
I get more options for how to set up my site, I have gotten rights to my “.com” which is great! AND…i was able to transfer all my blogs from BLOGSPOT to BLUEHOST so I didn’t loose any of the hard work with my content. Don’t get overwhelmed with what’s out there…it’s what “in you” that makes the difference. Put yourself into it. Good Luck and stay in touch…cheers…Kat Chancellor
The wreath is absolutely GORGEOUS! Thanks for sharing. I fell in love with this set the moment I saw it.
Beautiful project and technique!