A Stunning and Fun Paper Crafting Project!
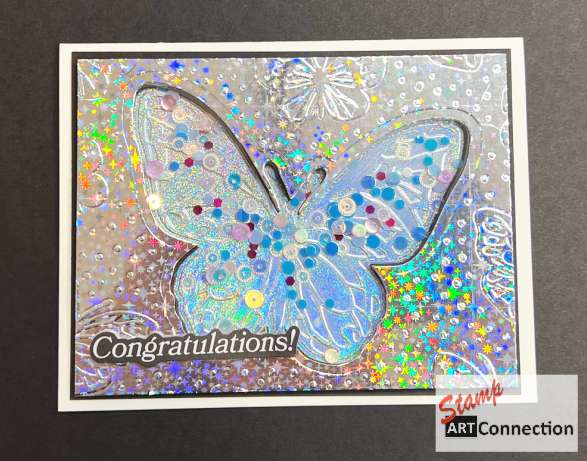
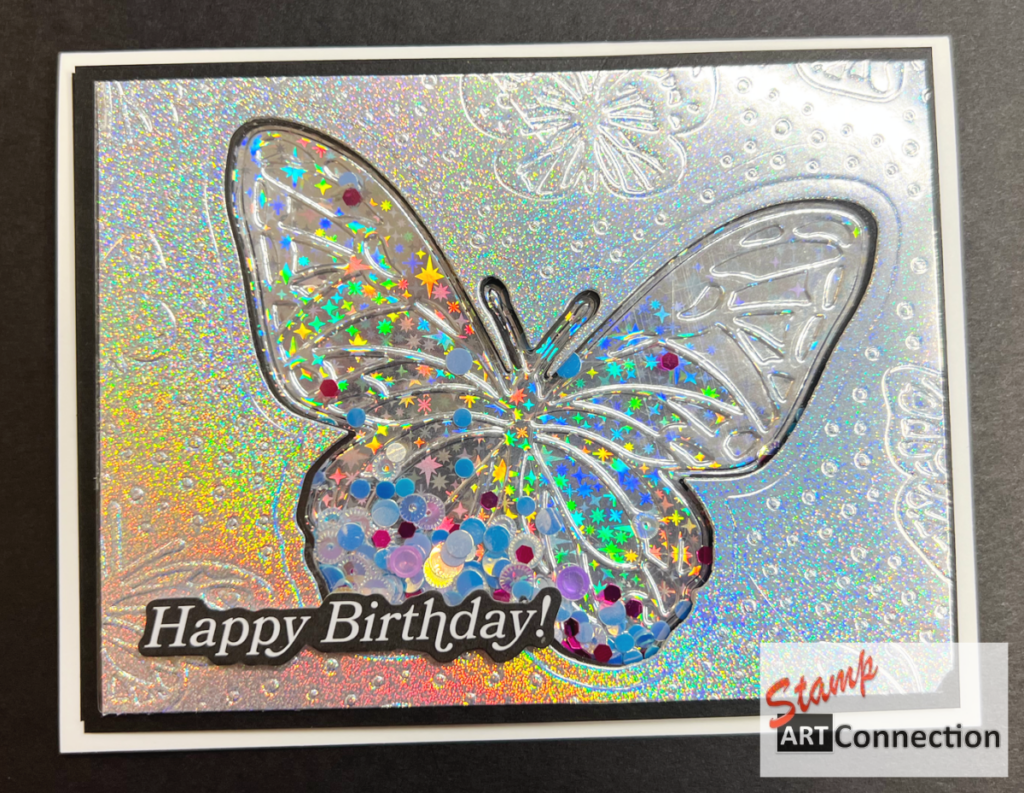
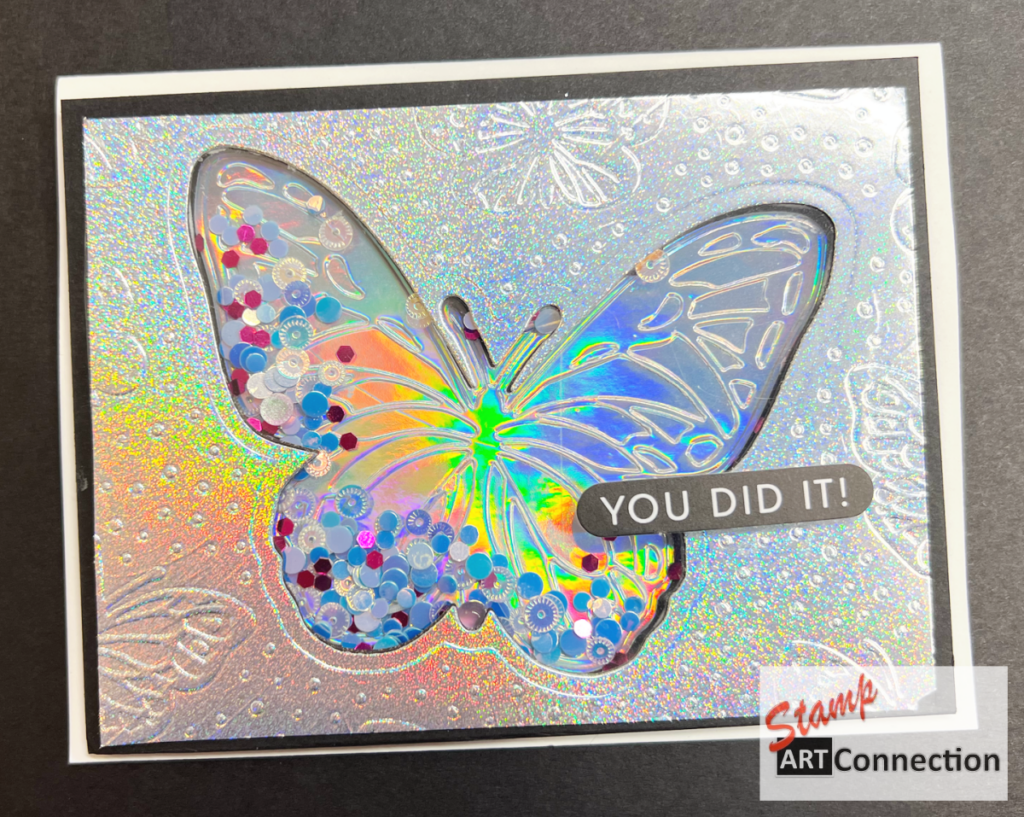
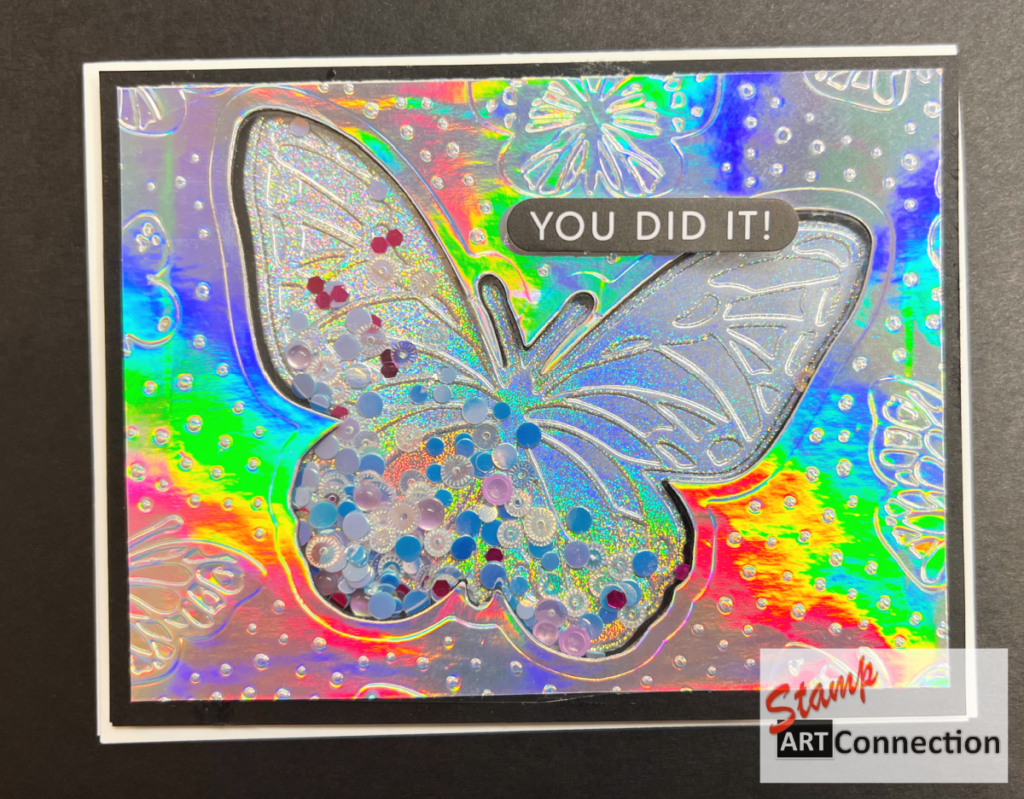
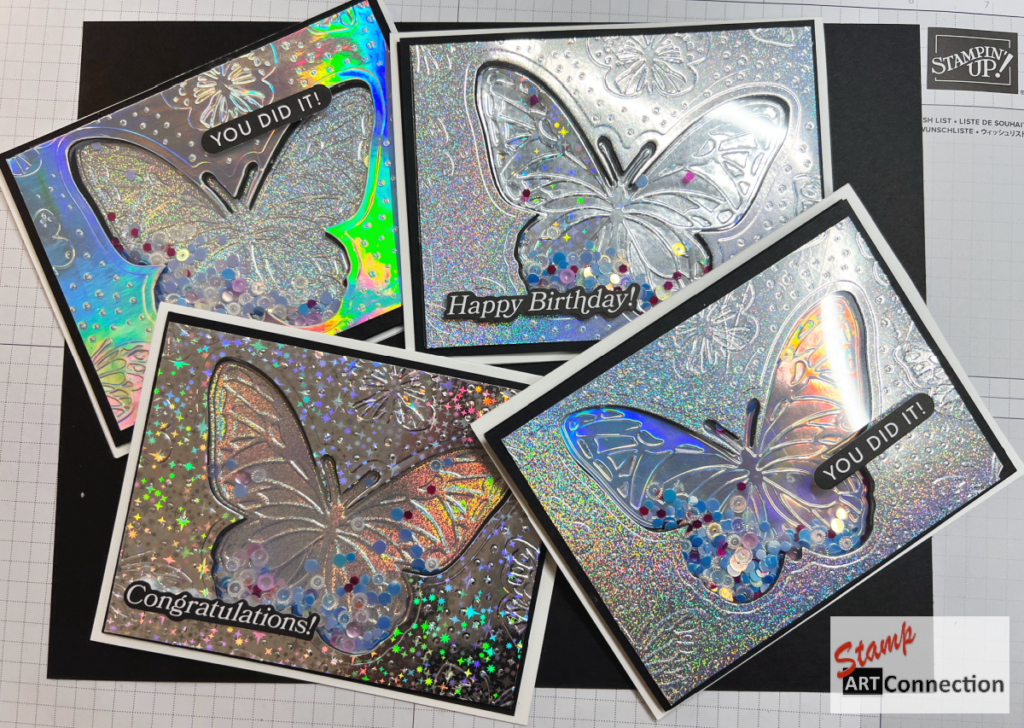
If you love adding an interactive element to your handmade cards, then this Beautiful Butterflies Shaker Card is the perfect project! Shaker cards bring a touch of whimsy and elegance, and with the Beautiful Butterflies Bundle, Hybrid Embossing Folder, Itty Bitty Bokeh Mix, and Iridescent Card Stock from Stampin’ Up!, you can create a dazzling effect that will captivate anyone who receives it. Follow my VIDEO TUTORIAL for all the tips & tricks for building this card.
Featured Products:
- Beautiful Butterflies Bundle (dies & stamps)
- Itty Bitty Bokeh Mix (for the shaker filling)
- Iridescent Card Stock (for a shimmering background)
- Basic White Card Stock (5.5″ x 4.25″ for the card base)
- Basic Black Card Stock (5.25″ x 4″ to frame the iridescent panel)
- Window Sheet (to create the shaker window)
- Foam Adhesive Strips (to lift and contain the shaker elements)
- GREETINGS FOR ALL Mix & Match Ephemera Pack (for easy sentiments)
- Liquid Glue & Tear Tape
- Paper Trimmer & Die Cutting Machine
Step-by-Step Instructions:
Step 1: Prepare the Card Base & Layers
Begin by cutting your Basic White Card Stock to 5.5″ x 4.25″ for a standard A2 card base. Then, trim your Basic Black Card Stock to 5.25″ x 4″ to create a striking border that enhances the iridescent shimmer of your card. Use the Beautiful Butterflies Hybrid Embossing folder to emboss the iridescent layers.
Step 2: Create the Shaker Window
Use one of the butterfly dies from the Beautiful Butterflies Bundle to cut a butterfly shape in the center of your Iridescent Card Stock. This will serve as the shaker window. Attach a piece of Window Sheet behind the cut-out area using a strong adhesive.
Step 3: Add the Shaker Elements
To create the shaker feature, apply Foam Adhesive Strips around the edges of the butterfly cutout on the back of the Iridescent Card Stock. Before sealing the back, pour some of the Itty Bitty Bokeh Mix into the open window space.
Tip: Be careful not to overfill—too many sequins can prevent the shaker from moving freely!
Step 4: Assemble the Layers
Carefully adhere the Basic Black Card Stock onto the card base, then attach your shaker panel on top, making sure it aligns neatly.
Step 5: Add the Finishing Touches
For an extra touch of elegance, use the GREETINGS FOR ALL Mix & Match Ephemera Pack to quickly add a pre-made sentiment. You can also die-cut additional butterflies from Basic Black Card Stock and adhere them around your card for added dimension and contrast.
Step 6: Show Off Your Beautiful Creation!
Once everything is assembled, gently shake your card to see the magic in action! The combination of the iridescent background, sparkling bokeh mix, and fluttering butterflies makes this card a true showstopper.
Shaker Card Pro Tips:
- Experiment with Colors: Try using different cardstock colors for the butterfly window to create unique effects.
- Mix and Match Shaker Fillers: Combine sequins, micro-beads, or glitter for varied textures.
- Add Extra Embellishments: Use rhinestones or Wink of Stella to give your butterflies extra shimmer.
- Try Different Sentiments: This design works beautifully for birthdays, thank-yous, or encouragement cards!
This Beautiful Butterflies Shaker Card is not only visually stunning but also a fun and interactive project. Whether you’re making it for a special occasion or just for the joy of crafting, this design is sure to impress!
Are you inspired to make your own? Share your creations and let me know how you customized your shaker card in the comments below! ✨🦋
VIDEO TUTORIAL
Shop Featured Products

Hi Kat! Beautiful cards!!! Where can I buy the Iridescent cardstock? I don’t think SU! carries them, or do they? Thank you for your help and response.