Maximize Your Creativity: Doubling Your Cards with the ‘City Sights’ Kit using the Masking Technique
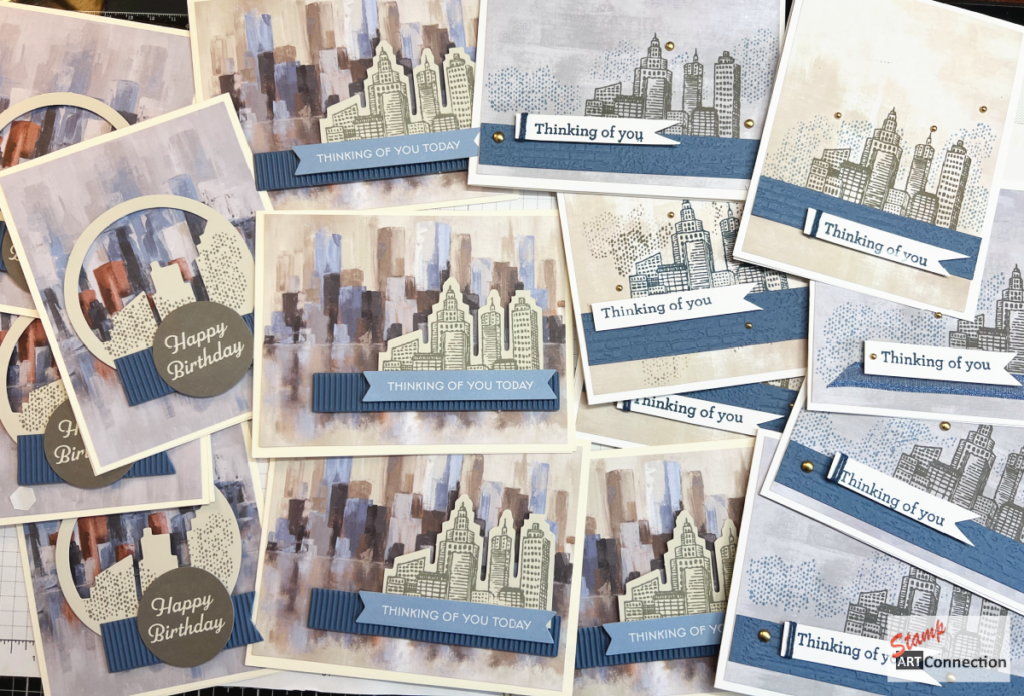
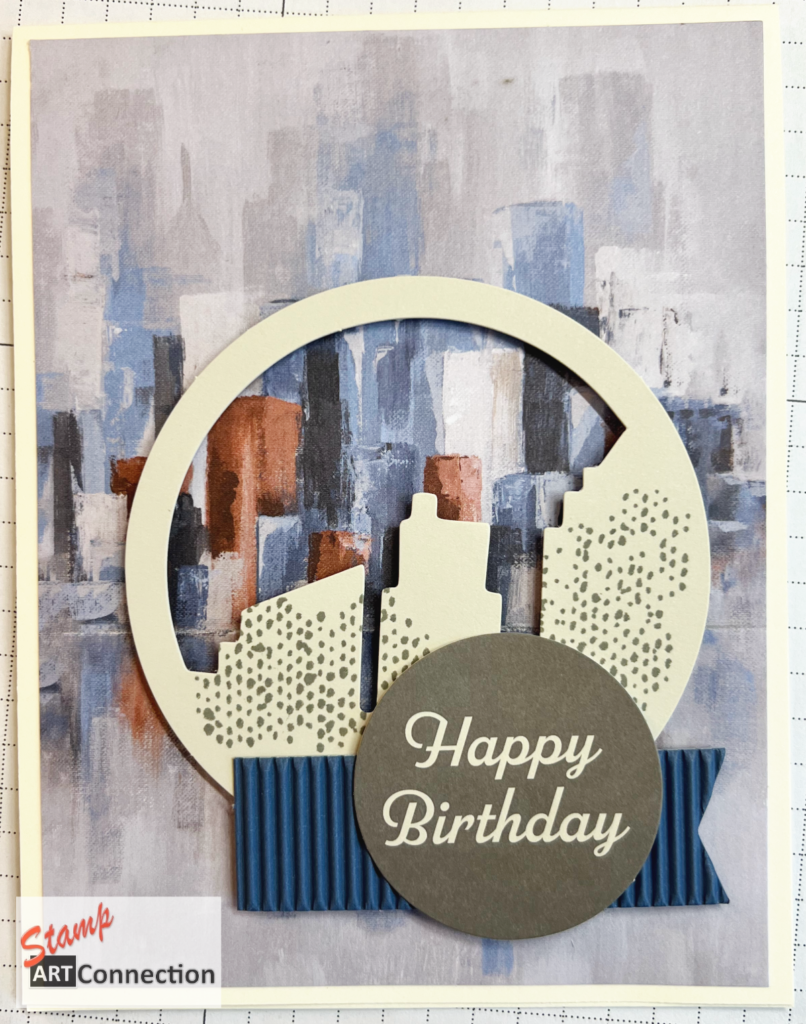
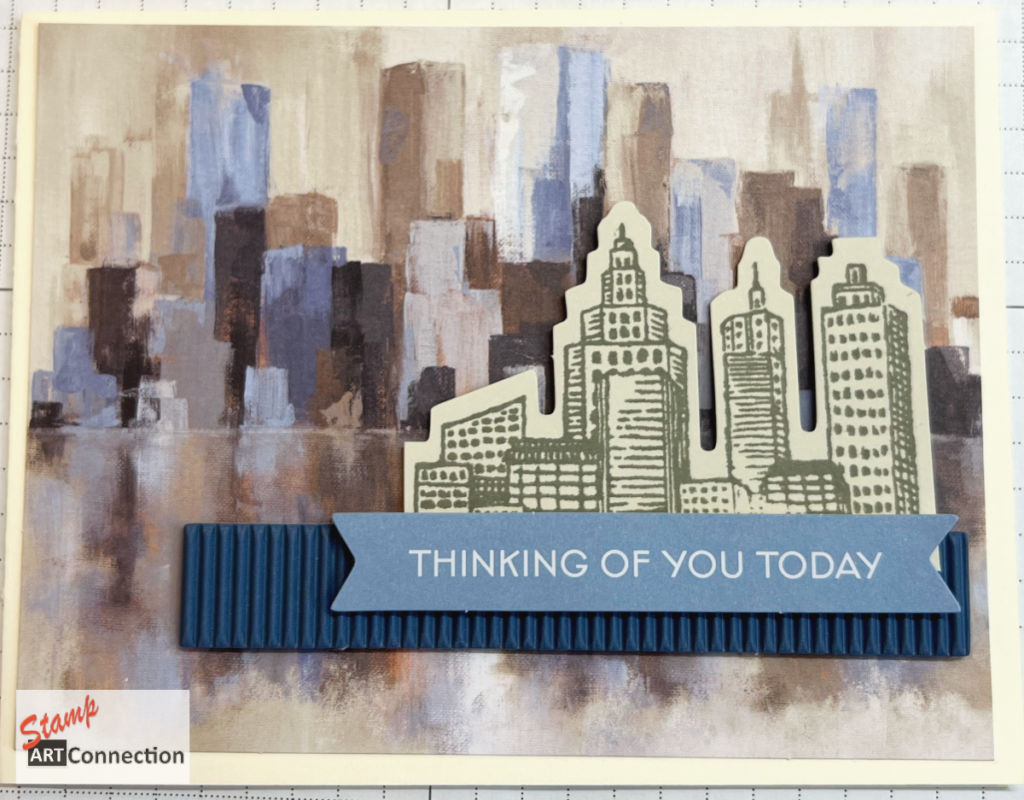
Using the Stampin’ Up! Kits Collection ‘City Sights,’ I was able to create 16 stunning cards from the 8 card blanks provided in the kit—doubling the output with just a bit of creativity!
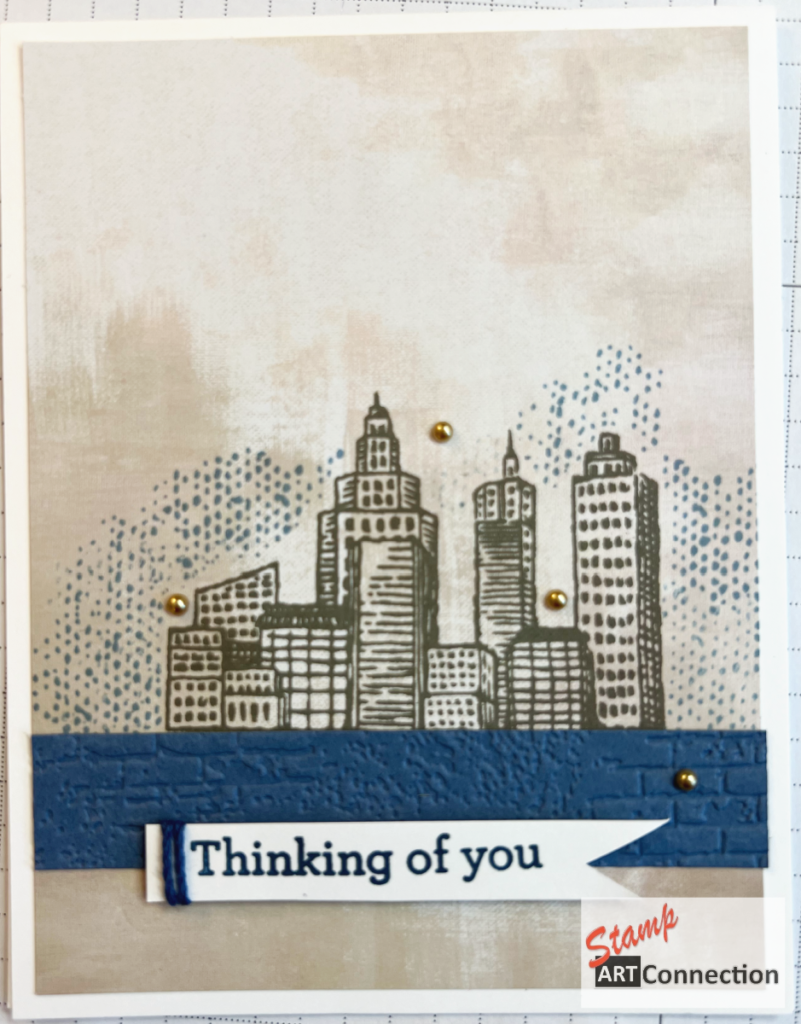
In this project, I’ll show you step-by-step how to use the masking technique to design your own custom backgrounds, adding layers of depth and interest to your cards.
By combining simple stamping with just a couple of extra products and coordinating ink colors, you’ll see how easy it is to stretch your supplies and make the most of this kit. Whether you’re a seasoned crafter or just starting, this approach is a fantastic way to maximize the value of your ‘City Sights’ kit, turning a single set of materials into a collection of personalized, unique cards that are sure to impress.
Join me as we explore these techniques and create beautiful masculine cards that reflect the vibrant energy of the city!
Materials Needed:
- Kits Collection’s “City Sights” – take the basecards, cut in half and cut to 4″ x 5.25″ panels which are glued on the Basic Beige card bases.
- Exposed Brick 3D Embossing Folder
- Basic Cardstock
- Basic Beige
- Basic White
- Misty Moonlight (4″x1″ cut into strips and embossed with Exposed Brick)
- Need cardstock scraps to use as a mask for stamping
- Inks
- Pebble Path
- Boho Blue
- Adhesive
- Regular glue (Tombow or Cosmic Shimmer Specialist Acrylic Glue)
- Mini-Glue Dots
- Dimensionals
- Tools
- Paper trimmer
- Scoring board
- Bone folder
- Scissors
- Stamp Set
- Simply Said
- Beauty of Friendship (retired)
- Metallic Gems / Coordinating Twine/Linen Thread
BASIC DIRECTIONS
Here are some basic directions. Follow my Video Tutorial for all the steps to create 16 cards from the kit.
Cut the Base Cards: Take the 8 base cards provided in the kit and cut them in half. You should end up with 16 panels. Trim the panels to measure 5.25” x 4” each that will be used as a layer for the final cards.
- Cut Basic Cardstock:
- Since we used the KIT card blanks as layering panels, you will need to cut 8 pieces of Basic White and 8 Basic Beige (or Very Vanilla) cardstock to 4” x 11”. Score each piece at 5.25” to create a total of 16 folded card blanks.
- Emboss Misty Moonlight Cardstock:
- Cut a piece of Misty Moonlight cardstock to 4” x 11”. Use your 3D embossing folder and your Stampin’ Up! Cut & Emboss machine to add texture to this piece.
Assemble the Card Fronts:
- Assemble the Card Fronts:
- Using the instructions provided in the kit, assemble the card fronts for 8 cards using the Very Vanilla card blanks.
Create the Cityscape Background
- Stamp the Cityscape Image:
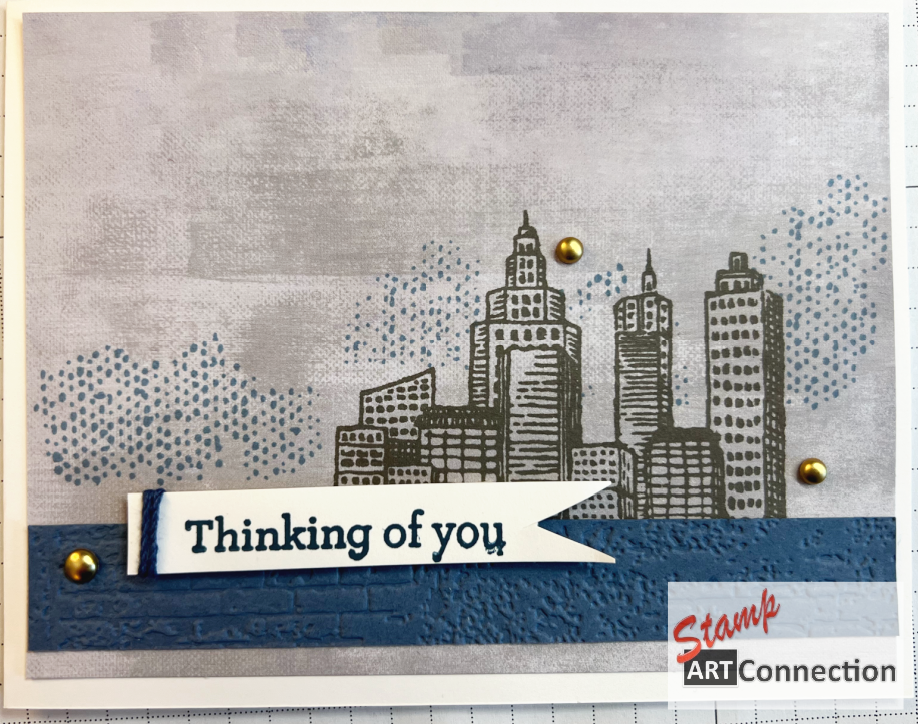
- On one of the remaining card panels (back side of the original card blank) cut from the kit, stamp the cityscape image using Pebble Path ink.
- Follow the designs and patterns for best orientation and create the front panels of your cards. I put the light shade to the top of the card (see video).
- Prepare the Mask:
- Stamp the cityscape image on a piece of scrap cardstock measuring about 3″ x 4″. NOTE: Notice in the Video Tutorial how I cut the mask down to optimize the space for stamping the background.
- Fussy cut the image to create a mask. This mask will cover your cityscape image as you stamp the background over it.
- Stamp the Background:
- Place the mask so that it covers the stamped cityscape image.
- Using the texture stamp provided in the kit, stamp the background with Boho Blue ink. This will add a textured background while keeping your cityscape image clean.
- I used a stamp-stamp-off technique to add color.
Create the Front Panels
- Cut Embossed Misty Moonlight Cardstock:
- After embossing the Misty Moonlight cardstock, cut it into two lengths: 4” and 5.25” long, and 1” wide. These will be used for the front panel of your cards.
- You can emboss in two directions (refer to Video) to get the optimum lengths to span the front of each card.
- Add a Sentiment:
- Choose any sentiment you like. This is a great masculine card so any sentiment will suit.
- Stamp it on Basic White cardstock using Pebble Path ink. Cut the sentiment into a pennant shape.
- Assemble the Sentiment Panel:
- Tie Baker’s Twine around the edge of the pennant-shaped sentiment. Use Mini Glue Dots to secure the twine in place. Adhere the sentiment to the card front using Mini-Dimensionals for added depth.
Final Assembly
- Attach the Card Front Panels:
- Attach the assembled card fronts to the Basic White or Basic Beige (or Very Vanilla) card blanks. Ensure everything is aligned and secure.
- Complete Your Cards:
- Review each card to ensure all elements are properly adhered and the design is cohesive.
With these steps and by following the Video Tutorial, you’ve crafted stunning city-themed cards using your City Sights Kit. Each card showcases the cityscape and textured backgrounds beautifully, perfect for any occasion. Enjoy your card-making process and take pride in the unique creations you’ve made!
Happy crafting, and don’t forget to share your creations with us on social media!
Happy crafting!
Kat
Gallery
Video Tutorial
Products Featured
