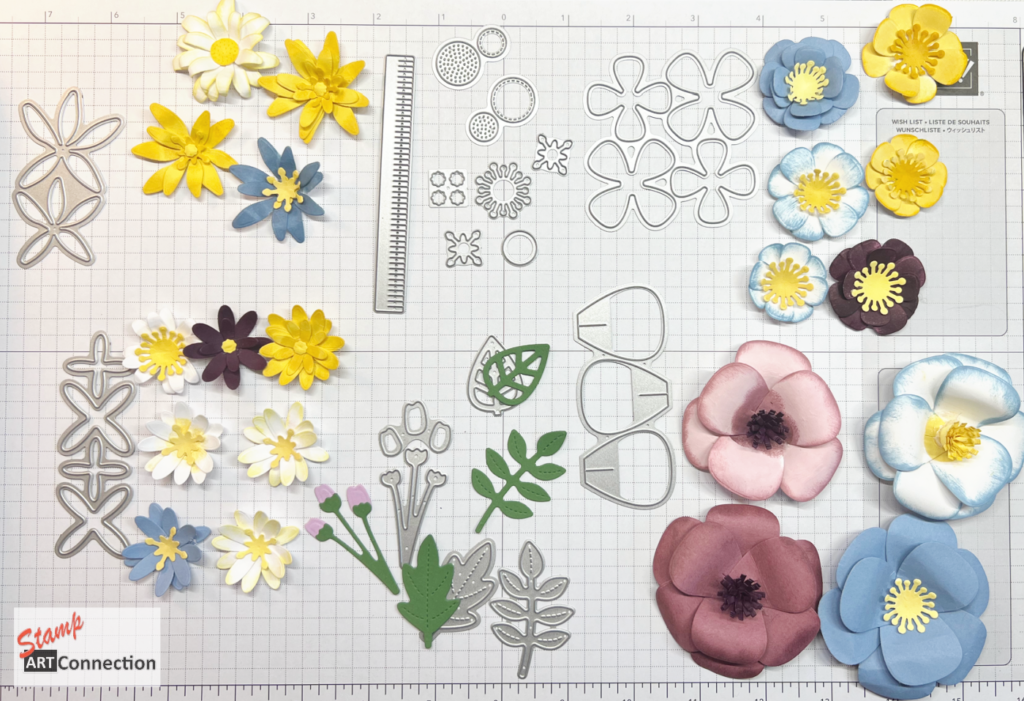
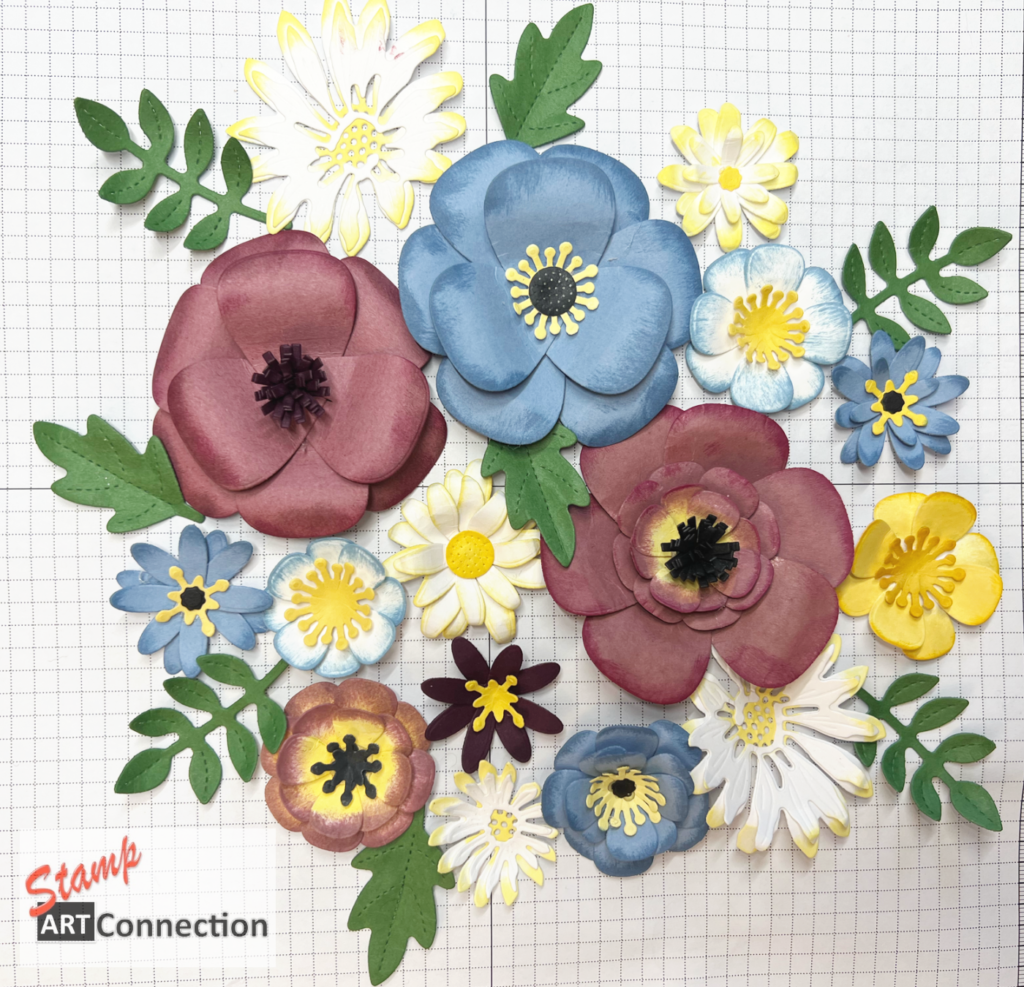
Another project of opportunity featuring the PAPER FLORIST DIES...proving again how this set of 14 dies is not only beautiful but versatile!
Additionally, as a FANCY FOLDS project — this is another all-occasion feminine card and features the WANTED TO SAY, CHEERFUL DAISIES dies, and the PAINTED POSIES 3D embossing folder for the background.
My video tutorials feature all the steps for building the card as well as building the larger blooms. Refer to my previous tutorials for more information on building the various shadow box frames if you missed them.
All products are available on my ONLINE store.
Thanks for stopping by…and as always…. please hit LIKE and leave a comment!!
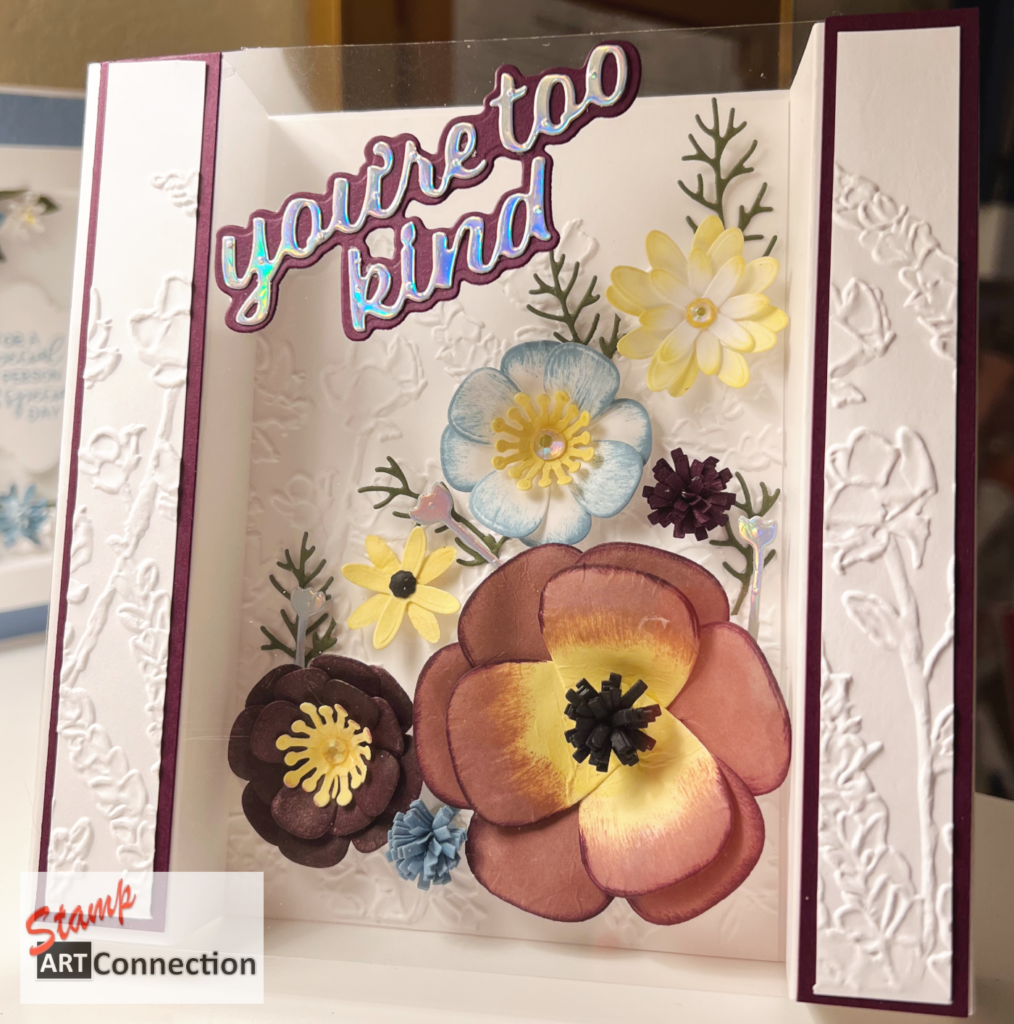
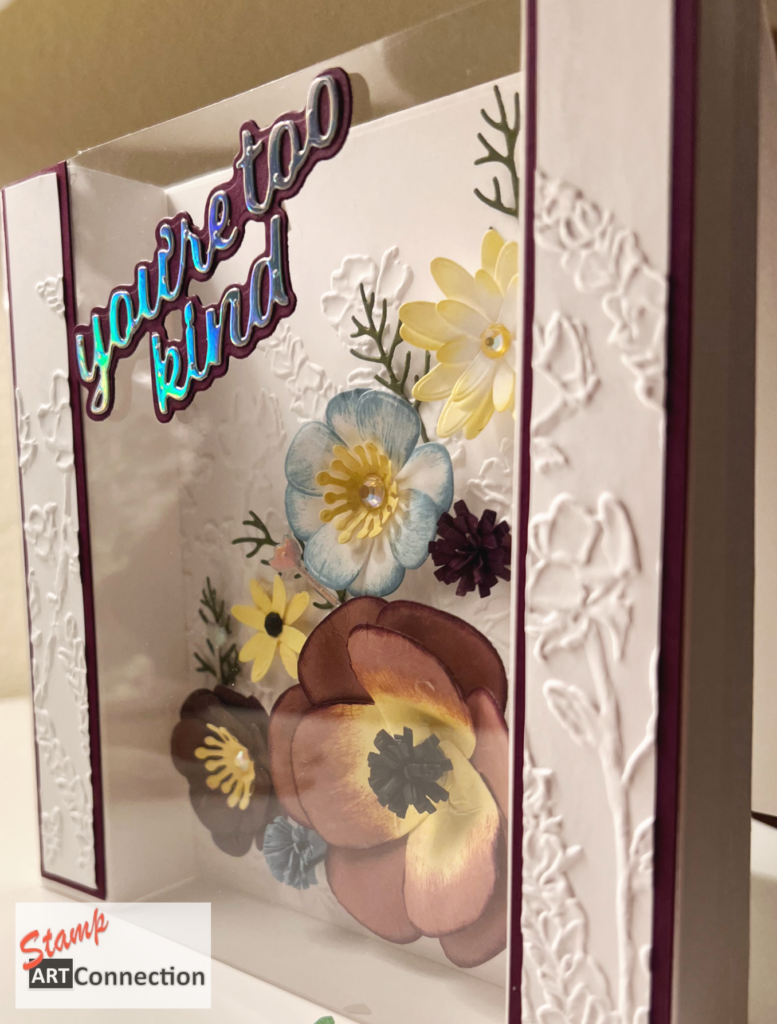
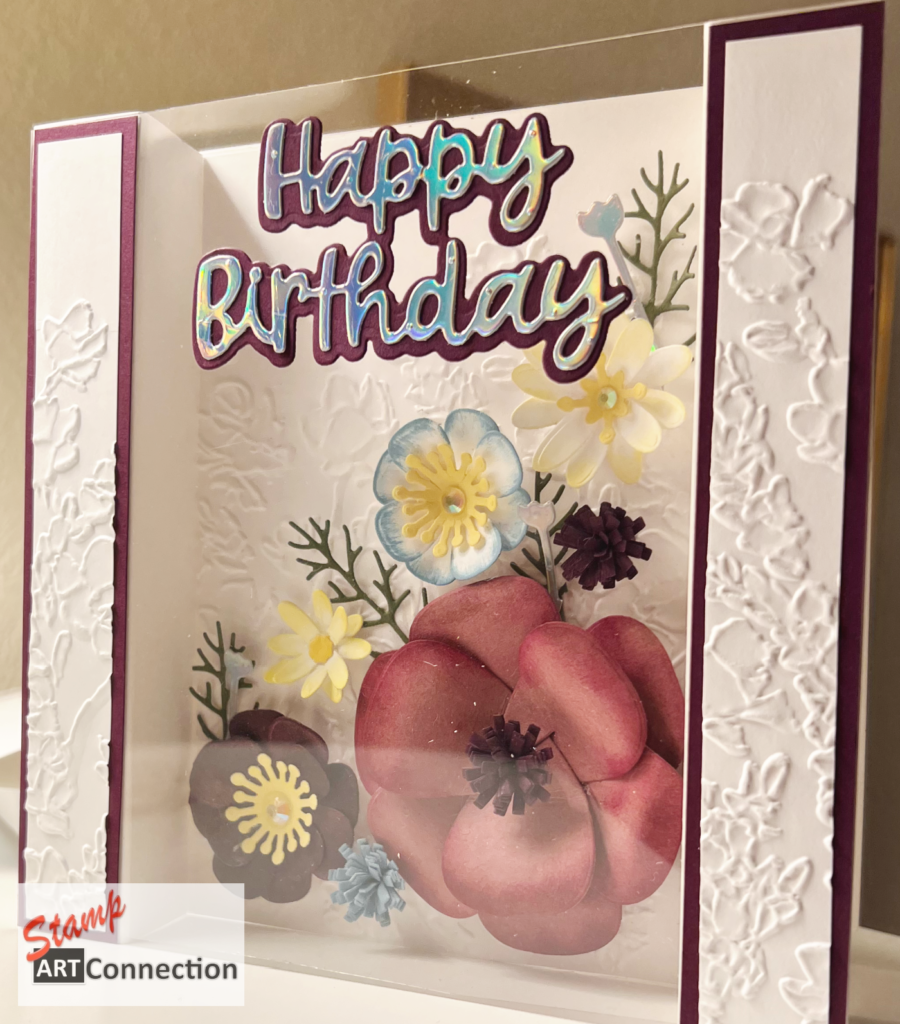
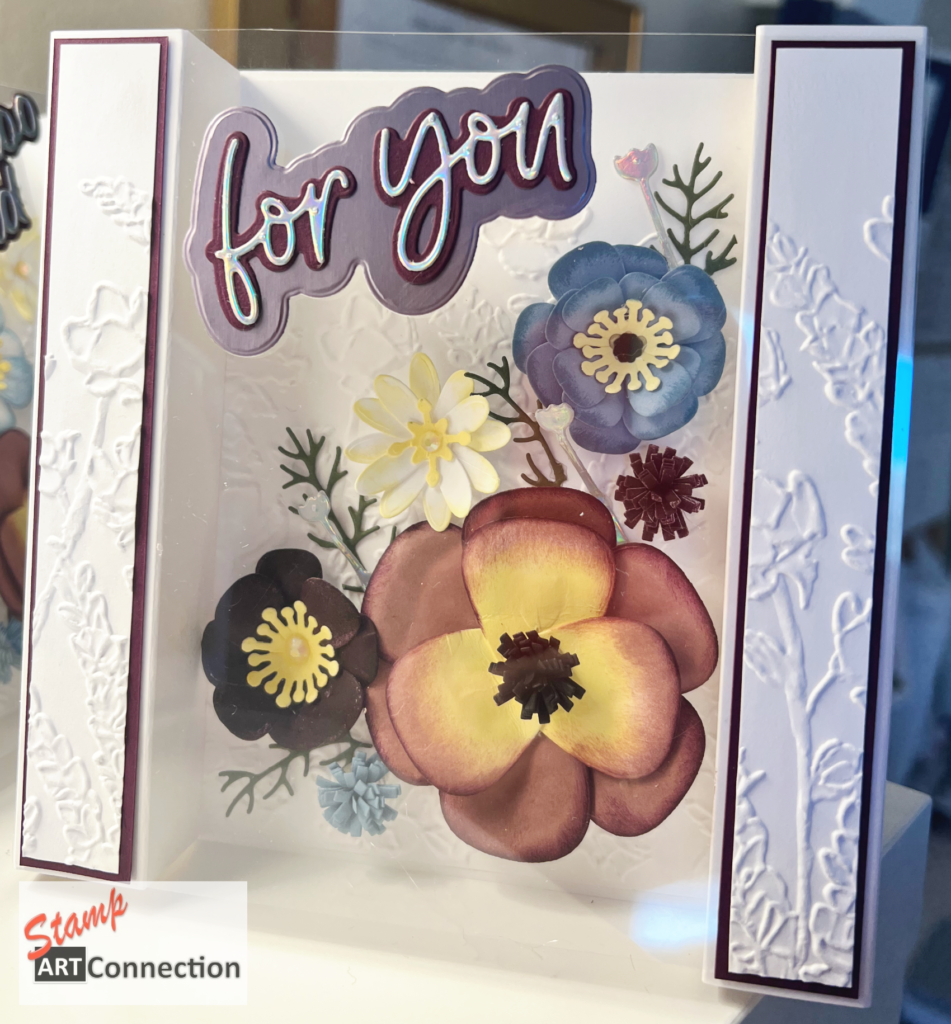
PAPER FLORIST — 14 versatile and dynamic Dies
Video Tutorial
Past Video Tutorial
Supply List & Measurements Used for this Project
- Please refer to my VIDEO “Do This to Create Fantastic Florals” for directions, tips and color combinations for die cutting and assembly.
- COLOR COMBINATION FEATURED FOR FLORALS:
- Moody Mauve, BoHo Blue, Lemon Lolly, Blackberry Bliss, Basic Black (flower centers), Mossy Meadow, and the HOLOGRAPHIC TRIO SPECIALTY PAPER.
- DIES:
- PAPER FLORIST DIES
- WANTED TO SAY DIES
- CHEERFUL DAISIES DIES
- LOVE FOR YOU DIES
- GOOD FEELINGS Stamp Set
- BASE CARD: Basic White Card Stock (6″x 12″ — score at 6″)
- Layers: 2 pieces cut 6″ x 6″
- Emboss both using the 3D PAINTED POISES Embossing Folder
- INSIDE FRONT PANEL: cut after embossing 4″ x 5 7/8″
- Apply to the inside after the 3D Pillars have been added
- BACK PANEL: apply to the back of the card FLAP.
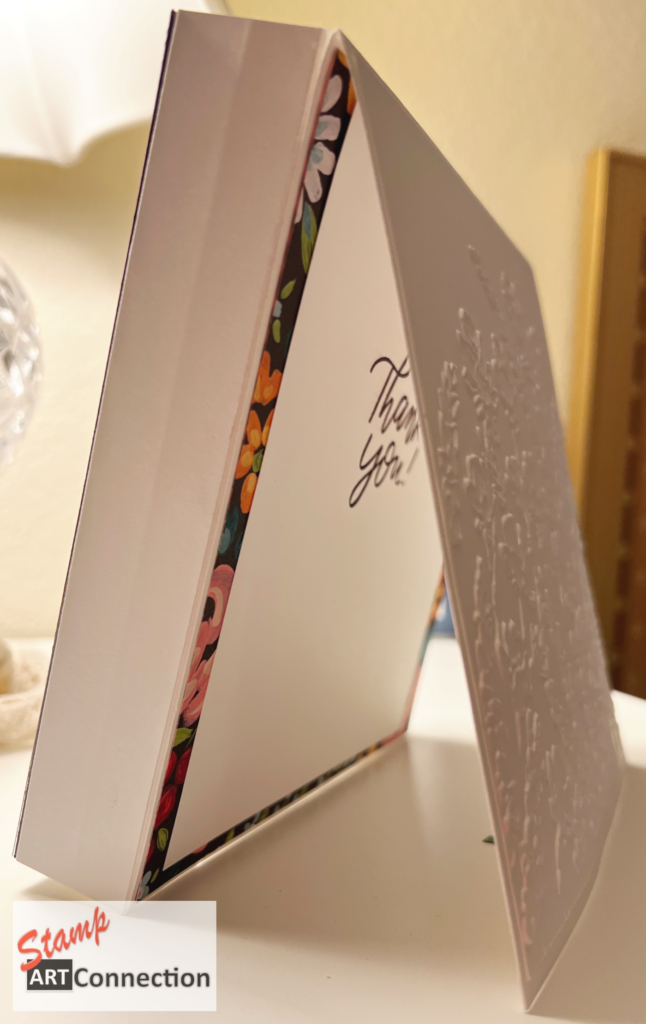
- 3D PILLARS:
- Cut two at 4.5″ x 6″
- Score: along the 4.5″ side:
- 1″, 2″, 3″, 4″
- Score: along the 4.5″ side:
- Turn the 6″ side SEAM facing outward when gluing to the CARD BASE. This hides the seam when looking at the top of the card.
- Follow video tutorials for assembly steps.
- Adhere Pillars
- Paste Embossed Back Panel
- Arrange flowers
- Adhere Acetate front panel
- Cut two at 4.5″ x 6″
- ACETATE Front Panel: 5 7/8″ x 5 7/8″ square
- Clean the back surface with Alcohol Wipes to remove any smudges before gluing with TEAR TAPE to the 3D Pillar front.
- 3D PILLAR Layers:
- Need TWO pieces – BLACKBERRY BLISS card stock cut @ 7/8″ x 5 7/8″
- Need TWO pieces – BASIC WHITE card stock:
- As I demonstrate in my video — I use a piece about 4″ x 6″ that has been embossed in advance.
- Then cut both down to .75″ x 5.75″
- Inside BACK PANEL:
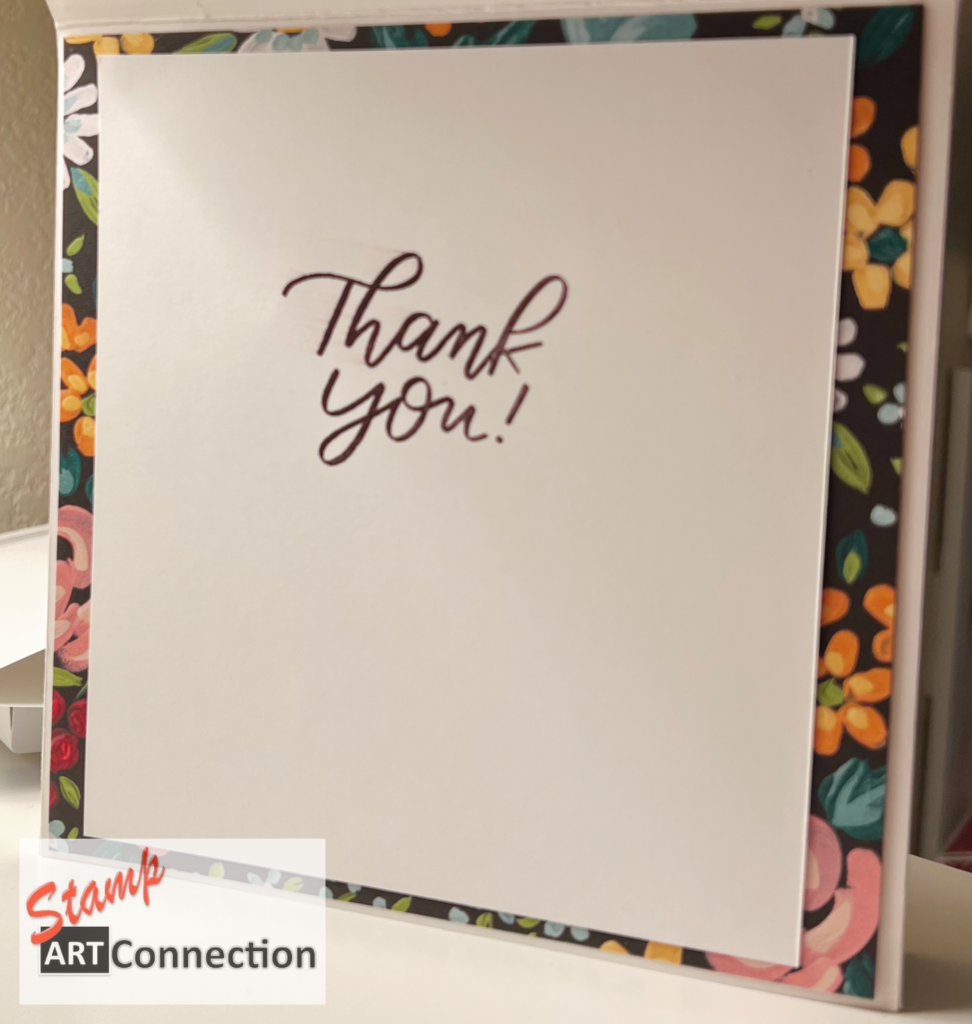
- DSP accent is cut 5.75″ x 5.75″ and layered with BASIC WHITE 5.5″ x 5.5″ and stamped with an additional sentiment from the GOOD FEELINGS stamp set.
- Embellish flower centers with Iridescent Rhinestone Gems
- Recommend a spot of FINE TIP GLUE just to ensure the gems are securely fastened. I have found they may POP OFF.
- Stampin’ TRIMMER
- Multi-Purpose Glue (TOMBOW) / Tear Tape
- Mini & Regular Dimensional(s)
- Stampin’ Cut & Emboss Machine
Featured Products & ON-LINE STORE:
Here are some of the featured products that are featured in the new catalog and available on my ONLINE store…so convenient — just click and it will ADD TO YOUR CART below:
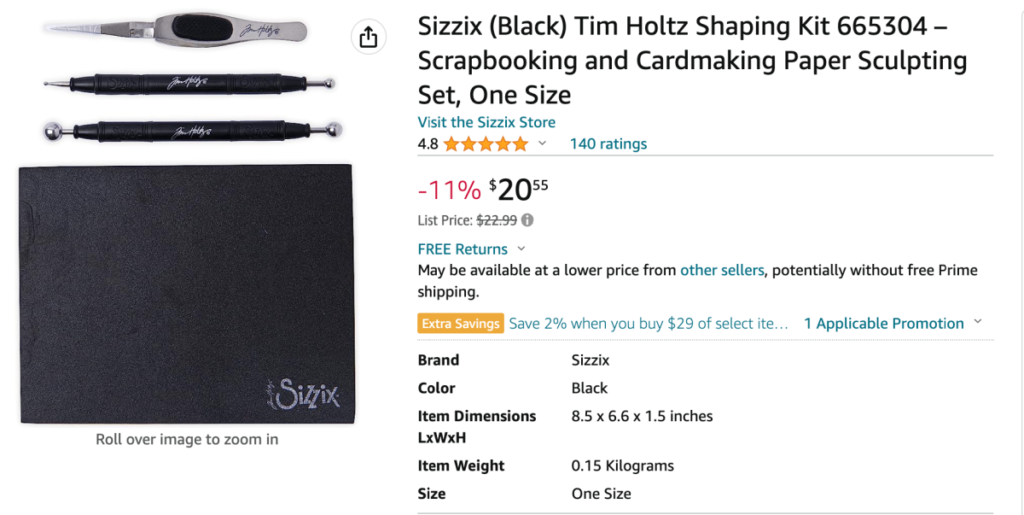
OTHER PRODUCTS (ON AMAZON)

Hello !!
They are so beautiful !! I love them !!
Is it possible to send them by mail ?
Have a good day !