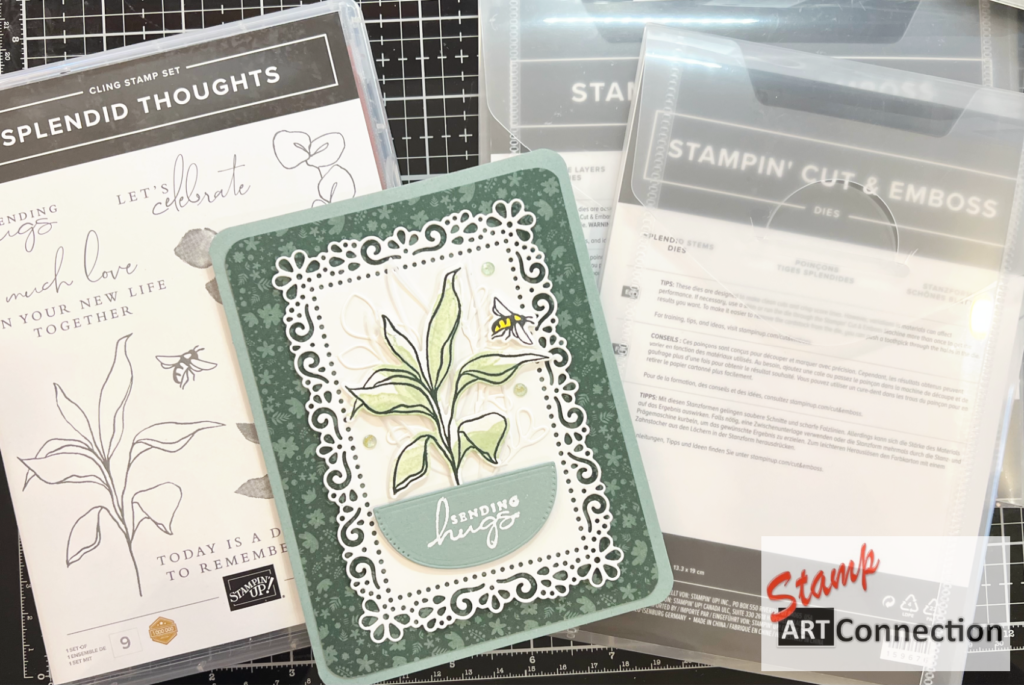
What really attracted me to this Suite was its versatility. You can stamp, layer with die-cuts, or combine the SPLENDID DAY suite of products to create beautiful cards.
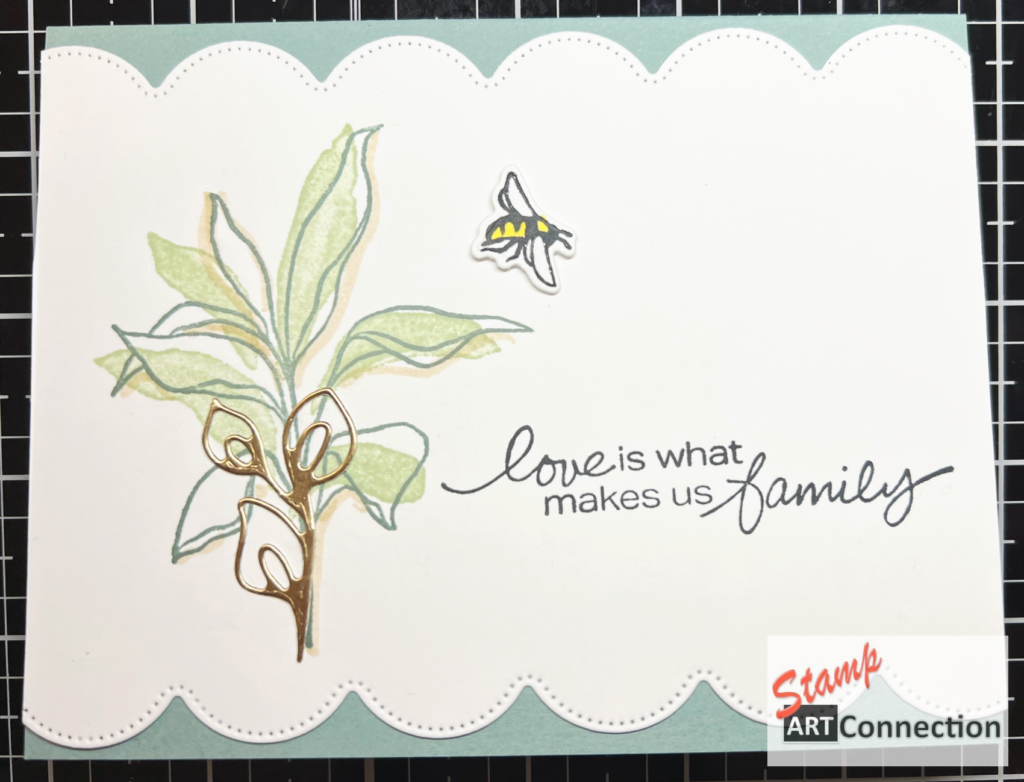
Here I will demonstrate how you can stamp and then use the dies to create a background by layering.
One of the features of the stamp set is that the FILL STAMP does not align perfectly with the image. This was frustrating for one of my clients. I demonstrated a technique using the FILL STAMP and several ink colors to create a lovely tonal effect.
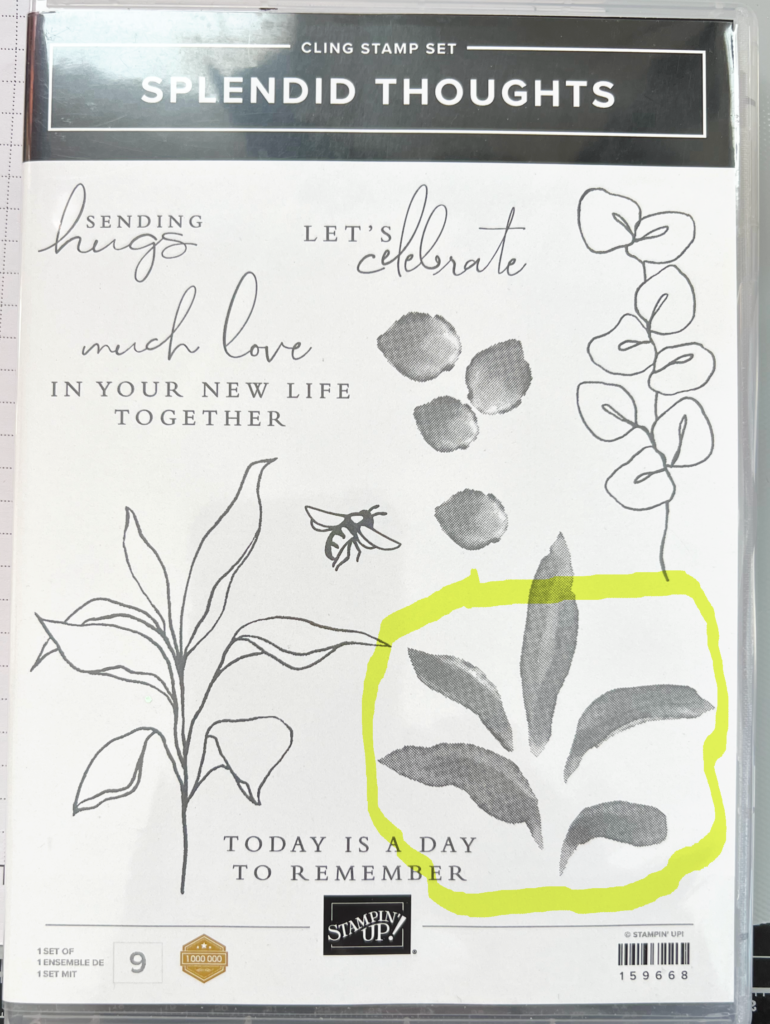
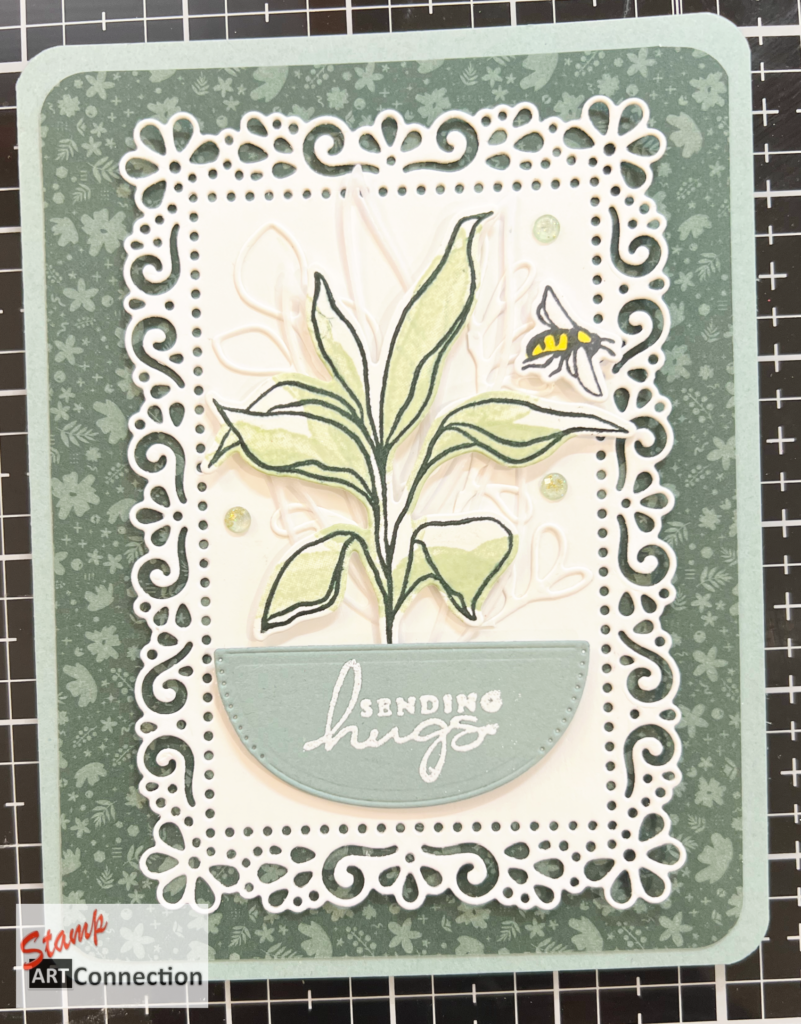
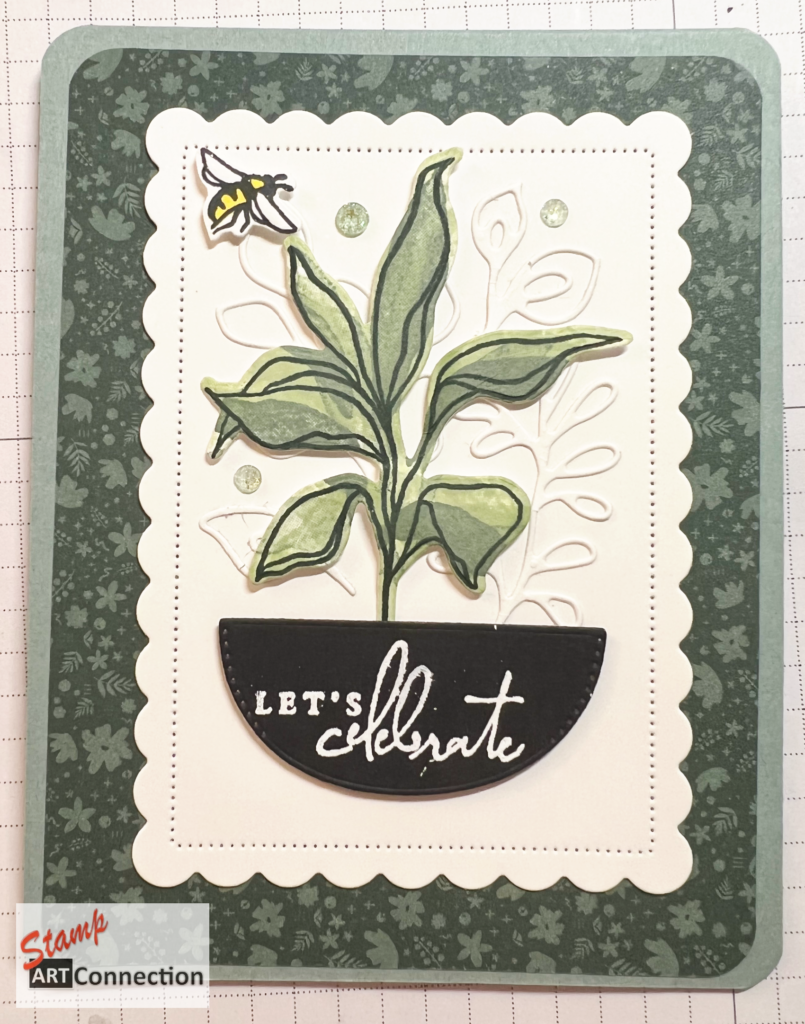
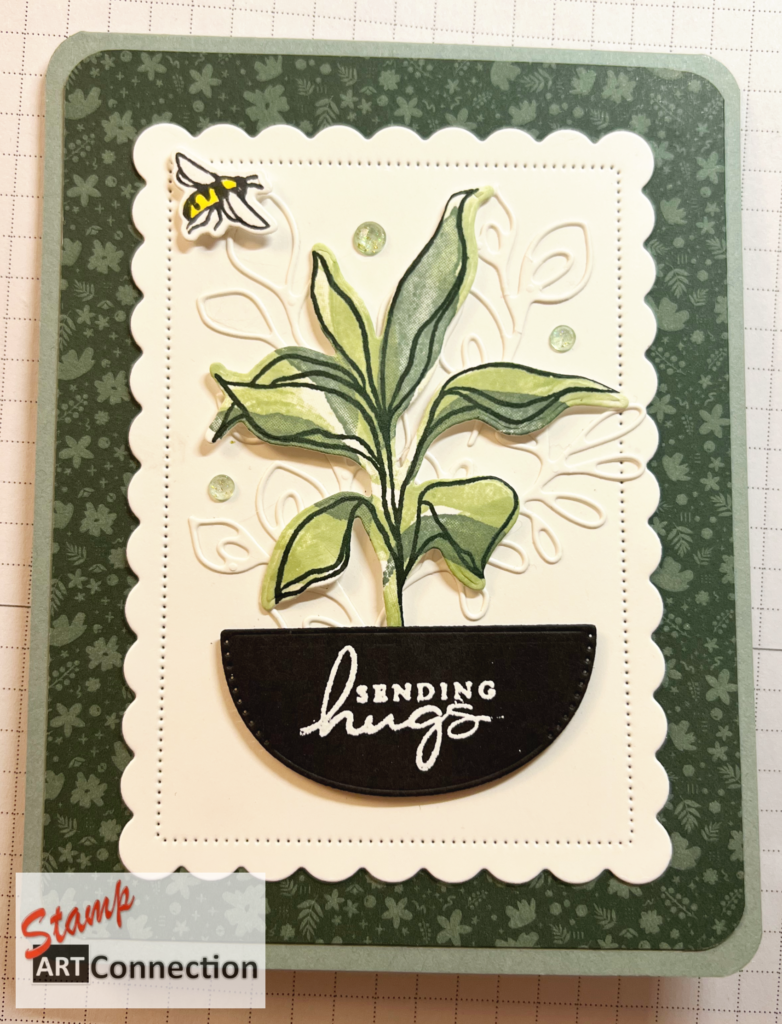
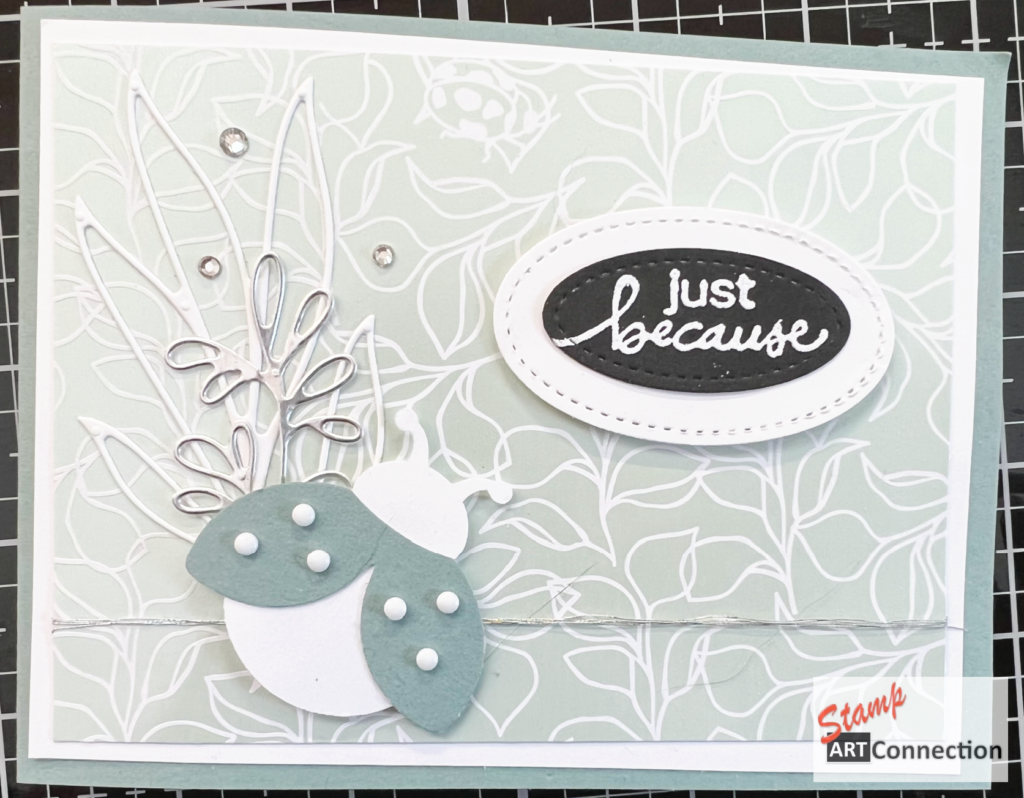
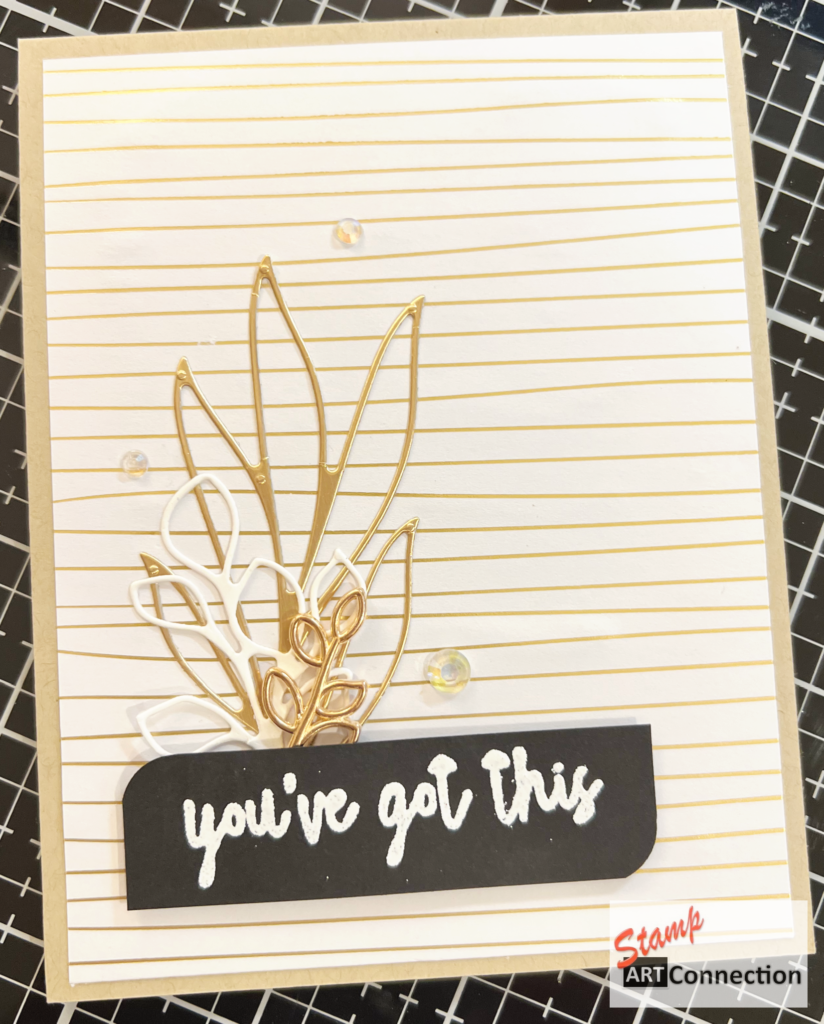
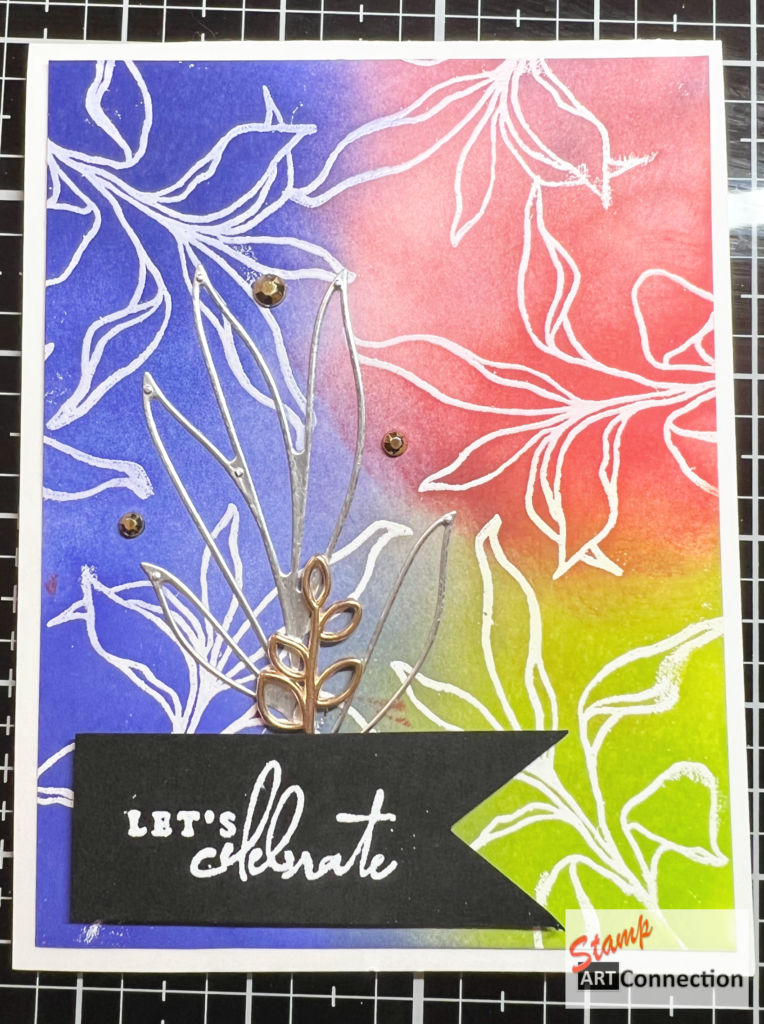
To create the perfect background, I started out using the ORNATE LAYERS DIES (retired) and applied the details DIE CUTS from the SPLENDID STEMS DIES to create a layered/monochromatic background. I also created a version using the LAYERING CONTOURS Dies to show off the versatility between an ornate and simplistic approach. The Layering Contours Dies are available in the Annual Catalog (click BUTTON for complete product inventory for this project).
Go to my video tutorial for the detailed steps. Please LIKE and share and leave a comment.
MATERIALS NEEDED:
CARDSTOCK:
- Soft Succulent (card base)
- Basic White (layer/stamping)
- Basic Black (planter)
- 2021-2023 IN COLOR DSP (for the layer)
INK:
- Soft Sea Foam
- Soft Succulent
- Evening Evergreen
- VersaMark to emboss with WHITE Embossing Powder
STAMP/DIES:
- Scalloped Contours Dies
- Splendid Stems Dies / Splendid Thoughts Stamp Set
MISC:
- Multi-purpose Adhesive Sheet
- Opal Rounds
- Dimensionals
- Corner Punch
- Sponge Dauber
- Heat Tool
- Emboss/Die Cut Machine
Video Tutorial
Gallery
More Ideas

Love your design. I am a current Stampinup” Demo. I’m always looking for new designs to show my customer. Your designs are awsome.