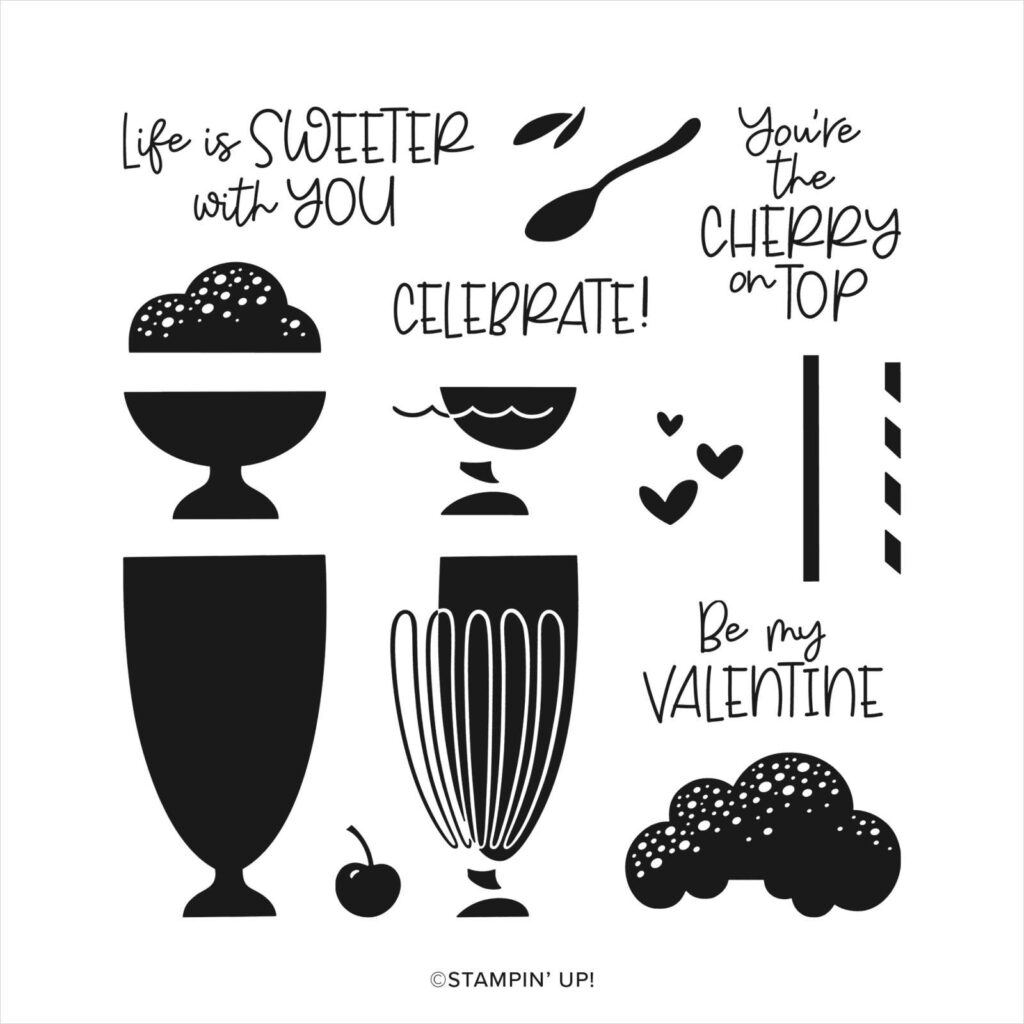
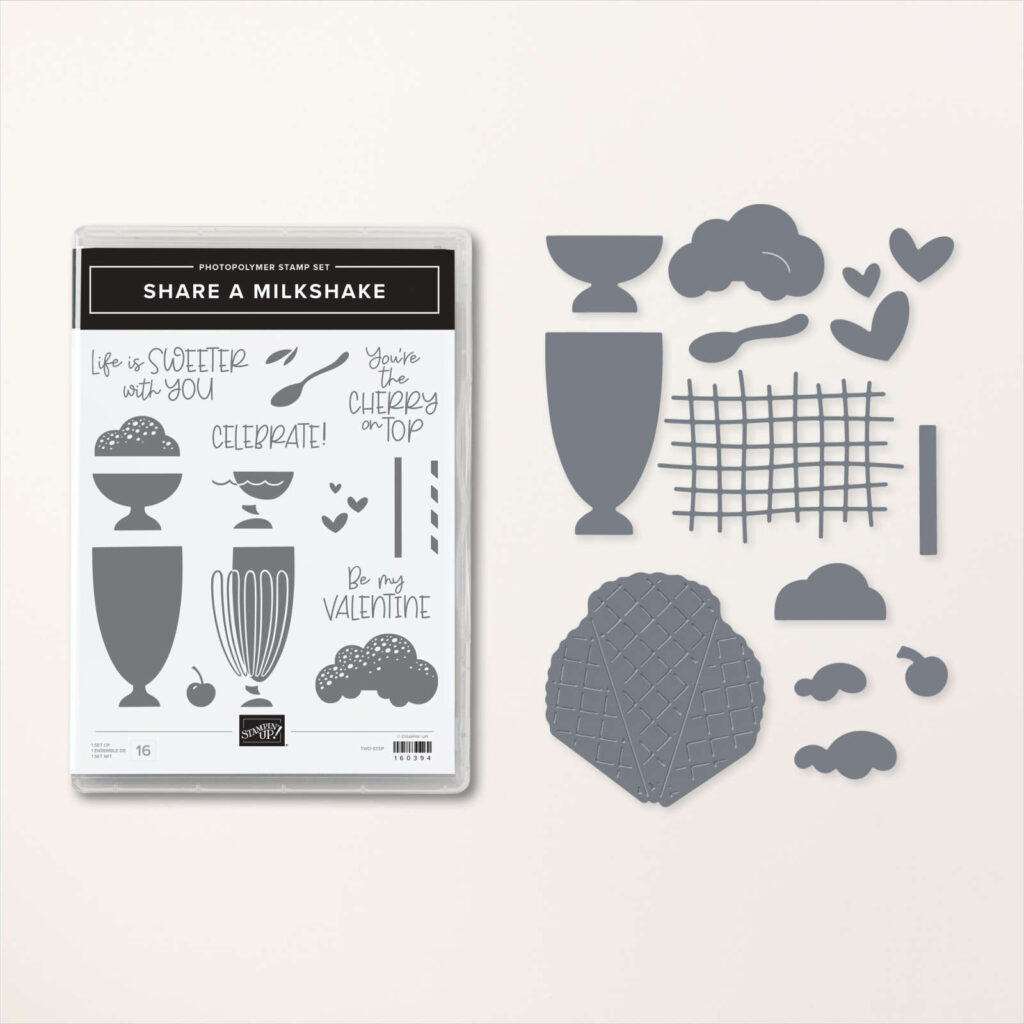
The Share A Milkshake Bundle includes two-step stamps and dies and uses the Country Gingham, Country Floral DSP, and Specialty Glimmer Paper to coordinate with any project.
Key to the fun of this project is to begin by stamping, cutting, and embossing all the project pieces in advance to later assemble and create easy Valentine’s greetings.
Techniques include Two-Step Stamping & Embossing using the Stamparatus and Die Cutting.
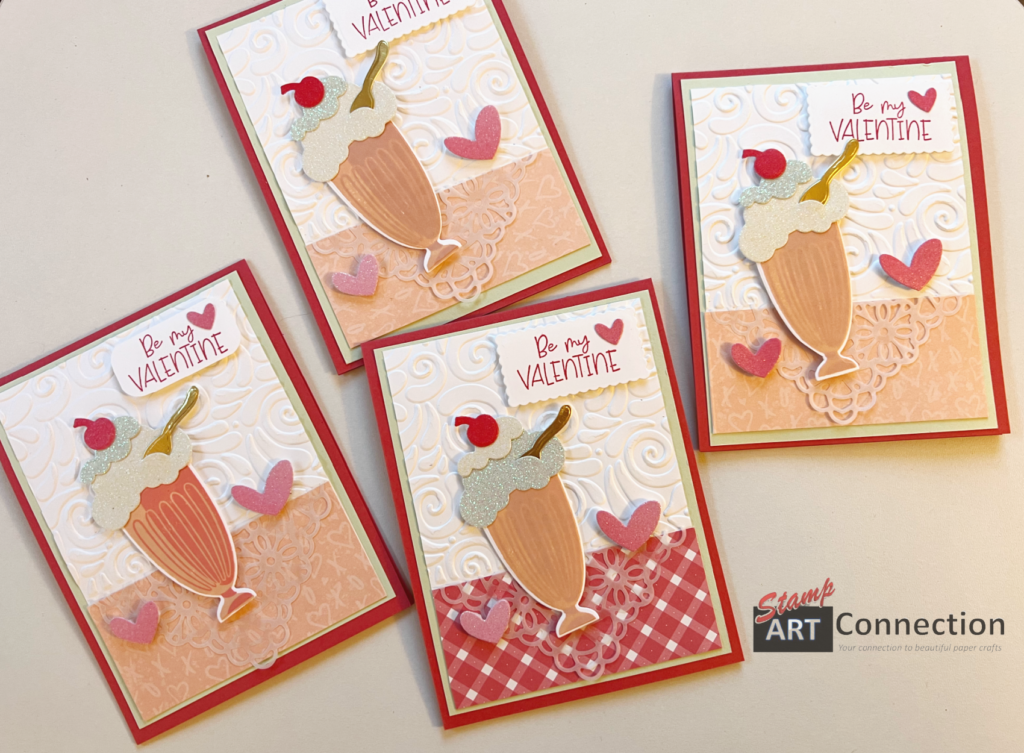
Compartmentalize Your Projects
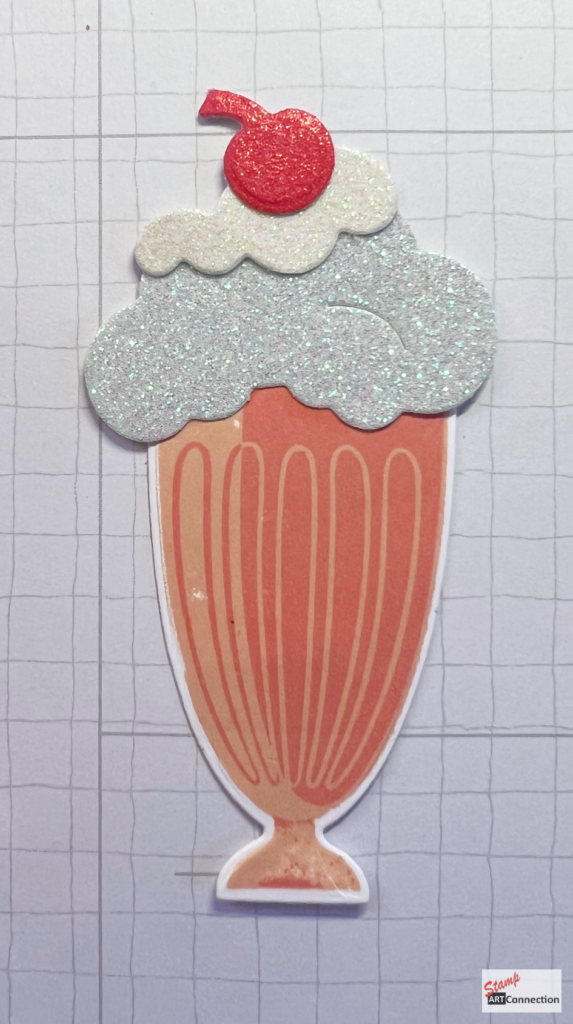
My video tutorial provides TIPS for mass-producing all the pieces from the Shake A Milkshake bundle using Basic White (stamp with Flirty Flamingo & Petal Pink inks) and die-cut with Glimmer papers.
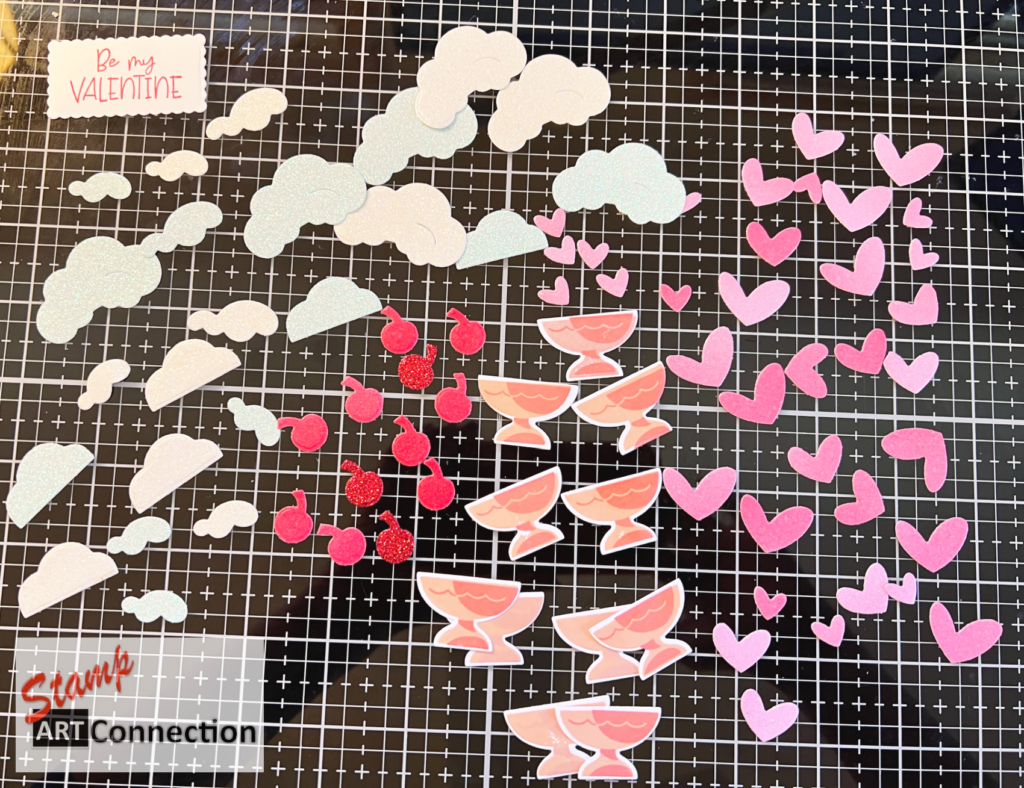
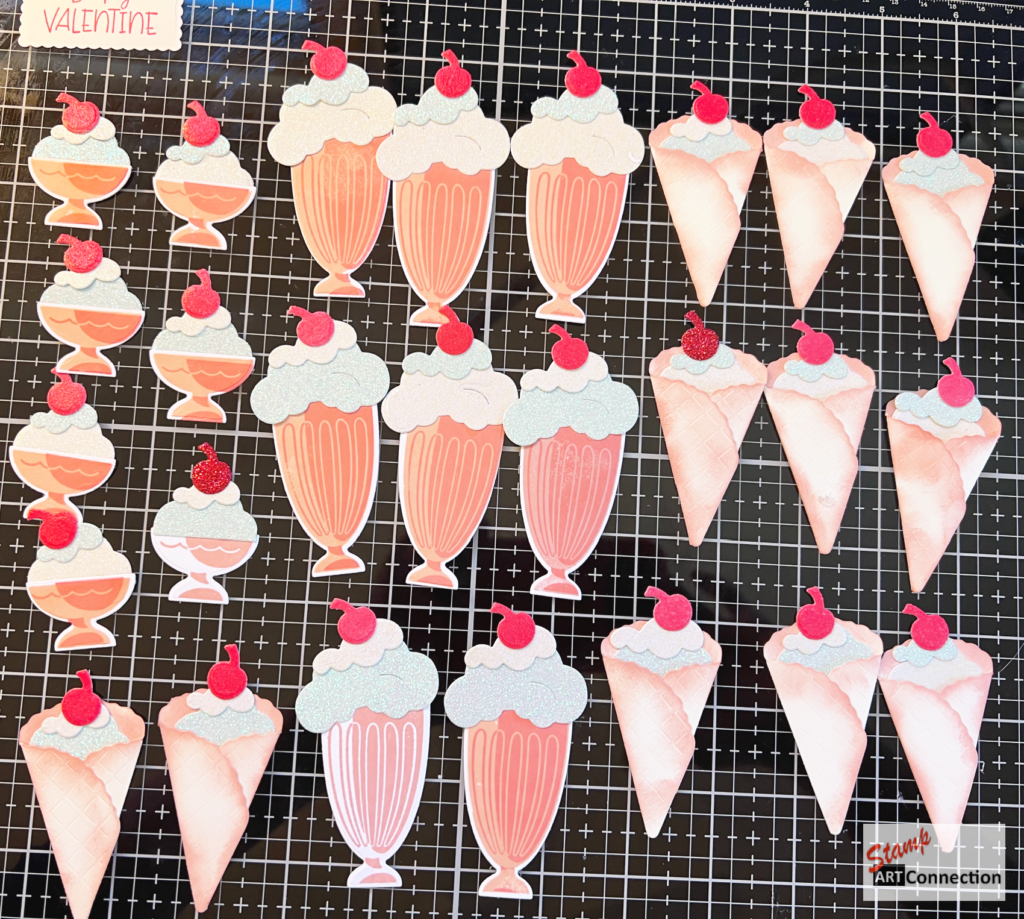
Assemble the pieces to create the milkshake, sundae, waffle ice cream cones and hearts for future projects — like the one presented here! Check out details below….
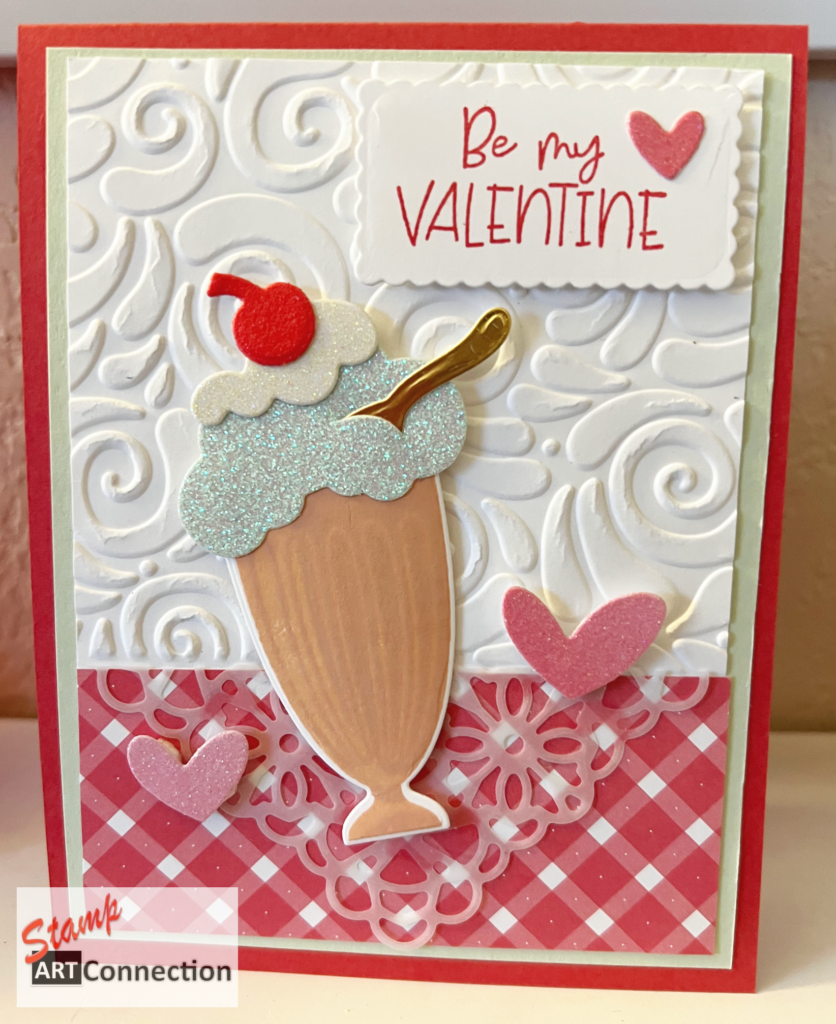
Featured Projects
Video Tutorial
Supplies Used for this Project
- Base Card – Sweet Sorbet (5.5 x 4.25″)
- LAYERS:
- Mint Macaroon – 5.25″ x 4″
- Basic White – 5″x 3.75″
- INKS:
- Sweet Sorbet (for stamping sentiment)
- Flirty Flamingo & Petal Pink
- DSP:
- Country Gingham and Country Lane Floral (for the “tablecloth”)
- 2022-2024 IN COLOR 6X6 GLIMMER PAPER
- DIES:
- Share a Milkshake Dies
- Mini-Pocket Dies (used for the sentiment label)
- EMBOSSING FOLDER:
- SWIRLS & CURLS TEXTURED IMPRESSIONS EMBOSSING FOLDER (Retired)
- Recommend the GINGHAM Embossing Folder
- Adhesives: Multipurpose Glue, Fine Tip Glue, Tear Tape & Dimensionals
- STAMPARATUS for two-step stamping
- Stamp & Emboss Machine
- Vellum Dollies (retired)
Featured Products
Beautifully done and such delicious looking shakes!