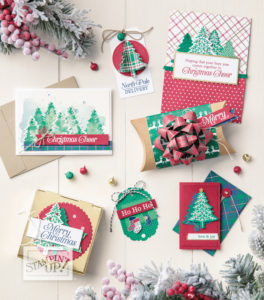
Here are the second group of projects featuring the products from the 25 PRODUCTS UNDER $25 list using the Wrapped in Plaid suite!
I was inspired by the products featured on page 12 of the Holiday Catalog!
This suite speaks to a happy “O’ Christmas Tree” feeling. I love the traditional colors (Cherry Cobbler, Night of Navy, Shaded Spruce and Gold Foil accents) and patterns (plaid, holly berries, pine cones, and Christmas stocking) on the Specialty Designer Series Paper. The sentiments are great for either card or tags greetings.
Explore further and you find great versatility using the Perfectly Plaid stamp set and Pine Tree punch. Below I feature cards with Christmas Trees fronts stamped with ink using both classic and mock watercolor techniques. The stamps are perfect for tags on GOLD FOIL pizza boxes! These are great for treats since they are food safe. Look at all the perfect holiday projects you can get from this ONE suite! Happy Holidays!
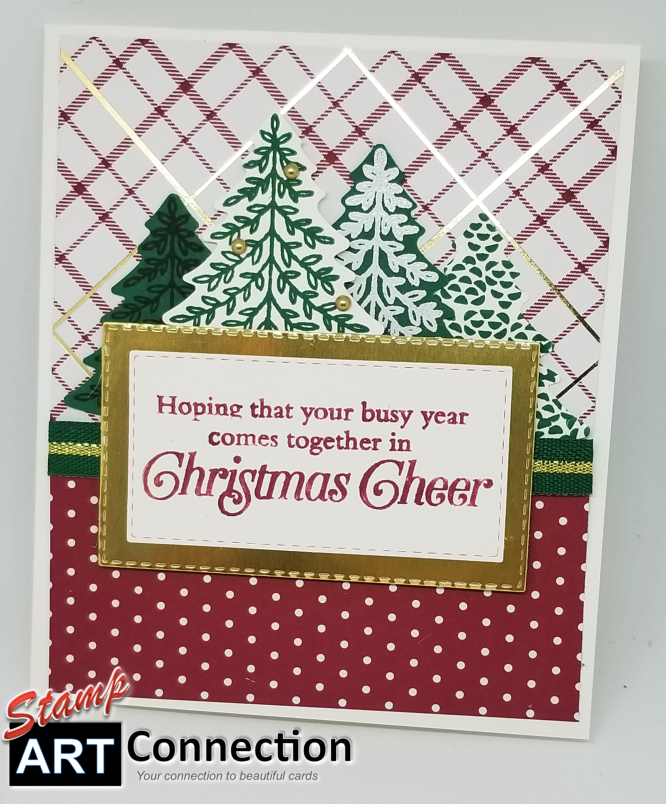
Card Recipe
STAMP SETS: Perfectly Plaid
CARD STOCK/DSP: Wrapped in Plaid Specialty DSP stack (3″x4″ piece and 4″ x 2″ piece for card front using standard 5.5″ x 4.25″ card in Whisper White), Gold Foil is cut using the Layered Stitched Rectangles (using the size that will fit the sentiment stamped in Cherry Cobbler)
INK/COLORING TOOLS: Night of Navy & Shaded Spruce Classic Stampin’ pads, Versamark ink, White Stampin’ Emboss Powder. Stamp the tree images using Night of Navy ink on Shaded Spruce card stock and stamp with Shaded Spruce ink on WW card stock, lastly emboss the Shaded Spruce cardstock with White and cut all the trees with a punch.
ACCESSORIES: Embellish the tree with Gold Metallic Pearls, 3/8” Shaded
Spruce & Gold Ribbon is used to hide the seam between both DSP pieces on the front.
ADHESIVES: Snail, Dimensionals & Multipurpose
Liquid glue. Pop the tree (embellished with the Gold Pearls) on dimensionals and arrange the other trees behind – staggering their heights.
TOOLS: Stitched Rectangles, Pine Tree Punch, Heat
Tool for the white embossing.
TECHNIQUE: I used the small pinecone stamp piece to create a tree pattern on Whisper White Card Stock that I then cut out with the Tree Punch (see the far right tree)
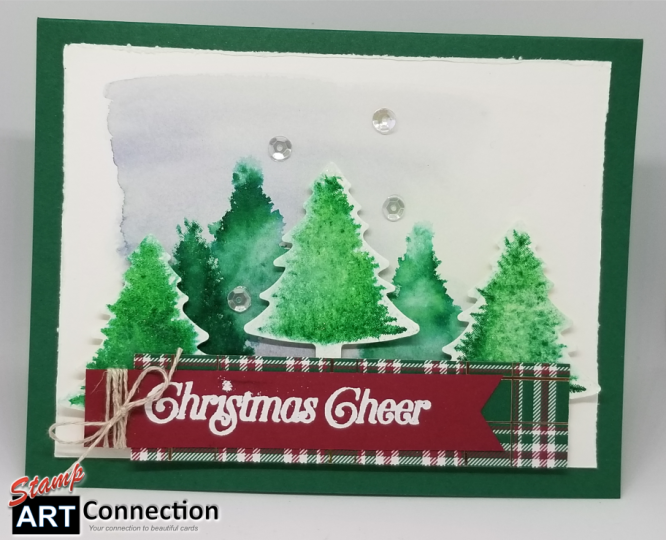
Card Recipe:
STAMP SET: Perfectly Plaid
CARD STOCK/DSP: Shaded Spruce Card Stock (cut standard size 5.5″ x 4/25″), Wrapped in Plaid Specialty DSP stack (cut 1″ x 4″) for accent, & Cherry Cobbler CS (cut .75″ x 4″ with pennant end), Watercolor Paper (5″ x 3.75″)
INK/COLORING TOOLS: Pool Party, Shaded Spruce, Night of Navy Classic Stampin’ pads, Versamark ink, White Stampin’ Emboss Powder
ACCESSORIES: Iridescent Sequin Assortment, Twine, Wink of Stella
ADHESIVES: Snail, Dimensionals & Multipurpose Liquid glue
TOOLS: Aqua Painter, Pine Tree Punch, Stampin’
Spritzer and scissors to rough edges on watercolor paper.
Technique: (1) First prepare the background by wetting WC paper with water and using the Aqua Painter to mix SMALL AMOUNTS both Pool Party and Night Of Navy ink as a faint wash. Let dry. (2) the Faux Watercolor technique – mist the inked stamp surface prior to stamping the Shaded Spruce image on the watercolor paper. (3) Let dry before punching the shapes so the paper doesn’t tear. (4) Assemble with dimensionals and staggering the heights. Use dimensionals to add the sentiment which is embossed in White on Cherry Cobbler Card Stock. Wrap with twine and tie a bow. (5) Added a wash of Wink of Stella around the edges of the trees for a touch of glimmer.
Gold Pizza Gift or Treat Box
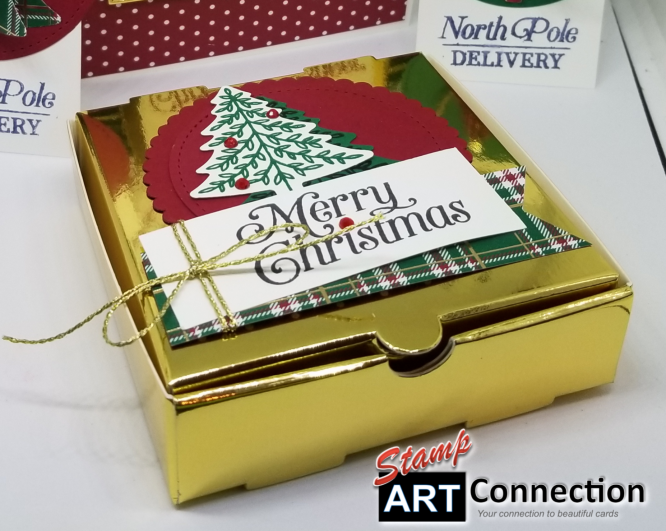
Gift Box Recipe:
STAMP SET: Perfectly Plaid
CARD STOCK/DSP: Wrapped in Plaid Specialty DSP stack,
Whisper White, Cherry Cobbler card stock
INK/COLORING TOOLS: Night of Navy and Shaded
Spruce Classic Stampin’ pads
ACCESSORIES: Gold Twine, Gold Pizza Box, Red Rhinestones
ADHESIVES: Snail, Dimensionals & Multipurpose
Liquid glue
TOOLS: Stitched Shapes Circle Dies, Pine
tree Punch, Layering Circles Dies (scalloped edge for first circle layer). (1) Cut both a scalloped and stitched circle in Cherry Cobbler (size should be dictated by the size of box or your choice). (2) Stamp tree images with both Shaded Spruce (on WW) and Night of Navy inks (on Shaded Spruce) card stock and cut with tree punch. Embellish the WW tree with RED Rhinestones and layer on Cherry Cobbler circles. (3) Cut 2.75″ x 1″ (approx) to stamp the sentiment in Night of Navy ink. (4) Cut Wrapped in Plaid DSP by 3.25″ x 1″ and cut into a pennant. (5) Layer pieces with Multipurpose Glue and wrap the WW sentiment with gold twine for glimmer.
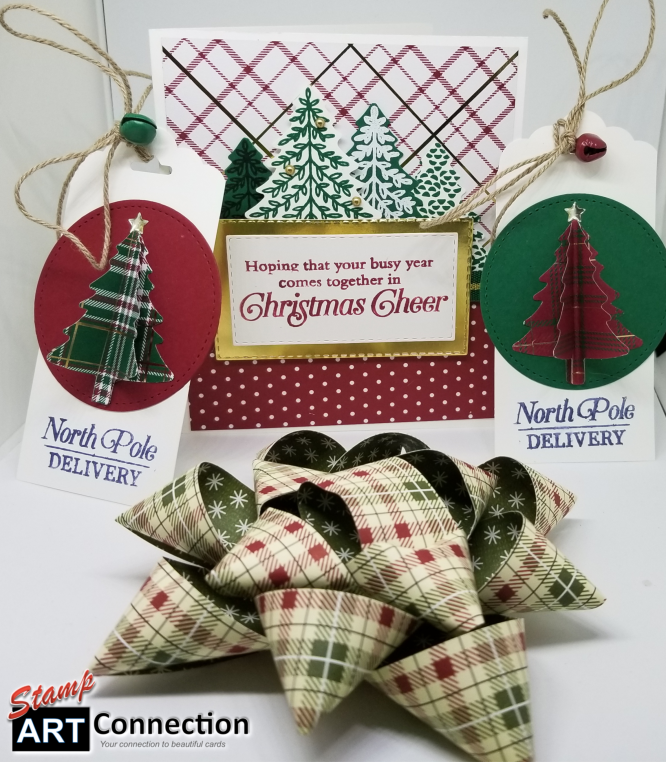
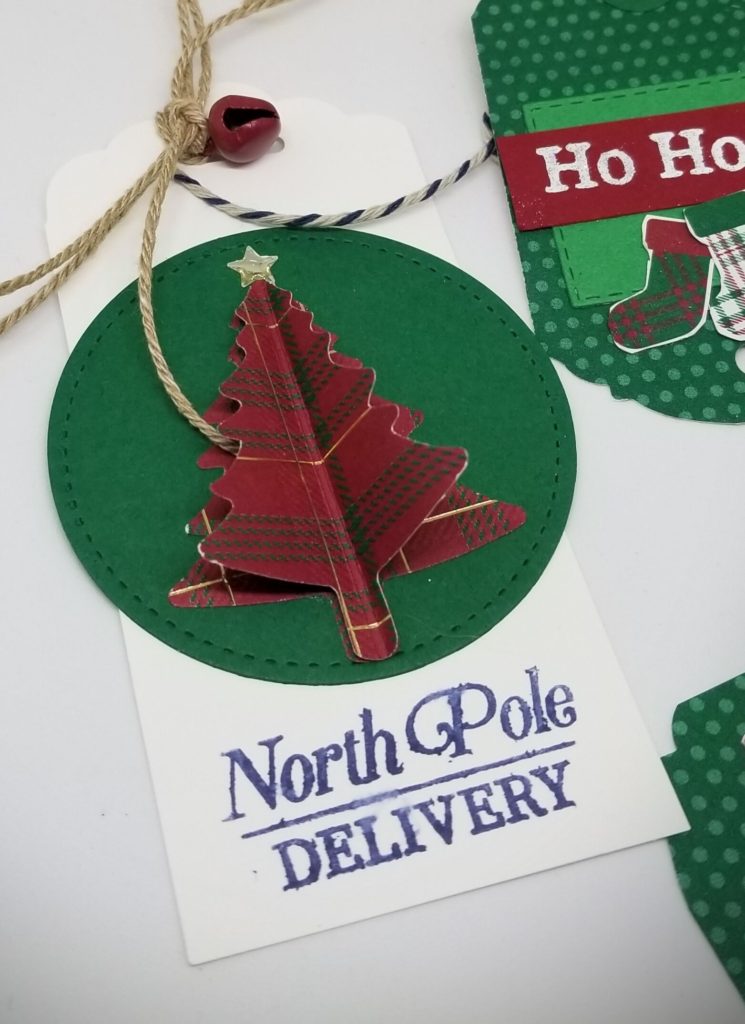
North Pole Delivery Tags
STAMP SET: Perfectly Plaid
CARD STOCK/DSP: Wrapped in Plaid Specialty DSP stack,
Cherry Cobbler, Shaded Spruce, and Whisper White Card Stock
INK COLORING TOOLS: Night of Navy Classic Stampin’
Pad
ACCESSORIES: Nature Twine, Jingle Bells, Gold Star
ADHESIVES: Snail, Dimensionals
TOOLS: Pine Tree Punch, Stitched Shapes Dies
(1) Punch two tree shapes and score both in the middle to create a crease . Use the crease to FOLD one tree. (2) Use FINE TIP GLUE and place a bead along the crease of the flat tree. Place the FOLDED edge of the other tree into the crease along with the glue. Hold until glue sets. and then glue tree in the center of the Stitched Circle in either Cherry Cobbler or Shaded Spruce. (3) For the TAG: Cut a piece of Whisper White 2″ x 4.5″ and use the TAG TOPPER to punch top. (4) Stamp sentiment in Night of Navy ink on the bottom and affix the tree medallion. Use your choice of twine and bell to embellish your tag!
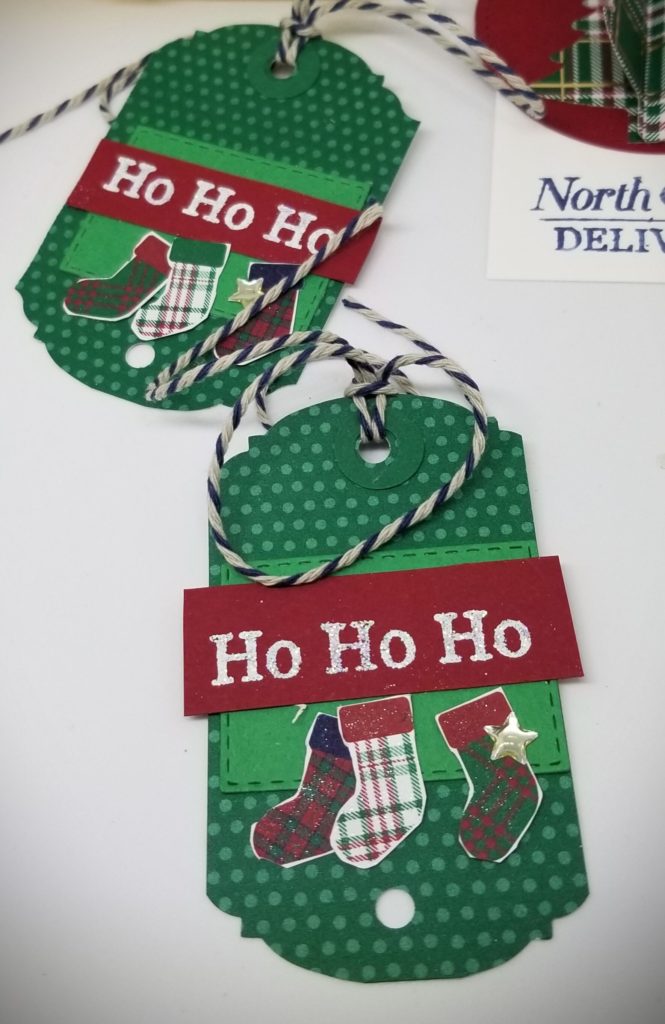
HO HO HO Tag
Using the same product list; fussy cut stockings from DSP, Cut DSP 3″x 2.75″ and use the TAG TOPPER punch and punch both ends. Cut Shaded Spruce with small SQUARE stitched shapes framelits, using WHITE embossing powder stamp HO HO HO on Cherry Cobbler. Layer, add embellishment and tie with twine.
Paper Bow
(1) Using any DSP cut each in the following lengths: eight 1″x6″ (need eight total for the outer ring), 1″x5″ for the inner ring and one 1″x4″ for the center loop.
(2) Take FOUR of the 1×6 strips of paper and place the pattern you want OUTSIDE face down; put adhesive on one end of each strip. (3) Take the FOUR other of the 1×6 pieces and do the same. (4) Take the FOUR 1×5 pieces and do the same. (5) Twist each strip and adhere the ends to where you have POINTED ends. Wrap the 1×4 strip and create a circle.
(6) Take a BRAD and attached four of the petals together until you have THREE separate “bows” and the center circle. Then place GLUE DOTS into the center and begin to layer the bows by stacking each layer and then putting the circle in the center to complete the bow.
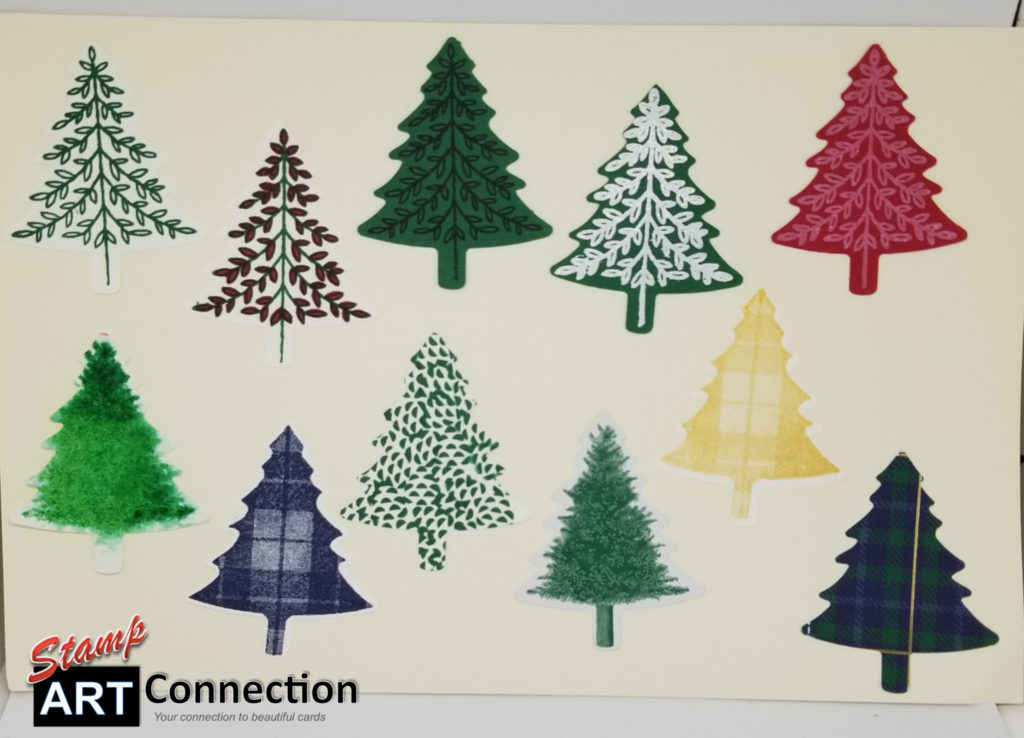
Here are samples of all the different trees that are possible with this set!
151143
Price: $31.50
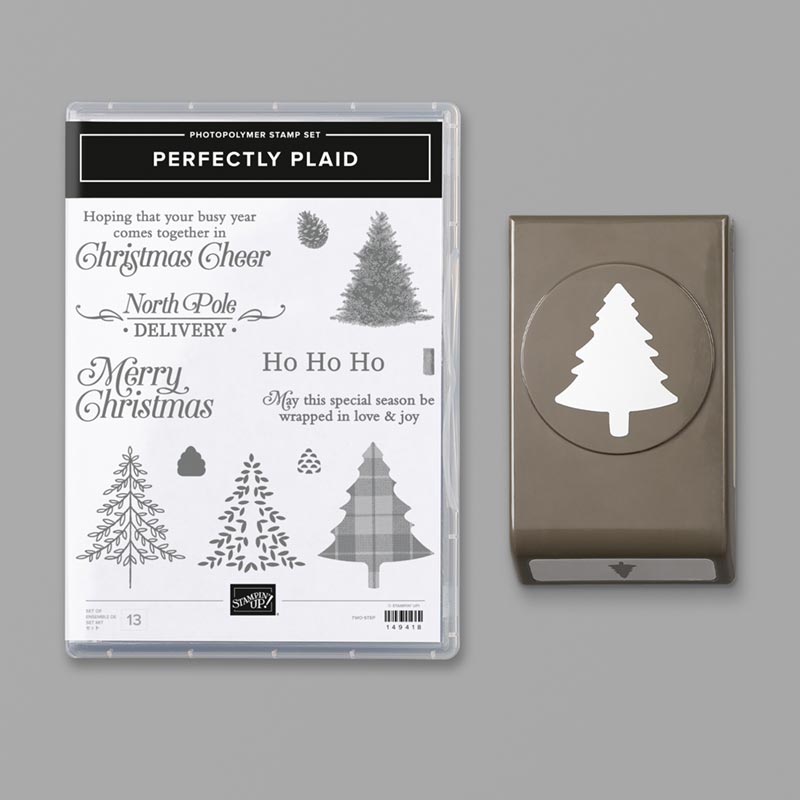
The Perfectly Plaid Bundle includes the Perfectly Plaid Photopolymer Stamp Set and the Pine Tree Punch. Also available in French and German.
Perfectly Plaid Photopolymer Stamp Set
With three styles of Christmas trees in the Perfectly Plaid Stamp Set, you’ll be able to create a full forest of projects. We think this set is perfectly plaid in every way. This is a Two-Step Stampin’ set; it allows you to layer two or more images to create one final image with extra texture and dimension in the colors you want.
* Quantity: 13 photopolymer stamps
* Suggested clear blocks (sold separately): a, c, h
Pine Tree Punch
Cut pine trees for your projects using the Pine Tree Punch.
* Punched image: 1-5/8″ x 2″ (4.1 x 5.1 cm)
149596
Price: $14.50
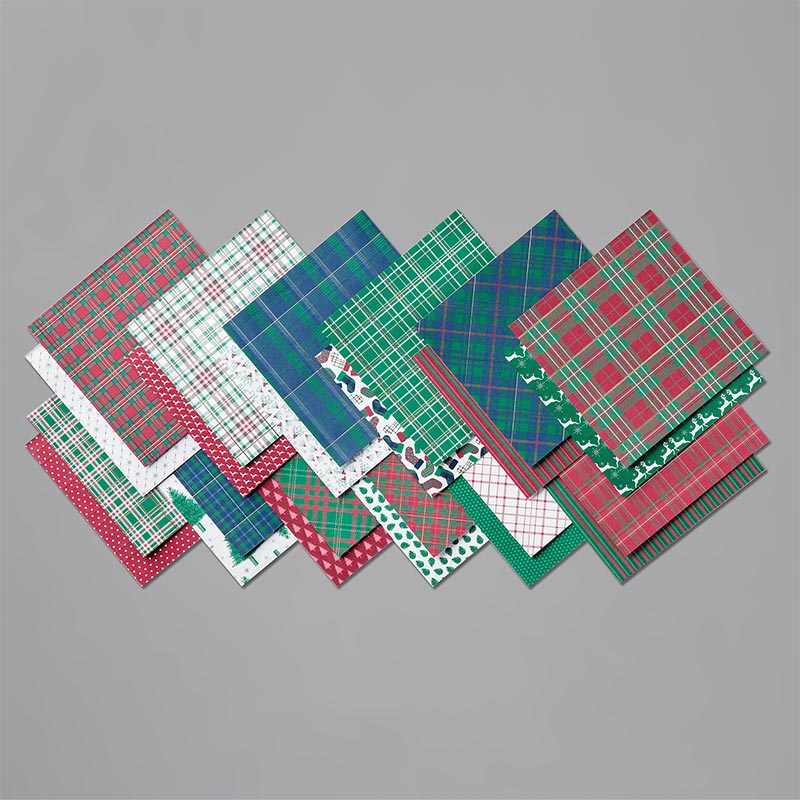
This fun Christmas designer paper is great for all your projects! Wrapped in Plaid 6″ X 6″ (15.2 X 15.2 Cm) Specialty Designer Series Paper features classic Christmas plaids with gold foil accents on some designs.
* 48 sheets of designer paper: 4 each of 12 double-sided designs
* 6″ x 6″ (15.2 x 15.2 cm)
* Acid free
* Lignin free
Product colors: Cherry Cobbler, gold, Night of Navy, Shaded Spruce, Whisper White
Save time and 10% Off when purchased as a SUITE!
153326
Price: $65.00
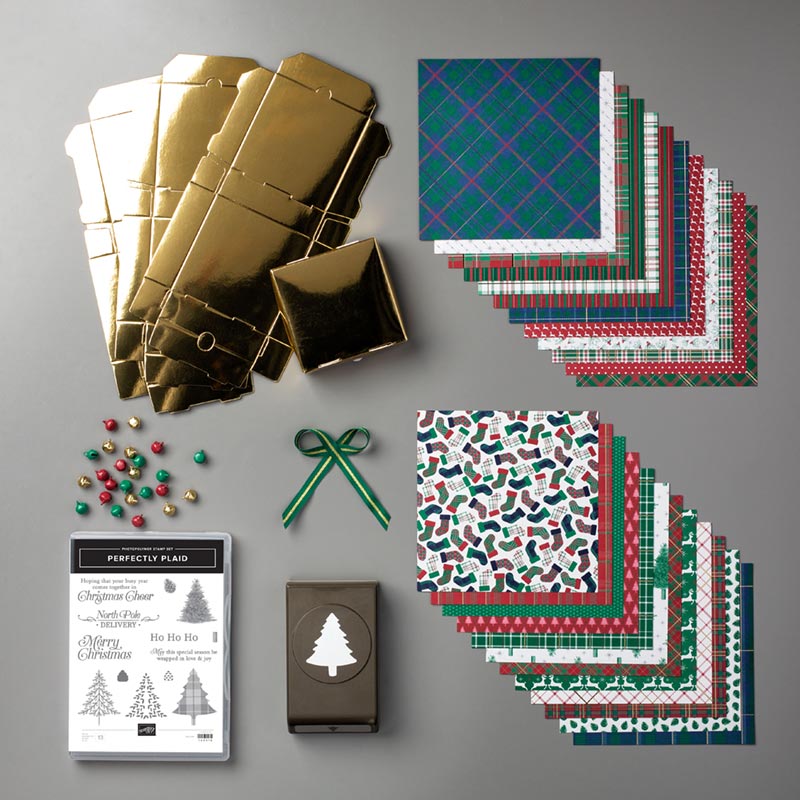
The Wrapped in Plaid Suite Bundle gives you a coordinating selection of products with one simple purchase. It includes the stamp set and tool bundle at 10% off plus one each of the other items listed.
The Wrapped in Plaid Suite Bundle includes
* Perfectly Plaid Photopolymer Stamp Set (10% off)
* Pine Tree Punch (10% off)
* Wrapped in Plaid 6″ x 6″ Specialty Designer Series Paper
* Shaded Spruce/Gold 3/8″ (1 cm) Striped Ribbon
* Jingle Bells
* Gold Mini Pizza Boxes
Add ink, cardstock, and adhesive to complete your project.
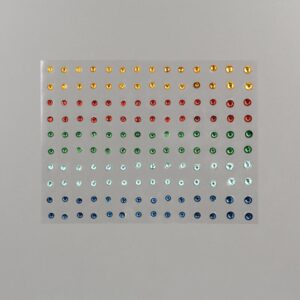
150457 Price: $6.00 Holiday Rhinestone Basic Jewels are bright self-adhesive rhinestones in Stampin’ Up! colors. * 140 pieces: 3 mm (20 each of 5 colors), 4 mm (4 each of 5 colors), and 5 mm (4 each of 5 colors). * Product colors: Cherry Cobbler, Coastal Cabana, Night of Navy, Pumpkin Pie, Shaded Spruce
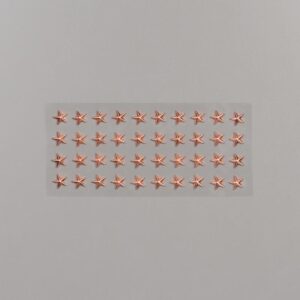
150430 Price: $9.00 Star Designer Elements are adhesive-backed, faceted stars. Copper-colored metal. * 40 pieces * 8 mm
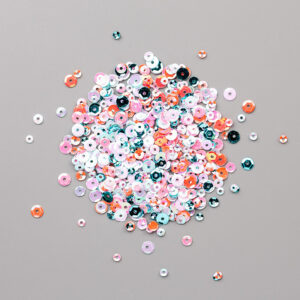
144212 Price: $5.00 * Faceted sequins * Approximately 750 per package in 3 sizes: 3 mm, 4 mm, 5 mm * Iridescent colors: Calypso Coral, Pool Party, So Saffron, Pear Pizzazz, Pool Party, Powder Pink, So Saffron * Metallics colors: Black, Copper, Gold, Iridescent, Silver
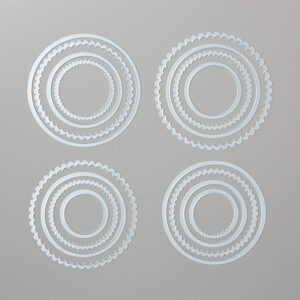
141705 Price: $35.00 Create custom die-cut circles and scallop circles in record time using the Layering Circles Dies. Dies help you create unique die cuts with just a quick run through your die-cutting and embossing machine. Detailed dies include ejection holes so you can remove the paper easily. * 16 dies * Largest die: 3-5/16″ (8.4 cm) * Use with a die-cutting and embossing machine
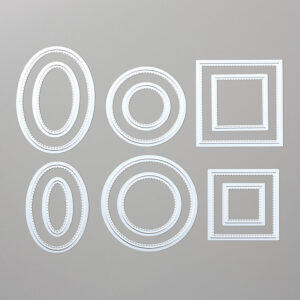
152323 Price: $30.00 Create custom die-cut shapes including circles, ovals, and squares with a stitched look in record time using the Stitched Shapes Dies. Dies help you create unique die-cuts with just a quick run through your die-cutting and embossing machine. Detailed dies include ejection holes so you can remove the paper easily. * 12 dies * Largest die: 3-1/4″ x 2-3/8″ (8.3 x 6 cm) * Use with a die-cutting and embossing machine
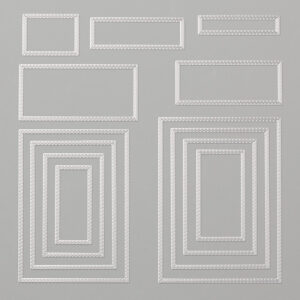
148551 Price: $35.00 Creating die-cut shapes like these stitched rectangles is easy using the Stitched Rectangles Dies. Dies help you create unique die cuts with just a quick run through your die-cutting and embossing machine. Detailed dies include ejection holes so you can remove the paper easily. * 13 dies * Largest die: 5-1/4″ x 3-7/8″ (13.3 x 9.8 cm) * Use with a die-cutting and embossing machine
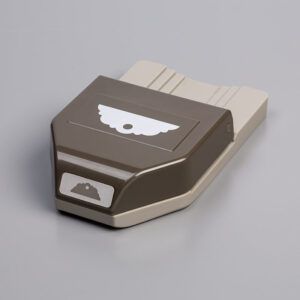
149518 Price: $23.00 The Delightful Tag Topper Punch is a delightful way to add a fun shape to your tags and projects. Cuts tag toppers in 1″ (2.5 cm), 1-1/2″ (3.8 cm), and 2″ (5.1 cm) widths. Our punches are of high quality, affordable, and easy to use. * Sleek body style * Large surface area offers precise cutting and leverage * Locks to store * Slim and stackable

Love these wonderful projects. Have a great day!
Thank you so much for the feedback!