
#simplestamping
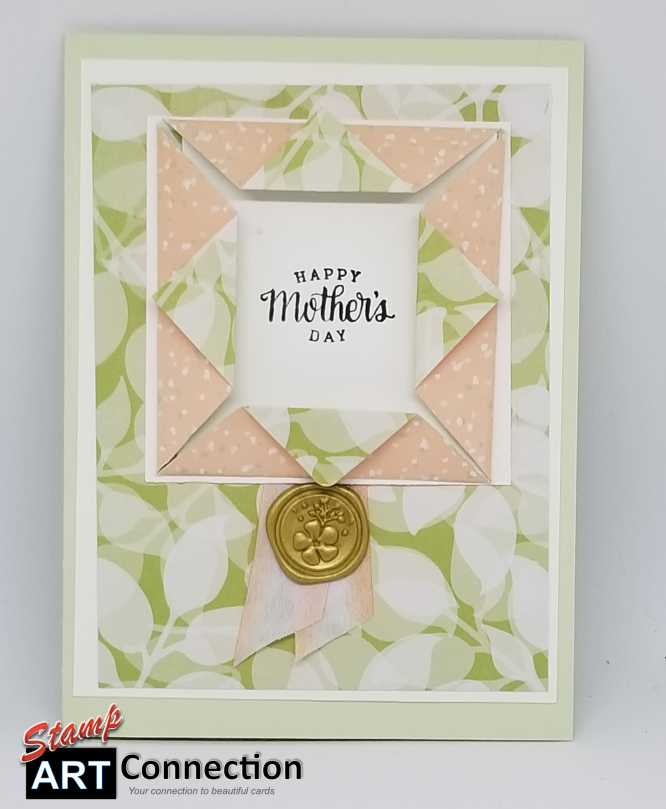
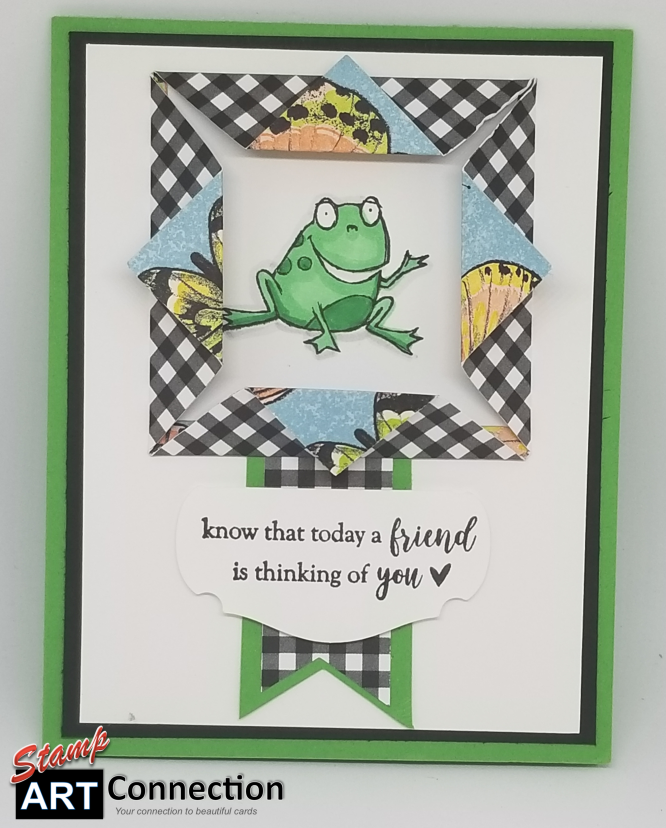
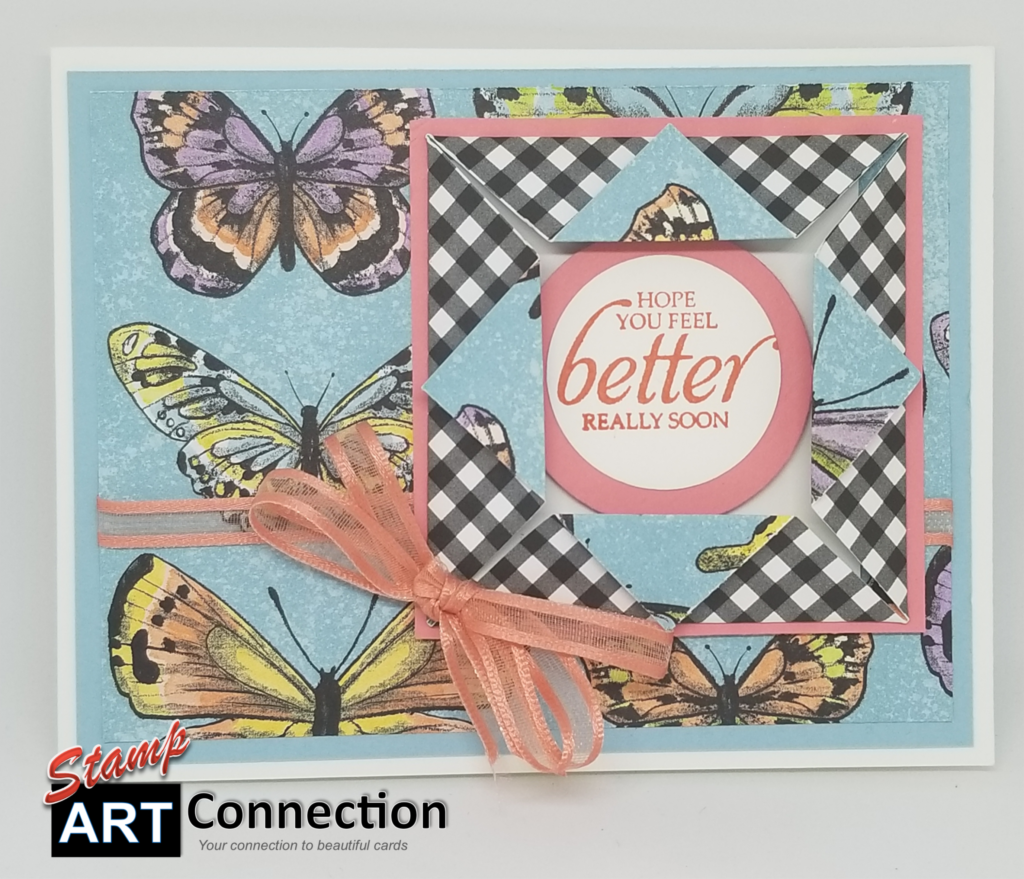
I’m always looking for fancy folds that can be used to transform a card easily. Take a 4″x4″ square piece of DSP and fold point to point; turning back the last points to create the frame. This technique is very compatible with any Designer Series Paper to create a quick and easy card. Just stamp a sentiment or add an image. I created a quick “LIVE” video to demonstrate how easy it is to make this card. Take a look at how versatile this simple fold is by some of the other samples I’ve created!
I watched your youtube card on Tranquil Tide paper and whisper white cardstock cut to use Hometown Greetings. The sizes do not make sense to me. 5/12 is the long side of the card shown but you have all three cuts using 5/12 by something??? Which is the vertical measurement and the written ticker tape which i love on your videos has 4.25 x4,25 which is short for the horizontal measurement…I hope i have written this clearly. I want to make the card but confused…thanks Karen
Karen, I’m glad you called and I was able to help you with the card sizes. Hope your class went well. Kat
wonderful description, but I found the video blurry.
Susan, sorry the video was blurry…I don’t think I’ll do that again. I should of reposted as a YOUTUBE video and downloaded in High Definition. thank you for your feedback!