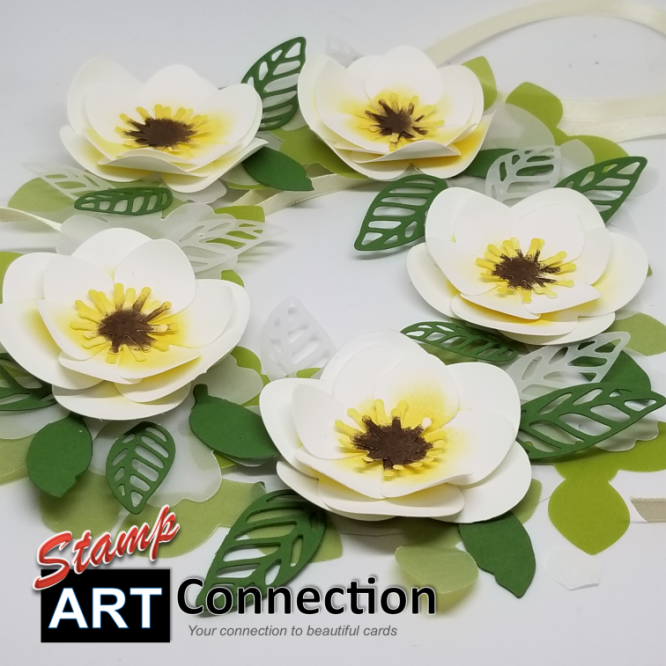
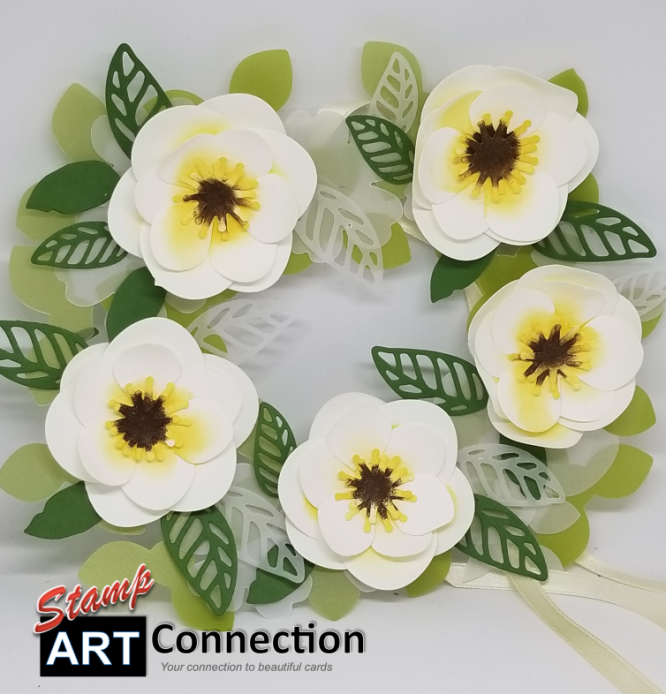
Living in Pensacola Florida is very much the grand south and having beautiful magnolia trees on my property is proof. So I was immediately drawn to this suite and I couldn’t resist this project!
If you loved my Butterfly Wreath…then try a ring of magnolias! I recommend viewing the Butterfly Wreath video before attempting this since there are many tips and tricks that apply to this project as well.
I think what makes this work is the Green and White vellum which creates a background for the blossoms. The MOSSY MEADOW leaves are carefully placed to add balance.

Directions:
- Good Morning Magnolia / Magnolia Memory Dies BUNDLE (151087)
- CARD STOCK: Whisper White, Window Sheet (6″ x 5″), Green Vellum (149101) (from the Perennial Essence Vellum Pack), Mossy Meadow, White Vellum.
- INK: So Saffron, Early Espresso Ink Pads
- PUNCH: Perennial Flower punch (149522)
- ASSESSORIES: 2 Ink daubers, Glue Dots, Ribbon.
Assembly:
- Magnolia Flower: Cut 10 small dies and 10 large die petals in Whisper White (this creates 5 magnolia blooms — 2 large dies cuts on bottom and 2 smaller die cuts inside).
- Wreath: Punch 5 White Vellum flowers (with either the Perennial Flower Punch or a flower punch)
- Punch 14 GREEN Vellum flowers with the Perennial Flower punch
- LEAVES: Take all the LEAF dies from the Magnolia Memory Dies and cut:
- 6 in Mossy Meadow (each die)
- 6 in White Vellum (each die)
- Take WINDOW SHEET and trim corners to make a circle
- REFER TO MY BUTTERFLY WREATH VIDEO
- ASSEMBLE FLOWERS: Take So Saffron and an Ink Dauber to the center of the flower pieces and ALL of the flower centers (star like centers)
- Use Early Espresso and Ink dauber to the middle of the flower centers.
- With Glue Dots, assemble flowers (2 large with 2 small petals and one large/one small flower center)
- Curl the flower petals around a pencil and push the centers ends up.
- ASSEMBLE WREATH: Array green vellum pieces around the window sheet to cover and let some of the “leaves” stick out around the edge.
- Array the white vellum flower cut outs around the center of the wreath to soften the effect before adding the magnolia flowers.
- Place the magnolia flowers around the wreath (leaving a little space in-between to add the leaves)
- Add the leaves, alternating small and large and taking care to cover gaps between blooms.
- Save the solid leaves for last (use to accent) where there may be empty space.
- Add the white vellum leaves for accent (and ensure all the space is uniformly balanced).
I hope this project creates excitement for these products from the new catalog and you will add these products to your shopping list! Come back and shop with me to purchase your products once they are released on 4 June. I know you will love putting this project together! I will continue to perfect the technique! Come back later for more ideas!
Blessings, Kat


Good – I should certainly pronounce, impressed with your site. I had no trouble navigating through all the tabs and related information ended up being truly simple to do to access. I recently found what I hoped for before you know it in the least. Quite unusual. Is likely to appreciate it for those who add forums or something, website theme . a tones way for your client to communicate. Nice task..
Thank you for leaving a comment! I’m glad you found what you are looking for! blessings, kat
WHERE IS your butterfly wreath video?
Butterfly Video