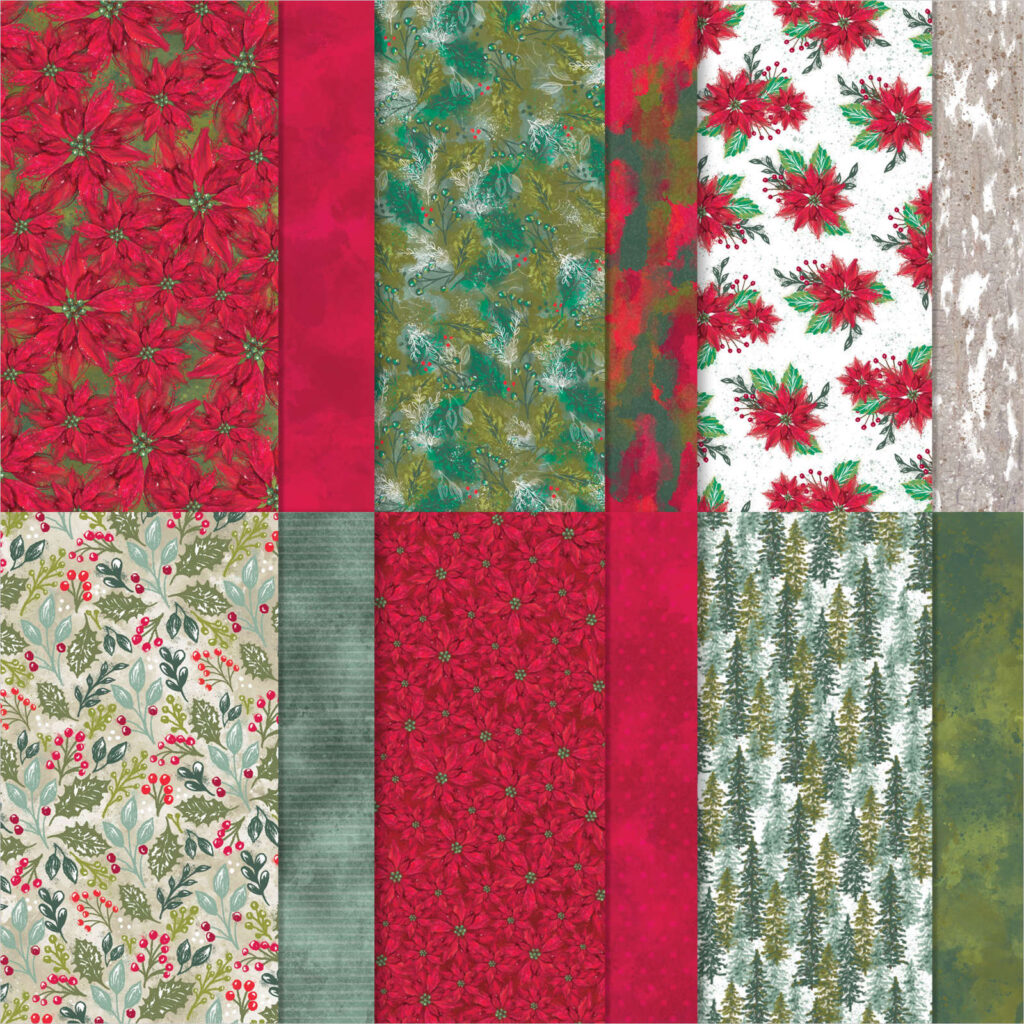
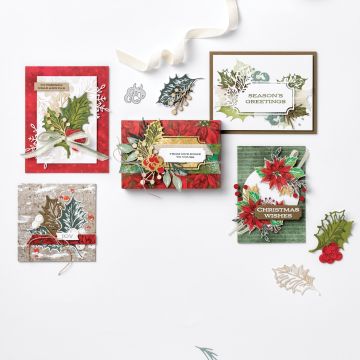
Inspired by the card on page 24 of the July-December 2022 MINI CATALOG — I loved the layering. Here is my interpretation for assembling a series of cards using the BOUGHS OF HOLLY Collection.
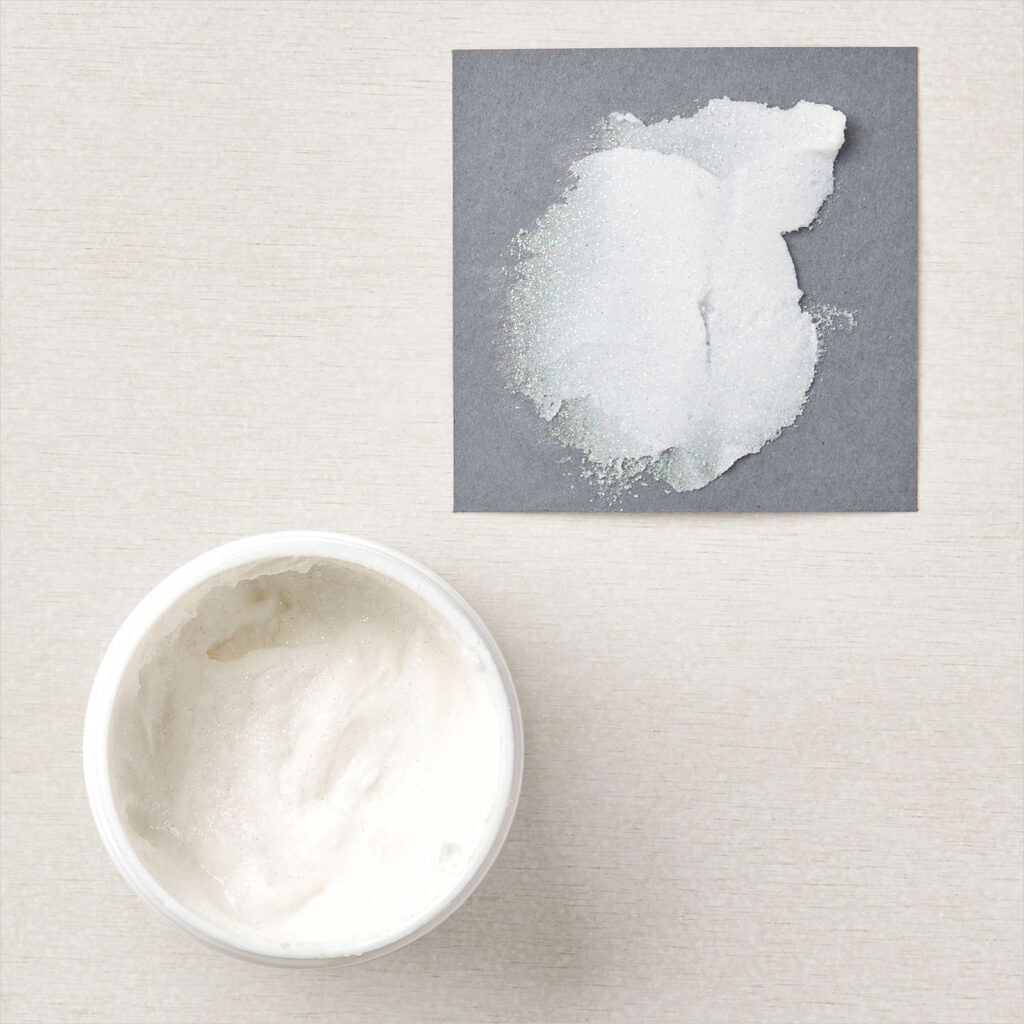
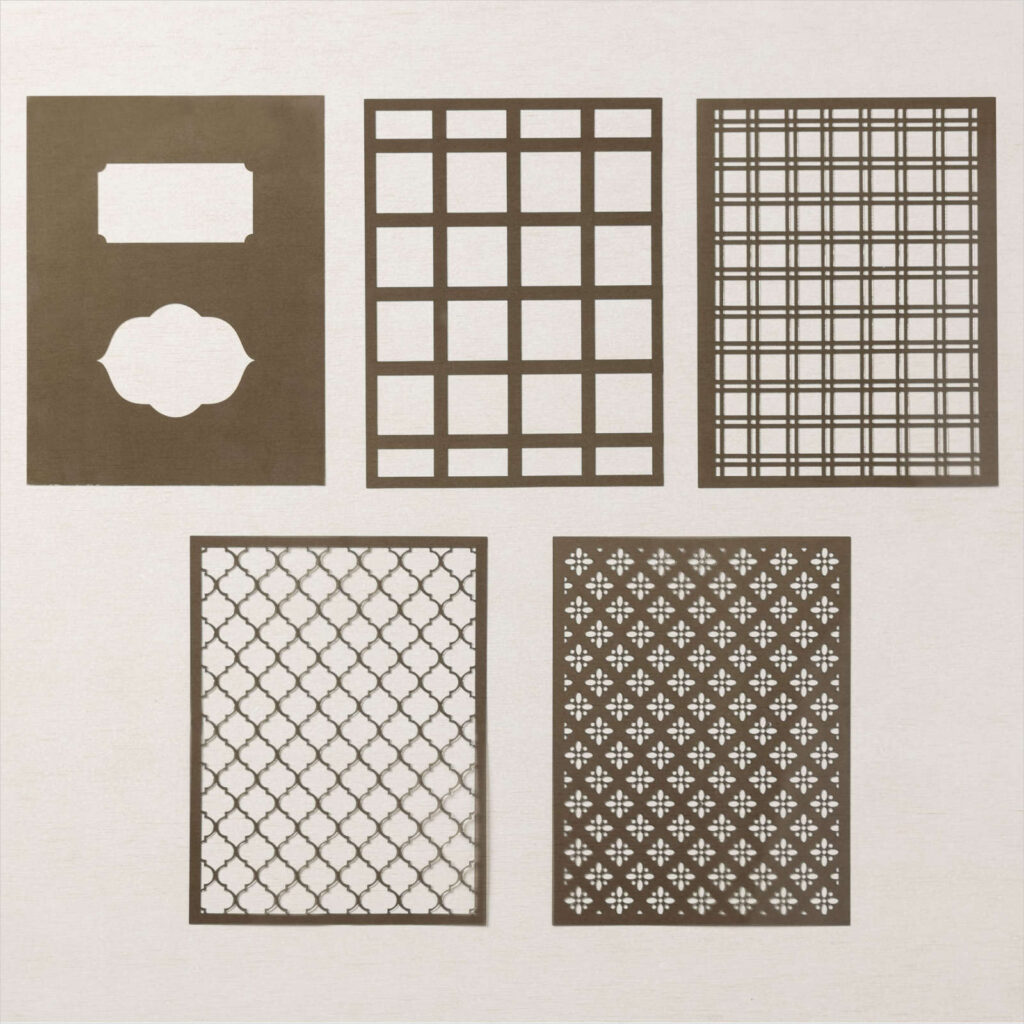
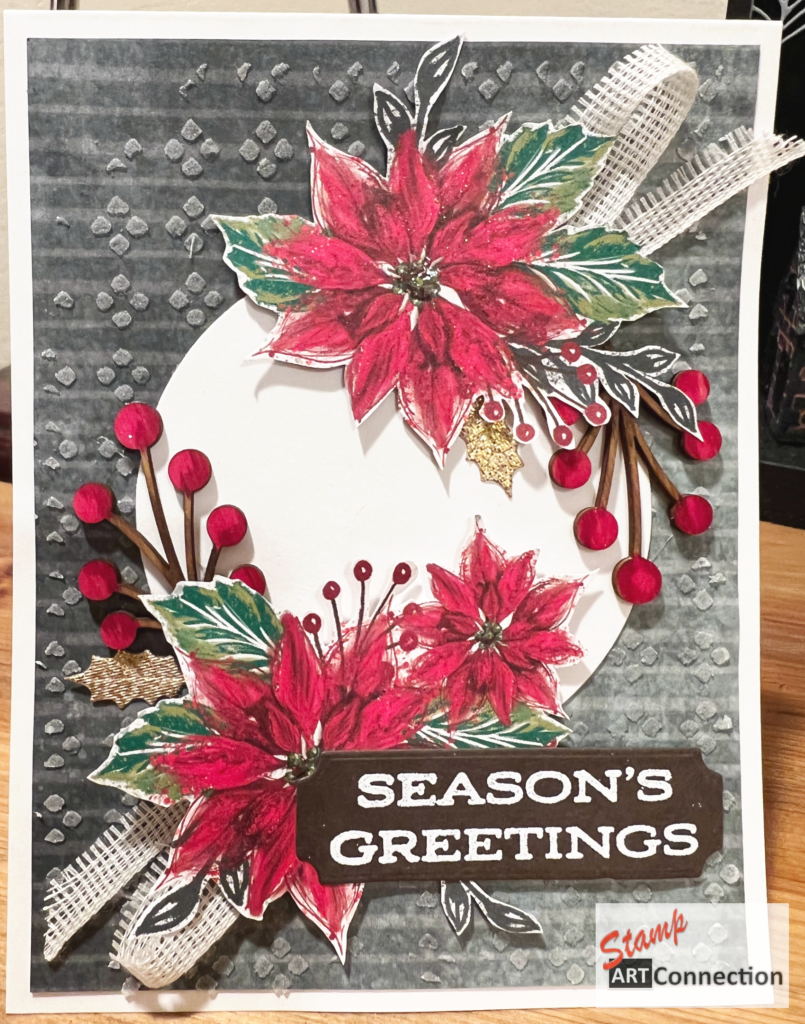
I changed it up by using a DECORATIVE MASK with Shimmery White Embossing Paste to add a layer of texture to the background.
Featured Projects
Video Tutorials
Supplies Used for this Project
- Base Card – Basic White or Very Vanilla (5.5 x 4.25″)
- CARD STOCK:
- Real Red, Evening Evergreen, Pear Pizzaz, Distressed Gold Speciality Paper
- DSP Layer: 5.25″ x 4″
- DIES:
- Stitched Shapes Framelits -Circle Dies to cut a circle in Basic White
- Holly Berry Dies
- Poinsettia Flowers:
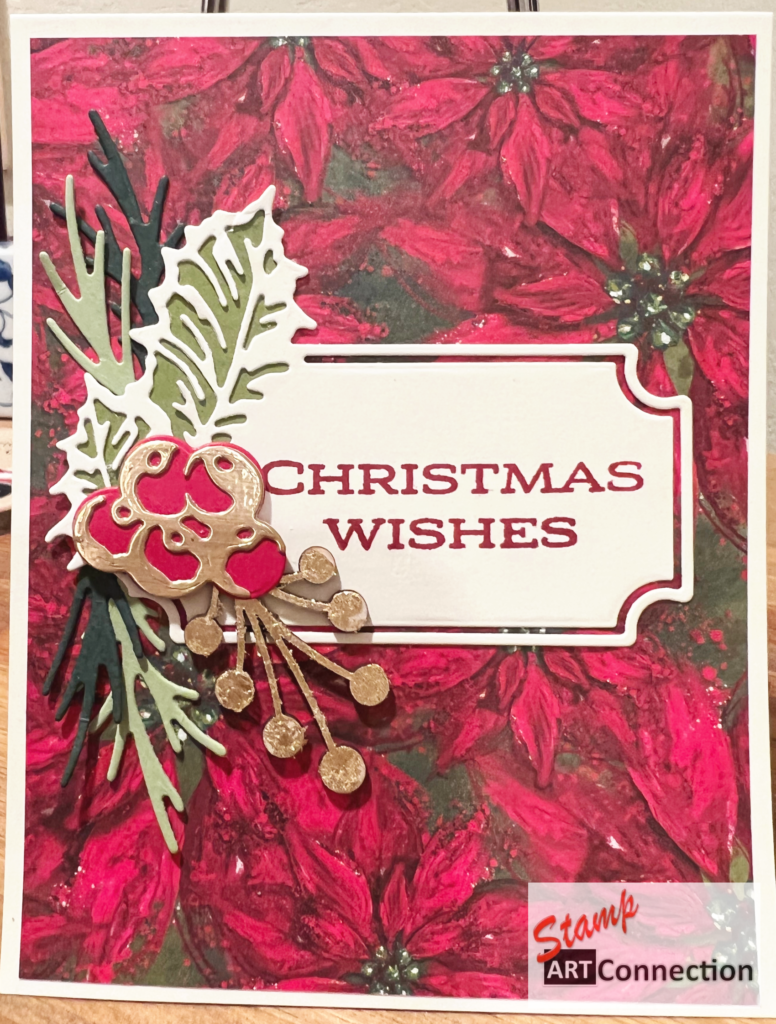
- Boughs of Holly DSP – Fussy cut the Poinsettia Flowers
- Ribbon – Four-inch strip (cut in half)
- Textural Elements –
- Color with Cherry Cobble & Soft Suede
- Gold Flakes
- Shimmery White Embossing Paste
- Decorative Masks – Artistic Mix
- Palette Knives
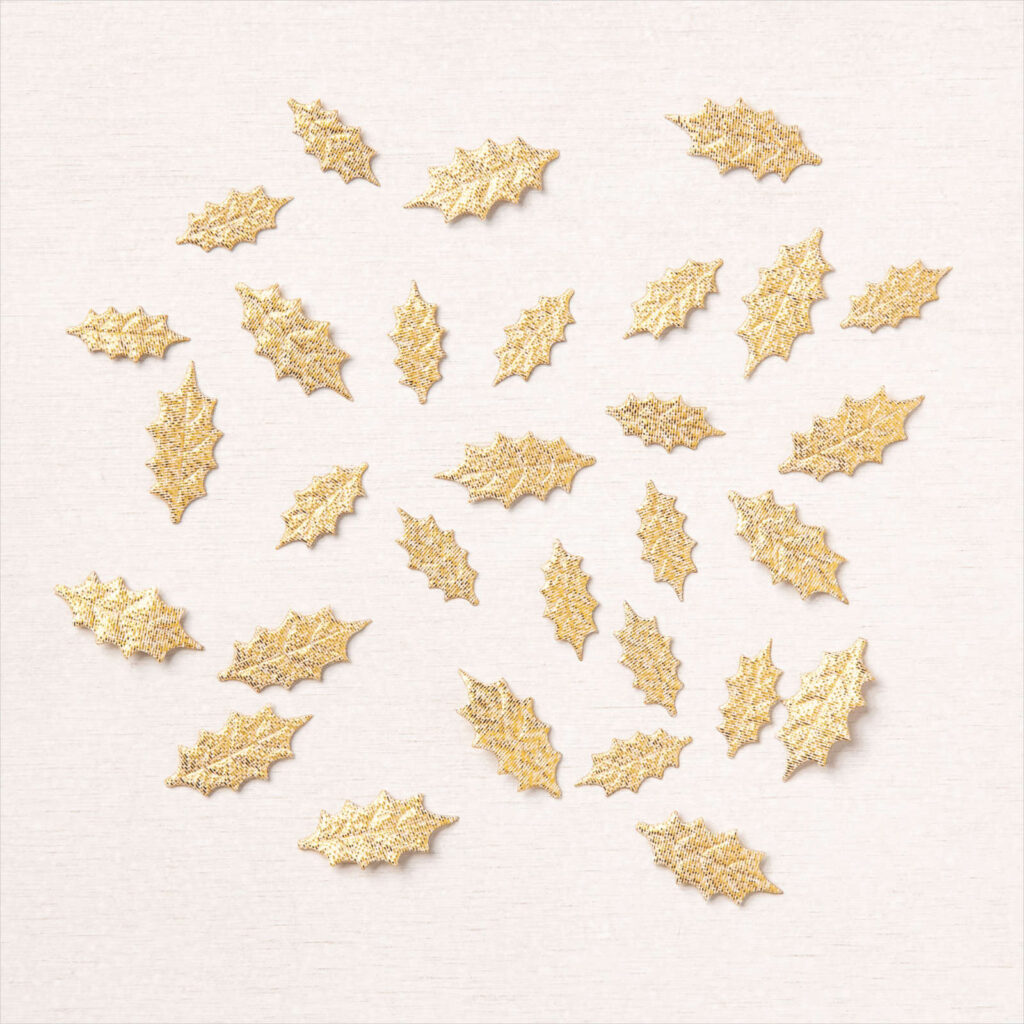
- Gold Holly Leaves
- Adhesives: Multipurpose Glue, Fine Tip Glue, Tear Tape & Dimensionals
Featured Products