
Beautiful Butterflies POP-UP Card — With Ink Spot Coloring, Embossing & Layered Wings!
If you’re looking for a spring-inspired WOW card that’s as joyful to make as it is to give, you’re going to love this Beautiful Butterflies POP-UP card! This project combines gorgeous textures, vibrant ink-blended color, and a surprise 3D element that lifts your butterflies right off the card. Bonus: I’m sharing a fun and easy coloring technique using Paper Pumpkin ink spots, plus tips for creating soft layered wings with Iridescent Card Stock and Vellum!
Let’s dive in!
✨ What You’ll Need:
- Paper Pumpkin ink spots (Balmy Blue, Fresh Freesia, Petunia Pop, Calypso Coral, Daffodil Delight)
- Beautiful Butterflies 3D Embossing Folder
- Iridescent Card Stock for Butterfly base and body
- Vellum for filagree wings colored with Berry Burst Ink using a Sponge Dauber
- Basic White Cardstock for card base (5.5″x 4.25″) and pop-up mechanism
- Beautiful Bokeh DSP for background (5.25″ x 4″). Cut 2.
- Coordinating CardStock Layer for the Front (5.25″ x 4″) that is layered with Basic White piece cut 5″ x 3.75″ (use embossing folder to create front texture.
- Beautiful butterflies Dies
- Adhesive Glue (Cosmic Shimmer Specialist Acrylic Glue & Tombow), Dimensionals
- Die Cut Machine, Trimmer & Score Board
- GREETINGS FOR ALL MIX & MATCH EPHEMERA PACK
- Tiny Bee Trinkets
🎨 Coloring with Paper Pumpkin Ink Spots
If you subscribe to Paper Pumpkin, every month you get a free INK SPOT. I have been collecting mine and love how versatile those little ink spots from Paper Pumpkin kits are! For this card, I used them like mini ink pads to apply color, blend soft, dreamy backgrounds. Here’s how:
- Begin with the lightest color first. Lightly tap the ink spot on the raised portion of a 3D Embossing Folder.
- Use a spritzer with water and spray across the ink.
- Place a piece of Basic White Cardstock over the inked portion& close folder.
- Place in Die Cut & Emboss Machine
- Cut out butterfly using DIE or fussy cut.
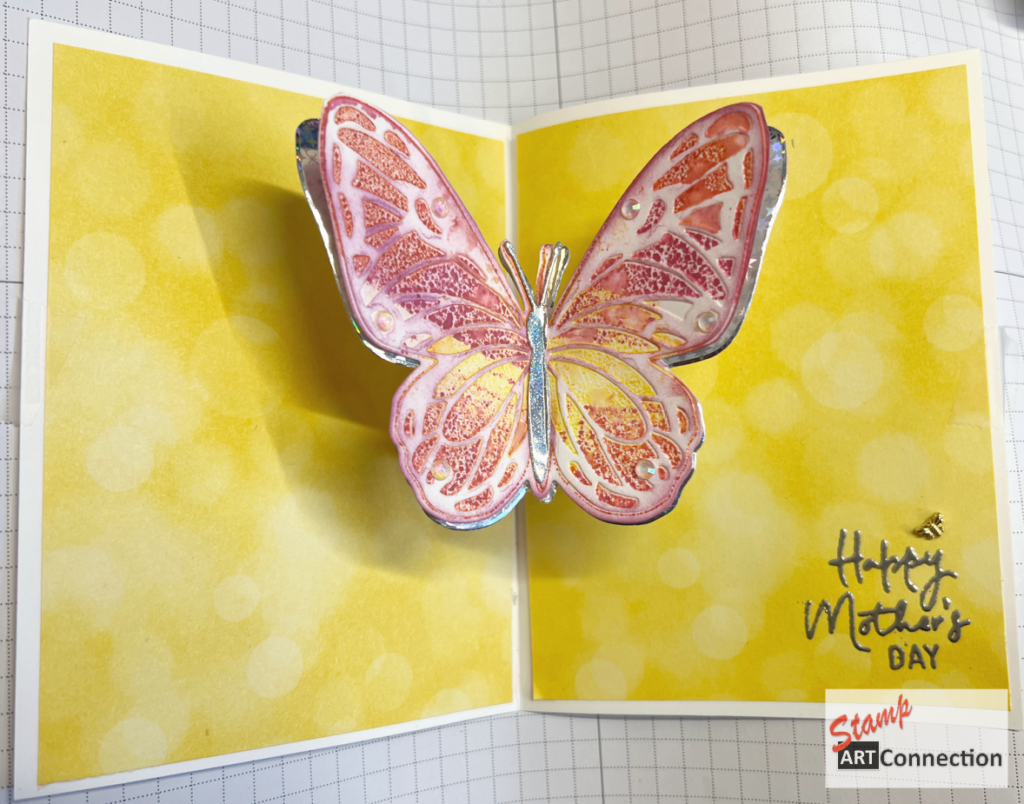
My favorite Color combos for the butterflies:
- Daffodil Delight + Calypso Coral + Petunia Pop
- Balmy Blue + Fresh Freesia + Daffodil Delight
The color combinations are soft yet vibrant—perfect for butterfly wings!
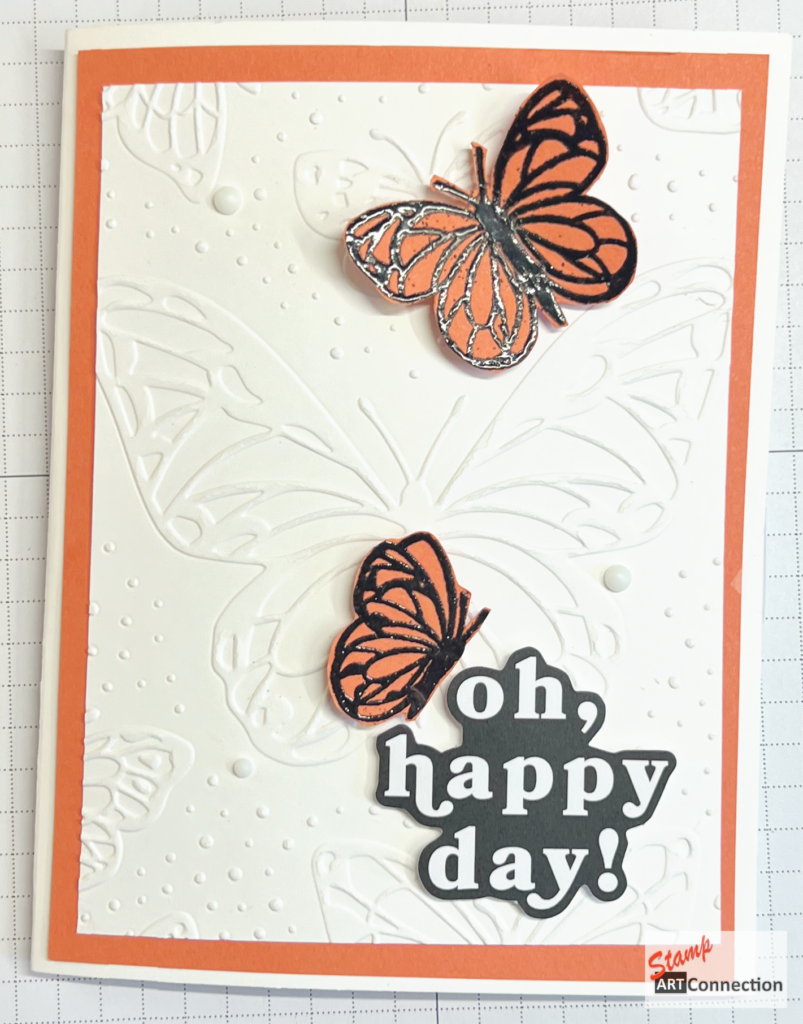
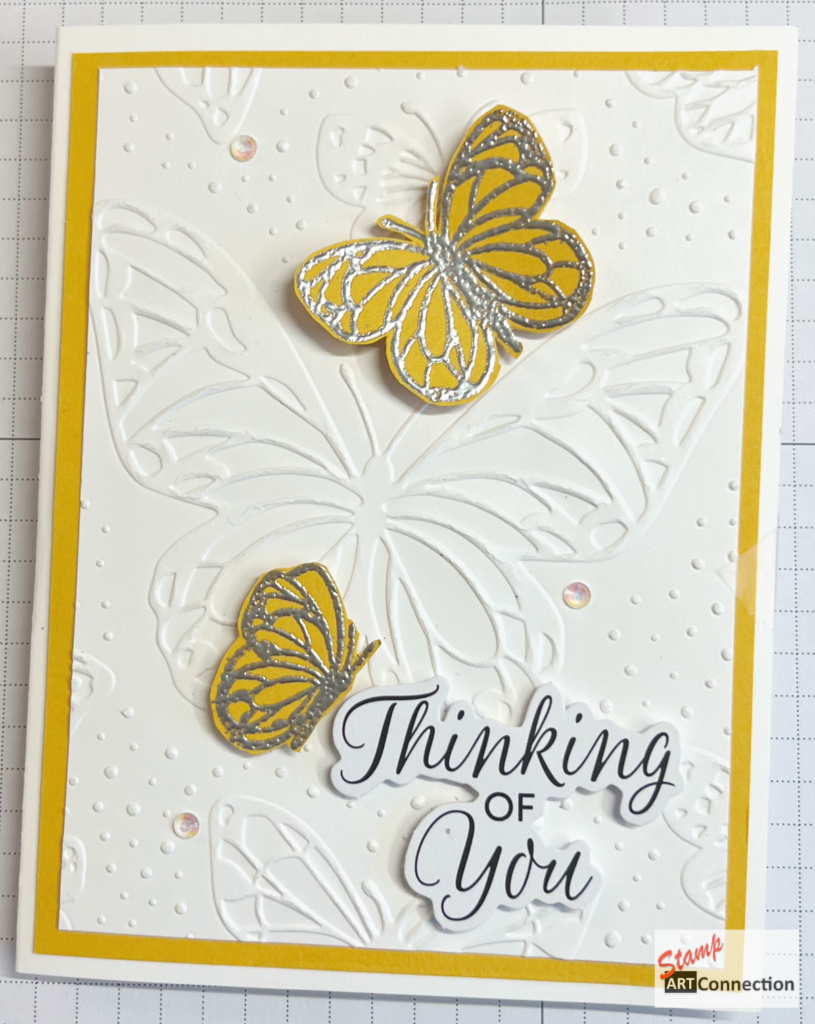
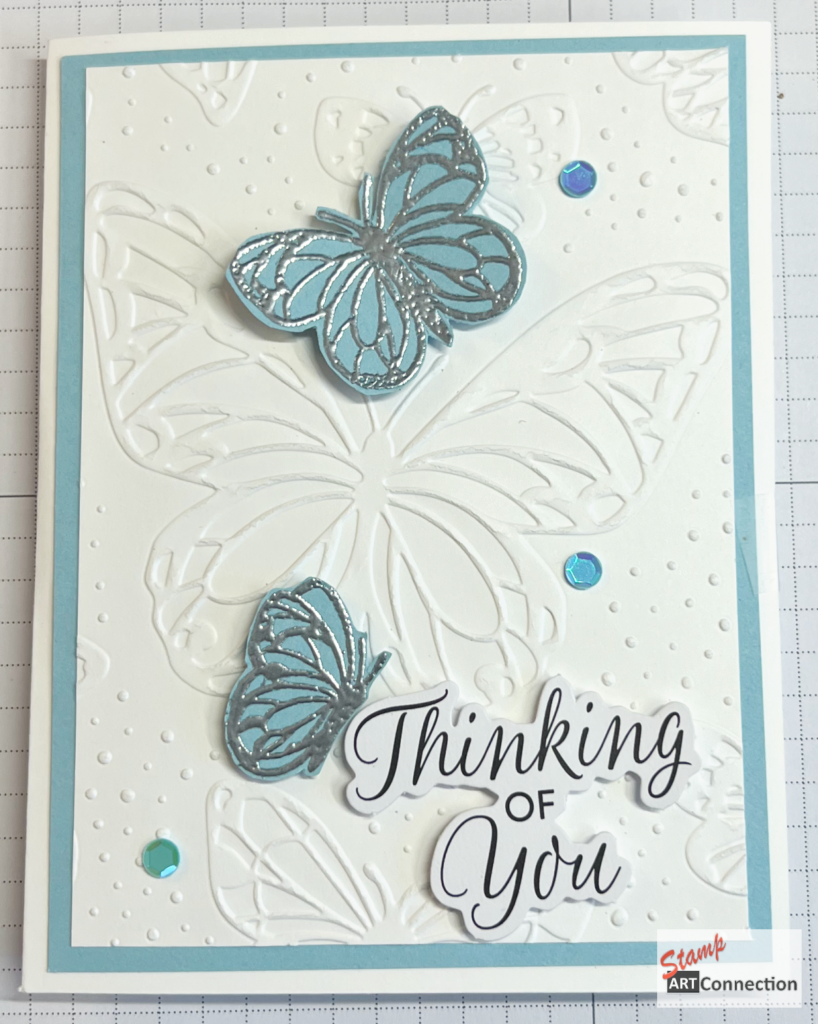
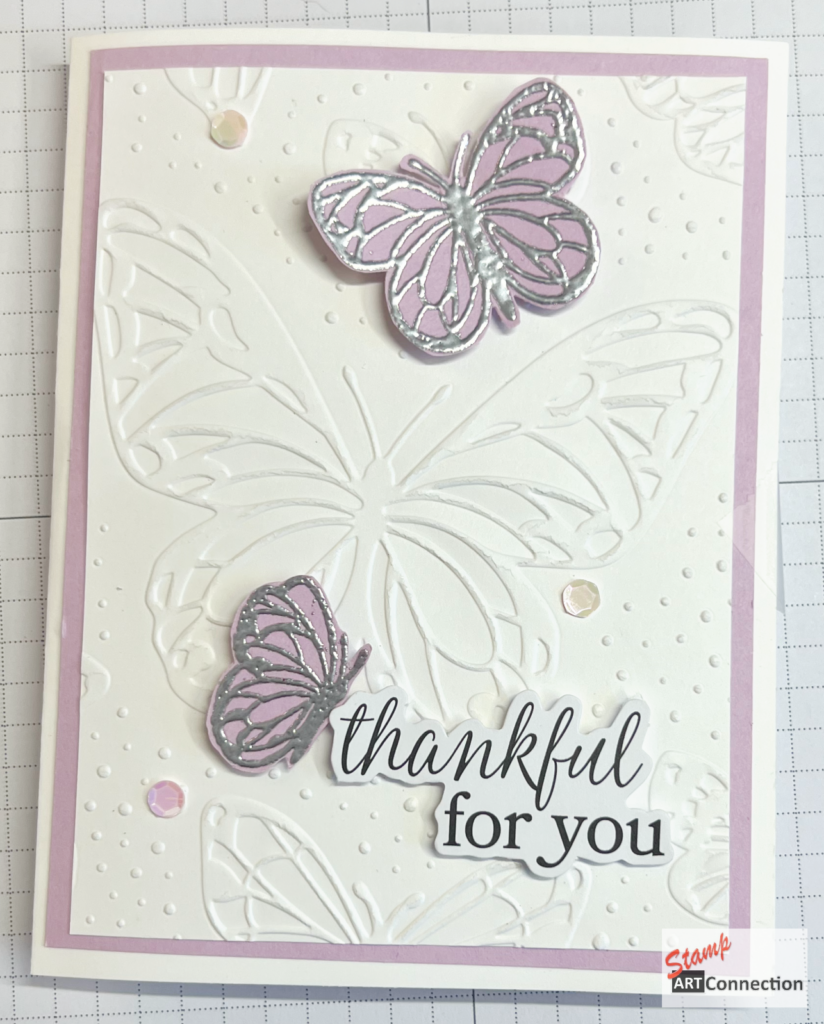
🌼 Embossed Texture with 3D Magic
Once your inked background is dry, run it through your 3D Embossing Folder. This adds such an incredible tactile element to your butterfly wings or card layers. The texture catches the light and gives a high-end, boutique look with hardly any effort!
Tip: Lightly brush white craft ink or Wink of Stella over the raised areas to enhance the texture!
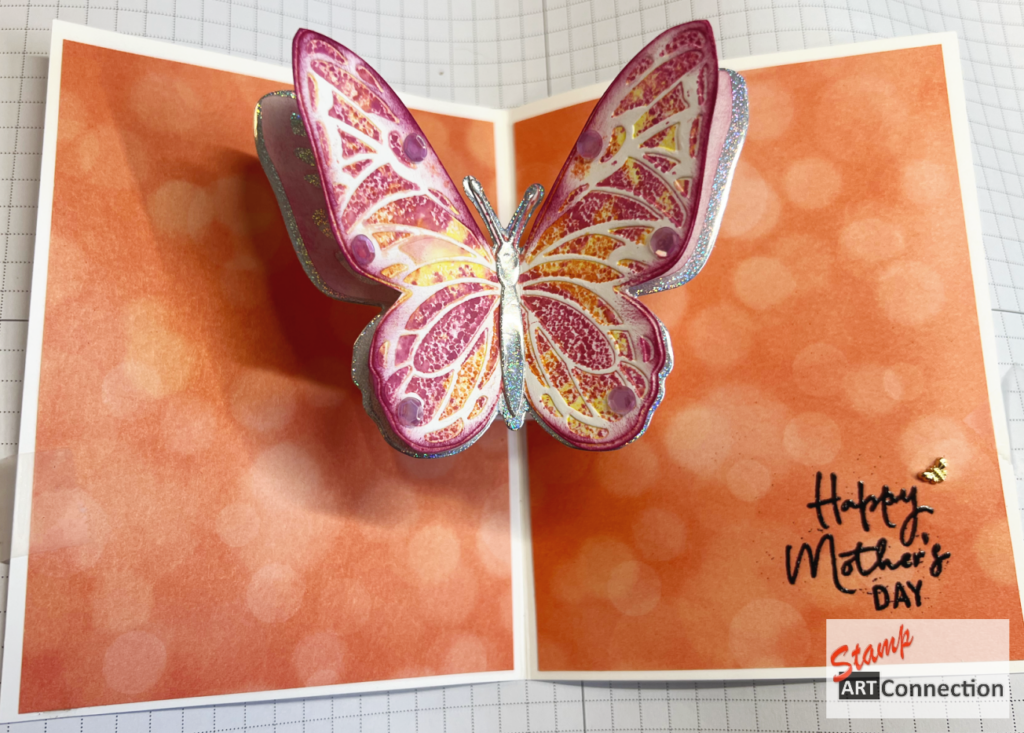
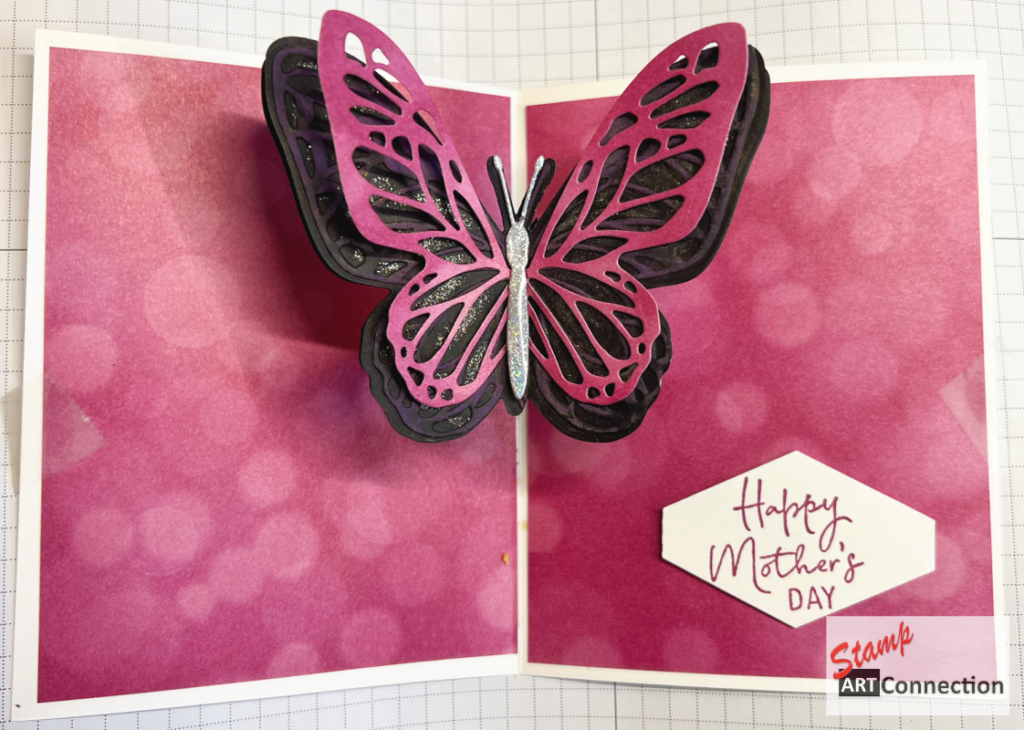
🦋 Layered Butterfly Wings — So Dreamy!
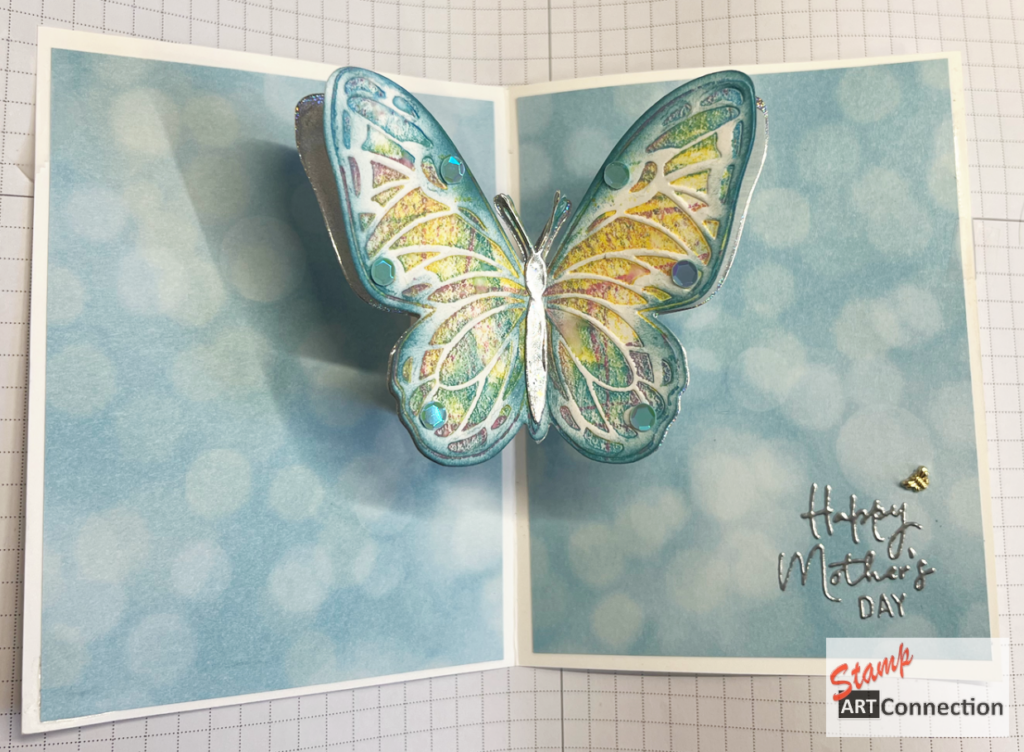
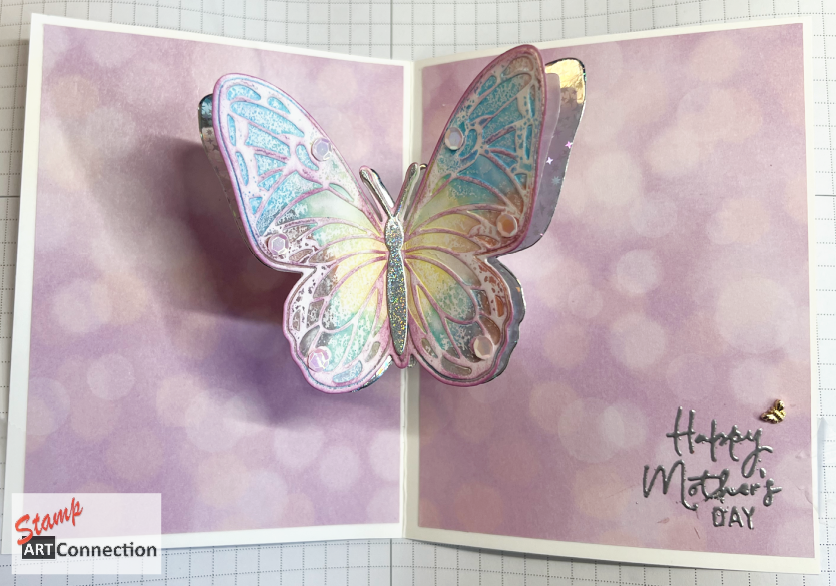
I die-cut butterflies using both Iridescent Card Stock and Vellum, then layered them together using a tiny dot of glue just at the center. This lets the wings lift and flutter for a magical 3D look!
To make them extra special:
- Slightly curl the wings with a bone folder.
- Add an iridescent pearl or gem to the center.
- Stack two sizes together for added dimension.
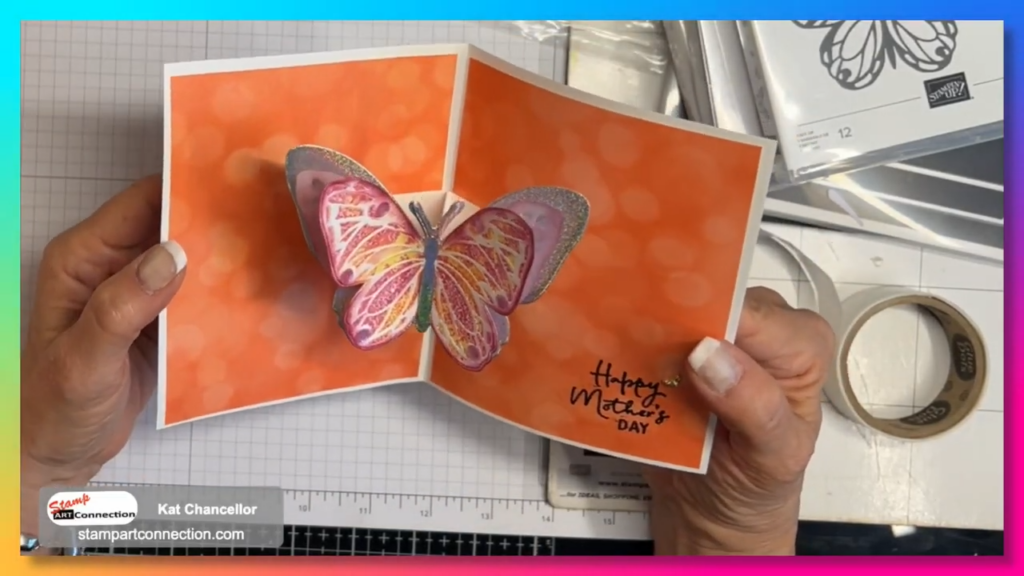
🎁 The Pop-Up Mechanism
This card isn’t just beautiful—it’s interactive too! The pop-up element gives that perfect wow moment when the card opens.
Here’s a quick overview of how to create the mechanism:
- Cut two strips (approx. 1” x 5.5”) from Basic White Cardstock.
- Score at .5″, 2″, 3″, and 4.5″.
- Fold into a box shape and secure the .5″ tab side to the other end to form a rectangle
- Adhere one side of the tube to the other tube to form a “V”.
- Measure from the top of the card – 2.25″ and glue mechanism following the VIDEO TUTORIAL demonstration.
I attached my layered butterfly to the pop-up arm so it pops-up from the card when opened. l
💡 Pro Tip:
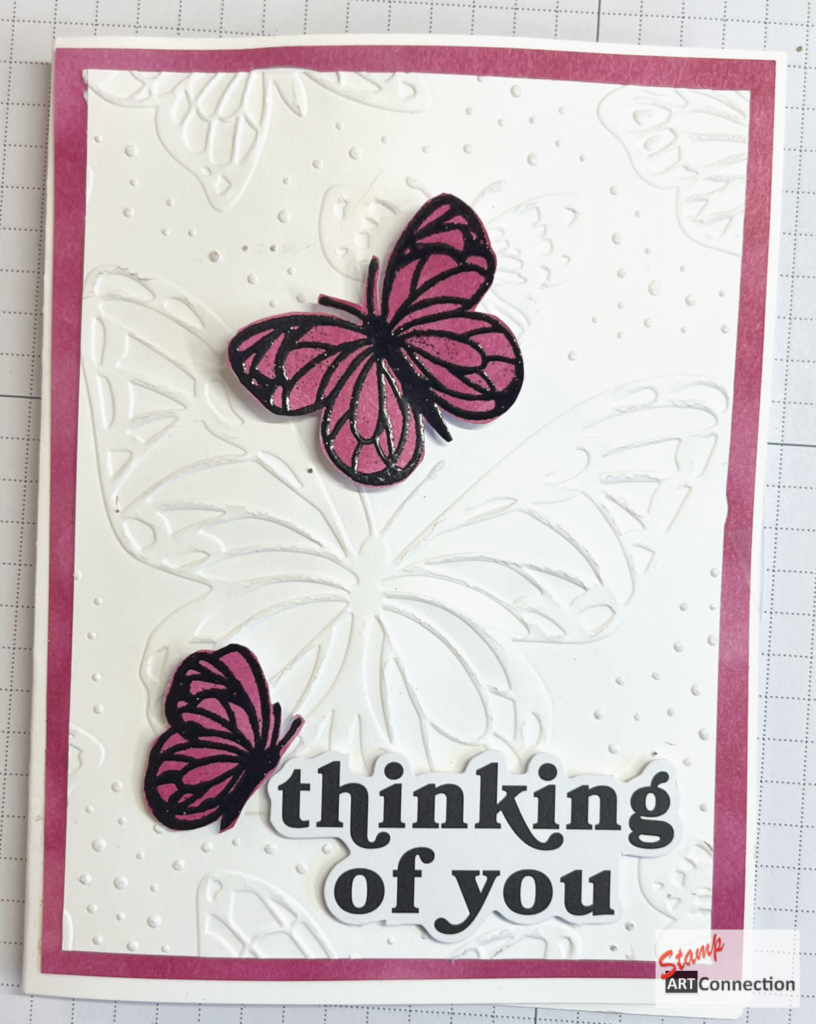
This is a perfect card for special occasions—Mother’s Day, birthdays, or even as a cheerful “thinking of you.” Use GREETINGS FOR ALL MIX & MATCH EPHEMERA PACK for the sentiments to make card making quick & simple. Open the butterfly by securing the bottom edges of the butterfly with a glue dot as demonstrated in my tutorial to show off the butterfly layers.
🧡 Ready to Try It?
This card is one of those satisfying projects that looks intricate but is super fun to create—especially when using the beautiful tools and ink colors from your stash (like those Paper Pumpkin ink spots!). Don’t be afraid to mix and match color blends or try backgrounds to make the look your own.
Happy crafting—and may your butterflies always fly free and fabulous! 🦋
Kat
GALLERY
VIDEO TUTORIAL
PRODUCTS:
